


Securing your warehouse with a surveillance system is crucial for protecting your inventory and ensuring the safety of your employees. One important aspect of setting up a security camera system is configuring Dynamic Domain Name System (DDNS) to access your cameras remotely. DDNS allows you to assign a domain name to your camera’s IP address, making it easier to connect to the cameras from anywhere in the world.
In this guide, we will walk you through the steps of setting up DDNS for your security cameras in a warehouse. By following these instructions, you can ensure that your surveillance system is accessible and secure, providing you with peace of mind knowing that your warehouse is under constant watch.
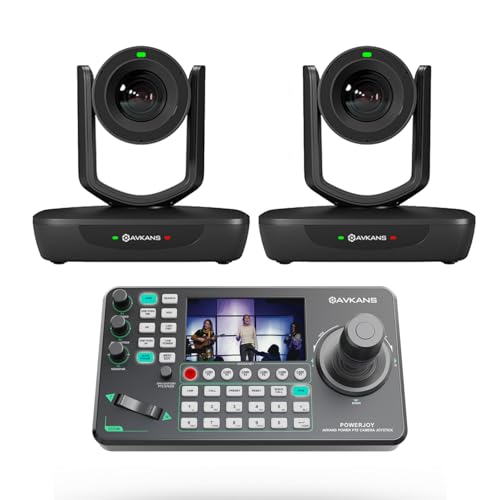
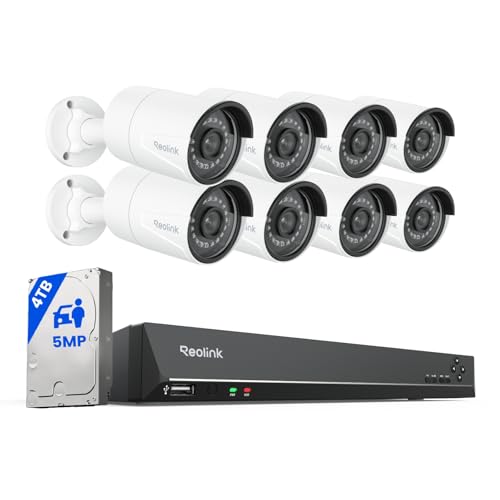
Choosing the right security camera
When setting up a security camera system for your warehouse, it is important to choose the right cameras that meet your specific needs. Here are some factors to consider when selecting security cameras:
1. Resolution: Higher resolution cameras provide clearer images, making it easier to identify details such as faces or license plates.
2. Field of View: Consider the area you want to cover and choose cameras with the appropriate field of view to ensure complete coverage.

3. Night Vision: If you need surveillance at night, opt for cameras with infrared night vision capabilities for clear footage in low-light conditions.
4. Weather Resistance: For outdoor surveillance, choose cameras that are weatherproof and can withstand harsh weather conditions.
5. Motion Detection: Cameras with motion detection capabilities can alert you to any suspicious activity and start recording automatically.
By considering these factors, you can select the right security cameras to enhance the safety and security of your warehouse.
Setting up a DDNS account
Setting up a DDNS (Dynamic Domain Name System) account is essential for accessing your security camera remotely. Follow these steps to create your DDNS account:
- Choose a DDNS service provider that is compatible with your security camera system.
- Create an account on the DDNS provider’s website by providing your email address and creating a password.
- Log in to your newly created account and look for the option to add a new host or domain.
- Enter a unique hostname that will be used to access your security camera remotely.
- Select your security camera system’s manufacturer and model from the list of supported devices.
- Follow the provider’s instructions to link your security camera system to the DDNS service by entering the device’s unique identification details.
- Once the setup is complete, your security camera system will be accessible remotely using the hostname you created.
Note:
Make sure to keep your DDNS account credentials secure to prevent unauthorized access to your security camera system.
Configuring the security camera settings
Once you have set up your DDNS for your security camera, it’s time to configure the camera settings. Here are the steps to do so:
1. Access the camera interface: Open a web browser and enter the camera’s IP address in the address bar. Log in with your username and password.
2. Navigate to the settings: Look for the settings or configuration tab in the camera interface.
3. Set up the network settings: Configure the network settings of the camera, including IP address, subnet mask, gateway, and DNS server.
4. Enable DDNS: Find the DDNS settings in the camera interface and enter the DDNS information you obtained earlier.
5. Configure port forwarding: Set up port forwarding on your router to allow remote access to the camera over the internet.
6. Adjust video and image settings: Customize the video quality, resolution, frame rate, and other image settings according to your preferences.
7. Save the settings: Make sure to save all the changes you have made to the camera settings to apply them.
By following these steps, you can configure the security camera settings to ensure proper functionality and remote access via DDNS.
Connecting the camera to the network
Before setting up DDNS for your security camera, you need to make sure the camera is properly connected to your network. Follow these steps to connect the camera:
Step 1: Power on the camera
Plug in the power adapter of the camera and wait for it to boot up. Make sure the camera is receiving power and the LED lights are on.
Step 2: Connect the camera to your router
Use an Ethernet cable to connect the camera to your router. Insert one end of the cable into the camera’s Ethernet port and the other end into an available port on your router.
Once the camera is connected to the router, it should automatically obtain an IP address from the network.
Testing the Camera’s Functionality
After setting up your DDNS for your security camera, it is crucial to test the camera’s functionality to ensure it is working properly. Follow these steps to test your camera:
1. Access the Camera’s Live Feed
Open a web browser on your computer or mobile device and enter the DDNS address you configured earlier. Log in with the camera’s credentials and check if you can view the live feed from the camera. Make sure the image quality is clear and there are no connectivity issues.
2. Test Remote Access
Try accessing the camera’s live feed from a different network or location to test the remote access functionality. Use a different Wi-Fi network or switch to mobile data to ensure the camera can be accessed from anywhere. Verify that the connection is secure and the video stream is stable.
| Test | Result |
| Live Feed | Clear image quality, no connectivity issues |
| Remote Access | Accessible from different networks, secure connection |
Securing the camera with a strong password
One of the most important steps in setting up your security camera with DDNS is to secure it with a strong password. This will help prevent unauthorized access to your camera feed and ensure the privacy and security of your footage.
Steps to secure your camera with a strong password:
- Choose a complex password that includes a combination of letters, numbers, and special characters.
- Avoid using easily guessable information such as your name, birthdate, or common words.
- Change your password regularly to reduce the risk of it being compromised.
By following these steps and setting up a strong password for your security camera, you can enhance the security of your surveillance system and protect your property effectively.
Setting up remote access via DDNS
Setting up remote access via DDNS (Dynamic Domain Name System) allows you to access your security camera system from anywhere in the world. Follow these steps to set it up:

1. Register for a DDNS service and create an account.
2. Configure your security camera system to support DDNS.
3. Enter the DDNS information provided by your service provider into your camera system settings.
4. Test the connection by accessing your security camera system remotely using the DDNS address.
5. Ensure your network router is properly configured to allow remote access to your security camera system.
By setting up remote access via DDNS, you can monitor your security cameras from anywhere with an internet connection, enhancing the security of your property.
Monitoring the camera feed on mobile devices
Once you have set up your security camera with DDNS, you can easily monitor the camera feed on your mobile devices. Here’s how:
- Download the app: Search for the appropriate app for your security camera model on the App Store or Google Play Store and download it to your mobile device.
- Launch the app: Open the app and log in using your DDNS credentials. Make sure to follow the on-screen instructions to connect the app to your camera.
- View the camera feed: Once connected, you will be able to view the camera feed in real-time on your mobile device. You can also adjust settings, view recordings, and receive notifications directly on your phone.
With the camera feed accessible on your mobile device, you can monitor your property and ensure its security from anywhere at any time.
Regular maintenance and updates
Regular maintenance and updates are essential for ensuring the security and reliability of your DDNS security camera system. Here are some key steps to follow:
| 1. Firmware Updates: | Check for firmware updates regularly on the manufacturer’s website and install them to ensure your cameras are equipped with the latest security patches and features. |
| 2. Password Changes: | Change the default passwords on your cameras and DDNS service regularly to prevent unauthorized access. |
| 3. System Health Checks: | Regularly monitor the health of your DDNS security camera system to identify any issues or anomalies that may indicate a security breach. |
| 4. Backup Configuration: | Regularly backup the configuration settings of your cameras and DDNS service to quickly restore them in case of a system failure or security incident. |
| 5. Security Audits: | Conduct periodic security audits to assess the vulnerability of your DDNS security camera system and address any weaknesses. |
Troubleshooting common issues
If you encounter any issues while setting up your DDNS for your security camera warehouse, here are some common problems and solutions:
| Issue | Solution |
|---|---|
| Incorrect DDNS server settings | Double-check the DDNS server settings to ensure they are entered correctly. Make sure to use the correct server address and port number. |
| Network connectivity issues | Ensure that your security camera warehouse is connected to a stable network with internet access. Check the network cables, router settings, and firewall configurations. |
| DDNS account expiration | Check if your DDNS account has expired or needs to be renewed. Update your account information and ensure that it is active. |
| Firewall or antivirus blocking access | Disable any firewall or antivirus software that may be blocking the DDNS connection. Create exceptions for the necessary ports and protocols. |
| Incorrect camera configuration | Verify that the security camera settings are correctly configured to work with the DDNS service. Check the camera’s IP address, port forwarding, and authentication settings. |
Additional Help
If you continue to experience issues with setting up your DDNS for the security camera warehouse, consider reaching out to the DDNS service provider for additional support or consult the camera’s user manual for troubleshooting tips.