Security cameras are an essential part of any surveillance system, providing a sense of security and peace of mind. However, like any electronic device, security cameras may encounter issues that require troubleshooting. One common troubleshooting step is power cycling the camera, which involves turning it off and then back on again to reset the device.
Power cycling a security camera can help resolve issues such as freezing, camera not responding, or poor video quality. It is a simple yet effective method that can often solve minor problems without the need for professional assistance.
In this article, we will guide you through the steps to properly power cycle a security camera. Whether you are a homeowner looking to fix a camera issue or a security professional troubleshooting a surveillance system, knowing how to power cycle a security camera can be a valuable skill.
Step-by-Step Guide on Power Cycling a Security Camera
If you are experiencing issues with your security camera, power cycling it can often resolve the problem. Follow these steps to effectively power cycle your security camera:
Step 1: Locate the Power Source
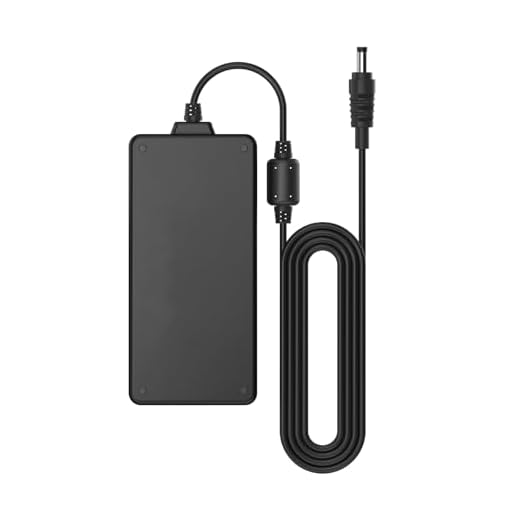
Find the power source for your security camera. This is usually a power adapter plugged into an outlet or a PoE (Power over Ethernet) connection.
Step 2: Disconnect the Power
Unplug the power adapter from the outlet or disconnect the PoE cable from the camera to cut off power completely.
Important: Ensure that the camera is completely powered off before proceeding to the next step.
Step 3: Wait for 30 Seconds
Wait for at least 30 seconds to allow the camera to fully power down and reset.
Step 4: Reconnect the Power
Plug the power adapter back into the outlet or reconnect the PoE cable to the camera to restore power.
By power cycling your security camera, you have effectively reset the device and may have resolved any issues it was experiencing. Check to see if the problem has been resolved after completing these steps.
Understanding the Importance of Power Cycling
Power cycling is a crucial troubleshooting step for security cameras that can help resolve many common issues. When you power cycle a security camera, you are essentially turning it off and on again to reset its internal components and software. This process can help clear out any temporary glitches or errors that may be affecting the camera’s performance.
By power cycling your security camera, you give it a fresh start and a chance to re-establish proper connections with your network or recording device. This can often resolve issues such as frozen video feeds, camera malfunctions, or connectivity problems. Additionally, power cycling can help improve the overall stability and reliability of your security camera system.
Preparing for the Power Cycling Process
Before you proceed with power cycling your security camera, it is important to take some precautions to ensure a smooth process:
1. Identify the Power Source
Locate the power source that the security camera is connected to. This could be a power outlet, a PoE (Power over Ethernet) switch, or a battery pack.
2. Notify Users
Inform any users or occupants of the area under surveillance that the security camera will be temporarily offline during the power cycling process. This will prevent any confusion or alarm.
Turning Off the Security Camera
To power cycle a security camera, you first need to turn it off. Follow these steps to properly turn off your security camera:
Step 1: Locate the Power Source
Find the power source of your security camera. This could be a power outlet, a battery pack, or a PoE (Power over Ethernet) connection.
Step 2: Turn Off the Power
Once you have located the power source, switch off the power supply to the security camera. This may involve unplugging it from the power outlet, removing the battery pack, or disconnecting the PoE cable.
| Warning: Make sure to follow proper safety precautions when handling the power source of the security camera. |
Unplugging the Power Source
To power cycle a security camera, the first step is to unplug the power source. Locate the power adapter or power cable connected to the camera and carefully unplug it from the power outlet. Make sure to safely remove the power source to avoid any damage to the camera or electrical hazards.
Once the power source is unplugged, wait for at least 30 seconds to ensure that the camera is completely powered down. This brief pause allows the camera to reset and clear any temporary issues that may be affecting its performance.
Waiting for a Few Minutes
After unplugging the power source and removing the batteries (if applicable), it is important to wait for a few minutes before reconnecting everything. This waiting period allows the camera to fully power down and reset any internal components that may have been causing issues. It is recommended to wait at least 2-3 minutes before plugging the power source back in.
During this time, you can also check the camera for any physical damage or obstructions that may be affecting its performance. Make sure all connections are secure and free of debris before proceeding with the power cycle.
Reconnecting and Testing the Security Camera
After power cycling the security camera, it is important to reconnect it to the network and test its functionality to ensure that it is working properly. Follow these steps:
| Step 1: | Check the power and network connections of the security camera to make sure they are secure. |
| Step 2: | Turn on the power for the security camera and wait for it to fully boot up. |
| Step 3: | Access the camera’s settings through a web browser or the manufacturer’s app. |
| Step 4: | Verify that the camera is connected to the network and has a valid IP address. |
| Step 5: | Test the camera by viewing the live feed or recording a short video to ensure it is functioning correctly. |


