Securing your property with a security camera is a smart investment in safety and peace of mind. When it comes to mounting a security camera into soffit, proper installation is crucial for optimal performance and coverage. Whether you’re a seasoned DIY enthusiast or a novice looking to enhance your home security, this step-by-step guide will walk you through the process of mounting a security camera into soffit like a pro.
Step 1: Choose the Right Camera
Before you begin the installation process, select a high-quality security camera that is suitable for outdoor use and designed to be mounted into soffit. Consider factors such as resolution, field of view, night vision capabilities, and weather resistance to ensure you choose a camera that meets your specific security needs.
Step 2: Plan the Installation
Take the time to plan the placement of your security camera on the soffit. Consider factors such as the camera’s field of view, potential obstructions, and the best angle for optimal coverage. Make sure to position the camera in a location that provides a clear view of the area you want to monitor.
Step-by-Step Guide: Mounting a Security Camera into Soffit
Mounting a security camera into soffit can help enhance the security of your home or business. Follow these steps to securely install a security camera into soffit:
|
Step 1: Choose the location: Select a suitable location on the soffit where you want to mount the security camera. Hot Pick
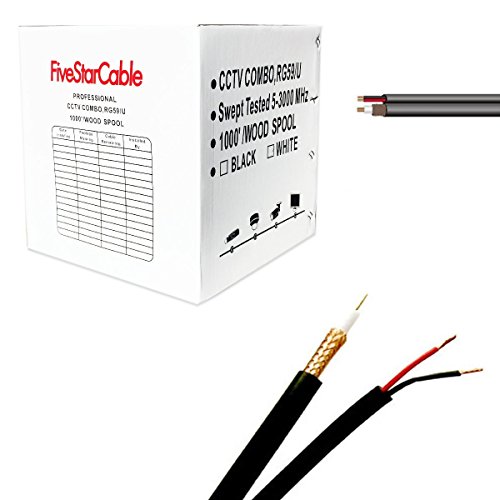
Waterproof Bullet Camera Junction Box Universal design for reliable cable protection
Designed specifically for bullet cameras, this waterproof junction box facilitates easy installation and protects cables from harsh weather elements. It's reusable and ideal for outdoor surveillance setups.
|
|
Step 2: Prepare the tools: Gather the necessary tools such as a drill, screws, screwdriver, and a ladder. |
|
Step 3: Drill pilot holes: Use the drill to create pilot holes in the soffit for mounting the camera bracket. |
|
Step 4: Attach the camera bracket: Securely attach the camera bracket to the soffit using screws. |
|
Step 5: Mount the camera: Install the security camera onto the bracket and adjust the angle as needed. |
|
Step 6: Connect the camera: Connect the camera to the power source and network for proper functionality. |
|
Step 7: Test the camera: Test the camera to ensure it is working correctly and adjust the settings accordingly. |
Gather Necessary Tools
Before you start mounting your security camera into the soffit, make sure you have all the necessary tools at hand. Here’s a list of tools you’ll need:
- Security camera
- Drill with appropriate drill bits
- Screwdriver or screw gun
- Measuring tape
- Pencil or marker
- Ladder or step stool (if needed)
- Cable clips or zip ties
- Power drill (if necessary)
- Silicone sealant (for weatherproofing)
Having these tools ready will ensure a smooth and efficient installation process.
Choose the Right Location
When mounting a security camera into the soffit, it is crucial to choose the right location to ensure optimal coverage and effectiveness. Here are some key factors to consider:
- Position the camera where it has a clear view of the area you want to monitor, such as the front door, driveway, or backyard.
- Avoid placing the camera in direct sunlight or areas with excessive glare, as this can affect the quality of the footage.
- Make sure the camera is out of reach of potential intruders to prevent tampering.
By carefully selecting the location for your security camera, you can maximize its effectiveness and enhance the security of your property.
Prepare the Soffit Surface
Before mounting the security camera into the soffit, it’s important to properly prepare the surface to ensure a secure installation. Here are the steps to follow:
- Clean the soffit surface thoroughly to remove any dirt, dust, or debris that could prevent the camera from adhering properly.
- Inspect the soffit for any damage or imperfections that may affect the stability of the camera mount. Repair any issues before proceeding.
- Ensure that the area where the camera will be mounted is flat and even to provide a stable base for the camera.
Drill Holes for Mounting
Before mounting the security camera into the soffit, you need to drill holes for the mounting screws. Use a drill with a suitable drill bit to create holes in the soffit where you want to install the camera. Make sure the holes are lined up correctly with the mounting bracket of the camera.
Steps to Drill Holes:
- Mark the spots on the soffit where you want to place the camera.
- Use a pencil or marker to make small dots as drilling guides.
- Choose a drill bit that matches the size of the mounting screws.
- Drill holes at the marked spots on the soffit.
- Ensure the holes are deep enough to securely anchor the screws.
Secure the Camera Bracket
Once the camera bracket is properly positioned and aligned, it’s time to secure it in place. Use the appropriate hardware provided with the camera to attach the bracket to the soffit. Make sure the screws are tight to ensure the camera is stable and secure.
Double-check the alignment of the camera bracket before fully tightening the screws to avoid any misalignment issues. Once the bracket is securely attached, you can proceed with mounting the camera onto the bracket following the manufacturer’s instructions.
Mount the Security Camera
After preparing the soffit for installation, it’s time to mount the security camera. Follow these steps:
| 1. | Position the camera mount on the soffit surface, making sure it is level and securely attached. |
| 2. | Secure the camera to the mount using the screws provided in the camera kit. |
| 3. | Adjust the camera angle to ensure the desired field of view and tighten the screws to hold the position. |
| 4. | Connect the camera cables to the power source and the recording device according to the manufacturer’s instructions. |
| 5. | Test the camera to ensure it is functioning properly and adjust the settings as needed. |
Connect Wiring and Adjust Camera Angle
Once the camera is securely mounted into the soffit, it’s time to connect the wiring. Follow the manufacturer’s instructions to properly connect the power and video cables. Make sure to seal any connection points with weatherproof tape to protect them from the elements.
Next, adjust the camera angle to ensure it captures the desired area. Use a ladder if needed to reach the camera and make any necessary adjustments. Test the camera to ensure it is functioning properly and capturing the intended view before completing the installation.
Test the Camera and Adjust Settings
Before fixing the camera permanently, it is important to test it to ensure that it is positioned correctly and functioning properly. Connect the camera to the power source and monitor to check the live feed. Make sure the camera captures the desired area and adjust the angle if necessary.
Once you are satisfied with the camera’s position, access the camera’s settings to adjust features such as motion detection, recording quality, and night vision. Customize these settings to suit your specific security needs and preferences.