


Setting up a security camera system is a crucial step in ensuring the safety and security of your home or business. However, being able to view your security camera feed from an external network can provide added peace of mind and convenience. In this guide, we will walk you through the steps to make your security camera viewable from an external network.
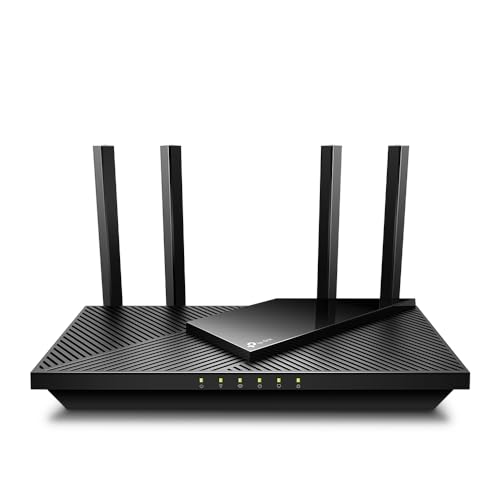
One of the first things you will need to do is set up port forwarding on your router. By configuring port forwarding, you will allow external access to your security camera system. Log in to your router’s settings and navigate to the port forwarding section. Here, you will need to specify the port number that your security camera system uses and the IP address of the camera.
Next, you will need to set up a dynamic DNS (DDNS) service. Since most home networks have dynamic IP addresses that change periodically, a DDNS service will provide you with a domain name that will always point to your network, even if the IP address changes. Choose a DDNS provider and follow their instructions to set up a domain name for your network.
How to Set Up Security Camera
Setting up a security camera system is essential for monitoring your property and keeping it secure. Follow these steps to set up your security camera:
1. Choose the Right Location
Decide where you want to install your security camera. Make sure it covers the areas you want to monitor and is within reach of a power source and internet connection.
2. Install the Camera
Mount the camera securely using the appropriate hardware. Ensure it is positioned correctly and has a clear view of the area you want to monitor.
Step-by-Step Guide for Beginners
Setting up your security camera to be viewable from an external network can provide you with peace of mind and added security. Follow these simple steps to achieve this:
| Step 1: | Connect your security camera to your network using an Ethernet cable or Wi-Fi connection. |
| Step 2: | Access the camera’s settings through its web interface by entering its IP address in a web browser. |
| Step 3: | Configure the camera’s network settings to enable remote access. Set up port forwarding on your router to allow external access to the camera. |
| Step 4: | Set up a Dynamic DNS (DDNS) service to assign a domain name to your external IP address, making it easier to access your camera remotely. |
| Step 5: | Secure your camera by setting up strong login credentials and enabling encryption to protect your video feed from unauthorized access. |
| Step 6: | Test the remote access by accessing your camera from a different network or using a mobile device to ensure everything is set up correctly. |
Tips for Choosing the Right Camera
When selecting a security camera for external network viewing, consider the following factors:
- Resolution: Choose a camera with high resolution to capture clear images and details.
- Weatherproofing: Opt for a camera that is weatherproof to withstand outdoor elements.
- Field of View: Determine the area you want to monitor and select a camera with an appropriate field of view.
- Night Vision: Look for a camera with night vision capabilities for around-the-clock surveillance.
- Remote Access: Ensure the camera offers remote access so you can view footage from anywhere.
- Power Source: Choose between wired or wireless cameras based on your power source preferences.
Viewing Cameras Remotely
To view your security cameras remotely, you can set up port forwarding on your router to allow external access. First, log in to your router’s administration panel and find the port forwarding settings. Create a new port forwarding rule for your camera’s IP address and the port it is using. Make sure to choose a secure port number and enable the rule.
Next, you can access your cameras remotely by entering your external IP address followed by the port number in a web browser. You may need to create a dynamic DNS account to easily access your cameras even if your external IP address changes.
Remember to always use strong passwords and enable encryption to protect your camera feed from unauthorized access.
Configuring Network Settings
Before making your security camera viewable from an external network, you need to configure the network settings. This involves setting up port forwarding on your router to allow external access to the camera.
Step 1: Access Router Settings
First, log in to your router’s admin panel using a web browser. Typically, you can access this by entering your router’s IP address in the address bar.
Step 2: Set up Port Forwarding
Once logged in, locate the port forwarding or virtual server section in your router settings. Create a new port forwarding rule for the camera’s IP address and the specific port used by the camera.
Tip: Ensure that the port you are forwarding is not commonly used or reserved by other applications to avoid conflicts.
Using Mobile Apps for Remote Access
If you want to access your security camera system from an external network using a mobile device, you can do so by downloading a mobile app provided by the camera manufacturer. These apps are designed to allow you to remotely view live footage, receive notifications, and control camera settings from anywhere.
Step 1: Download the App
First, go to the App Store or Google Play Store on your mobile device and search for the app associated with your security camera brand. Download and install the app on your device.
Step 2: Connect to Your System
Open the app and follow the on-screen instructions to connect your security camera system to the app. You may need to input your system’s unique login credentials or scan a QR code to establish the connection.
Once connected, you can remotely access your security camera system, view live footage, and adjust settings as needed, all from the convenience of your mobile device.
Ensuring Security of Remote Viewing
When setting up remote viewing for your security camera, it is crucial to prioritize security to prevent unauthorized access. Here are some key steps to ensure the security of your remote viewing system:
| 1. Strong Passwords: | Use complex passwords that are difficult to guess. Avoid using default passwords and change them regularly. |
| 2. Enable Encryption: | Ensure that your camera system uses encryption protocols such as HTTPS to secure the data transmitted over the network. |
| 3. Network Segmentation: | Segment your network to isolate the security camera system from other devices and services to minimize the risk of unauthorized access. |
| 4. Regular Updates: | Keep your camera firmware and software up to date to patch any security vulnerabilities that could be exploited by attackers. |
| 5. Two-Factor Authentication: | Enable two-factor authentication to add an extra layer of security to your remote viewing system. |
By following these security measures, you can ensure that your security camera system is protected from unauthorized access when accessed remotely over the network.


