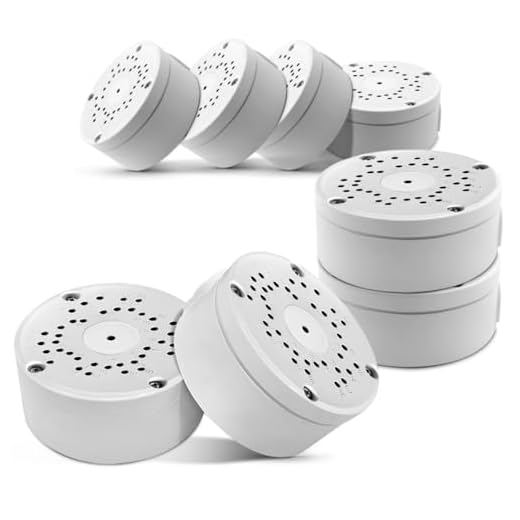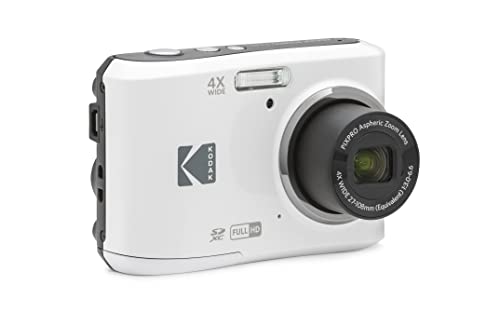


When it comes to securing your property, having a reliable outdoor security camera is essential. However, exposing your camera to the elements can lead to damage and reduced effectiveness. One solution to this problem is to create a custom outdoor housing for your security camera.
By making your own housing, you can ensure that your camera is protected from rain, snow, and other harsh weather conditions. In addition, a well-designed housing can also deter potential thieves and vandals, making your property even more secure.
In this article, we will guide you through the process of making your own outdoor security camera housing using affordable materials and simple tools. With just a few hours of work, you can enhance the durability and effectiveness of your security camera, providing you with peace of mind knowing that your property is well-protected.
Choosing the Right Materials
When selecting materials for your outdoor security camera housing, it is important to choose ones that are durable and weather-resistant. Here are some options to consider:
1. Metal
Metal, such as aluminum or stainless steel, is a popular choice for outdoor camera housings due to its durability and resistance to corrosion. It provides excellent protection against vandalism and harsh weather conditions.
2. Plastic
Plastic housings are lightweight and cost-effective, making them a good option for budget-friendly projects. However, they may not be as durable as metal housings and can degrade over time when exposed to UV rays and extreme temperatures.
Designing the Housing
When designing the housing for your outdoor security camera, there are several factors to consider to ensure its effectiveness and durability. Here are some key points to keep in mind:
Material Selection
Choose a material that is weather-resistant and can withstand outdoor elements such as rain, snow, and UV exposure. Common materials for outdoor camera housings include aluminum, stainless steel, and polycarbonate.
Size and Shape
The housing should be large enough to accommodate the camera and any additional components such as cables and connectors. It should also be designed in a way that minimizes obstructions to the camera’s field of view.
| Feature | Description |
| Weatherproofing | Ensure the housing is sealed tightly to prevent water and dust from entering. |
| Mounting Options | Consider how the housing will be mounted, whether it’s on a wall, ceiling, or pole. |
| Accessibility | Design the housing with easy access to the camera for maintenance and adjustments. |
Assembling the Components
1. Begin by laying out all the components needed for the outdoor security camera housing, including the housing shell, camera mount, weatherproof sealant, screws, and any additional accessories.
2. Place the camera mount inside the housing shell and secure it in place using the provided screws. Make sure the camera mount is positioned correctly to accommodate the camera’s lens and angle of view.
3. Carefully insert the security camera into the mount, ensuring it is securely in place and properly aligned. Use the appropriate tools to adjust the camera’s position if necessary.
4. Apply weatherproof sealant around the edges of the housing shell to create a watertight seal and protect the camera from moisture and dust. Allow the sealant to dry completely before proceeding.
5. Double-check all connections and ensure the camera is functioning properly before installing the outdoor security camera housing in its designated location.
Installing the Camera
Step 1: Choose the location for your outdoor security camera housing. Make sure it is high enough to capture a wide view and is not obstructed by trees or other objects.
Step 2: Mount the housing securely to the wall or other structure using the appropriate hardware. Ensure it is level and stable before proceeding.
Step 3: Insert the camera into the housing, making sure it is positioned correctly to capture the desired area. Secure the camera in place according to the manufacturer’s instructions.
Step 4: Connect the camera to a power source and any necessary cables or wires. Test the camera to ensure it is functioning properly and adjust the positioning if needed.
Step 5: Set up the camera’s monitoring system and adjust the settings as necessary for optimal security and surveillance. Regularly check and maintain the camera to ensure it continues to operate effectively.
Weatherproofing the Housing
Step 1: Seal any gaps or openings in the housing with weatherproof silicone caulk. This will prevent water from seeping into the housing and damaging the camera.
Step 2: Use weatherproof tape to cover any exposed wires or connections on the housing. This will protect them from moisture and ensure they continue to function properly.
Step 3: Consider adding a small roof or cover over the housing to provide extra protection from rain and snow. This will help prolong the life of your outdoor security camera.
Step 4: Regularly check the housing for any signs of wear or damage, and replace any weatherproofing materials as needed to maintain the camera’s protection against the elements.
Testing the Security Camera
Once you have installed the outdoor security camera housing, it’s important to test the camera to ensure it is functioning properly. Here are some steps to follow:
1. Power on the Camera
Make sure the camera is properly connected to power and turned on. Check if the indicator lights on the camera are working.
2. Check the Camera Feed
Access the camera feed on your monitoring device or computer to see if the camera is capturing clear images and videos. Make sure the camera is pointed in the right direction and adjust if necessary.
Maintaining the Housing
Regular maintenance of the outdoor security camera housing is essential to ensure its effectiveness and longevity. Here are a few tips to help you maintain the housing:
1. Cleaning
Periodically clean the housing to remove dirt, dust, and other debris that may accumulate over time. Use a soft cloth or a brush to gently wipe the housing and ensure the camera lens is clean for optimal visibility.
2. Inspecting for Damage
Regularly inspect the housing for any signs of damage such as cracks, leaks, or corrosion. If you notice any issues, repair or replace the housing immediately to prevent further damage to the camera.


