

Security cameras are an essential tool for monitoring and protecting your home or business. However, simply having cameras installed is not enough – you also need to be able to view the footage they capture in real-time. One way to do this is by linking your security cameras to a monitor.
Linking your security camera with a monitor allows you to have a dedicated screen to view the live feed from your cameras, making it easier to keep an eye on your property. This can be particularly useful if you have multiple cameras or want to have a centralized location for monitoring your security system.
There are several ways to link your security camera with a monitor, depending on the type of camera and monitor you have. In this article, we will explore some common methods for connecting your security cameras to a monitor, so you can choose the option that works best for your setup.
Step-by-step guide to connecting security camera to monitor
Connecting your security camera to a monitor is a straightforward process that can enhance your surveillance system. Follow these steps to successfully link your security camera to a monitor:
| Step 1: | Locate the video output port on your security camera. This is usually an HDMI, VGA, or BNC port. |
| Step 2: | Connect one end of the video cable (HDMI, VGA, or BNC) to the video output port on your security camera. |
| Step 3: | Locate the corresponding video input port on your monitor. |
| Step 4: | Connect the other end of the video cable to the video input port on your monitor. |
| Step 5: | Power on your security camera and monitor. |
| Step 6: | Switch the input source on your monitor to the port where your security camera is connected. |
| Step 7: | You should now see the live feed from your security camera on the monitor. |
Check camera and monitor compatibility
Before attempting to link your security camera with a monitor, it is crucial to ensure that the camera and monitor are compatible with each other. Check the specifications of both devices to make sure they work together seamlessly.
Look for common compatibility issues such as the type of video output supported by the camera (e.g., HDMI, VGA, RCA) and the inputs available on the monitor. Additionally, verify if the camera and monitor use the same video signal format (e.g., NTSC, PAL).
Some cameras may require additional adapters or converters to connect to certain types of monitors. Make sure you have all the necessary equipment before attempting to link the camera with the monitor.
Prepare necessary cables and accessories
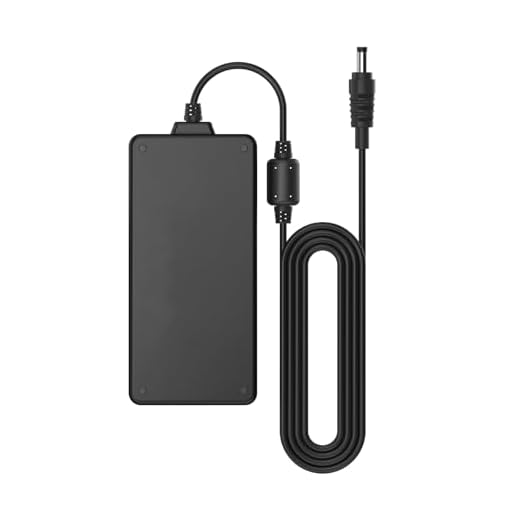
Before linking your security camera with a monitor, make sure you have all the necessary cables and accessories handy. This includes a power adapter for the camera, a power cable for the monitor, a BNC video cable, and any other connectors required for your specific setup.
Ensure that the cables are of the appropriate length to reach from the camera to the monitor without any strain or tension. It is also important to check the compatibility of the cables with your camera and monitor models to avoid any connectivity issues.
Power on the security camera and monitor
Before linking your security camera with a monitor, it is essential to power on both devices. Make sure the security camera is properly connected to a power source and turned on. Similarly, ensure that the monitor is plugged in and powered on.
Connect the camera to the monitor
Once you have your security camera set up, you’ll need to connect it to a monitor for viewing. Here are the steps to do so:
| 1. | Locate the video output port on your security camera. |
| 2. | Insert one end of the video cable into the video output port on the camera. |
| 3. | Locate the video input port on your monitor. |
| 4. | Insert the other end of the video cable into the video input port on the monitor. |
| 5. | Turn on both the camera and the monitor. |
| 6. | Adjust the settings on the monitor to display the video feed from the camera. |
Adjust camera and monitor settings
1. Camera settings:
Before linking the security camera with the monitor, make sure to adjust the camera settings for optimal performance. This includes adjusting the resolution, frame rate, brightness, and contrast settings. Ensure that the camera is positioned correctly to capture the desired area.
2. Monitor settings:
Once the camera settings are adjusted, it’s important to configure the monitor settings as well. Adjust the display settings on the monitor to ensure clear and crisp images from the camera feed. This may involve adjusting the brightness, contrast, and color settings on the monitor.
By adjusting both the camera and monitor settings, you can ensure that the security camera system functions effectively and provides high-quality video footage.
Test the connection and troubleshoot if needed
Once you have connected your security camera to the monitor, it is important to test the connection to ensure everything is working properly. Follow these steps to test the connection:
| 1. | Turn on the monitor and check if the camera feed is displayed. |
| 2. | Verify that the camera is capturing footage and transmitting it to the monitor. |
| 3. | Test different camera angles and settings to ensure the connection is stable. |
If you encounter any issues during the testing process, consider troubleshooting the connection by checking the cables, power source, and camera settings. You may need to consult the user manual or contact customer support for further assistance.


