

Security cameras are essential for monitoring and protecting your property. Whether you want to keep an eye on your home or business, installing a security camera system with a standalone DVR can provide peace of mind. In this guide, we will walk you through the process of connecting a security camera to a standalone DVR using cables.
Before you begin, make sure you have all the necessary equipment, including the security camera, cables, power adapter, and standalone DVR. It is also important to choose a suitable location for the camera that offers a clear view of the area you want to monitor. Once you have everything ready, follow these steps to install your security camera system.

Step-by-step guide to installing security camera
Installing a security camera system with a standalone DVR is a great way to enhance the security of your property. Follow these steps to set up your system:
Step 1: Determine camera placement
Decide where you want to install your security cameras. Consider areas that need monitoring, such as entry points, blind spots, or high-value items.
Step 2: Mount the cameras
Use the provided mounting hardware to securely attach the cameras to the chosen locations. Ensure they have a clear view of the area and are protected from the elements.
Continue with the wiring process following the manufacturer’s instructions to complete the installation.
Choose the right security camera
Resolution
Resolution is an important factor when choosing a security camera. Higher resolution cameras will provide more detailed images, making it easier to identify faces or license plates. Consider at least 720p resolution for decent image quality.
Field of View
The field of view of a security camera determines how much area it can cover. For larger areas, you may need a camera with a wider field of view or consider installing multiple cameras to cover the entire space effectively.
Prepare the necessary tools
Before you start the installation process, make sure you have all the necessary tools and equipment handy. Here is a list of tools you will need:
- Security camera
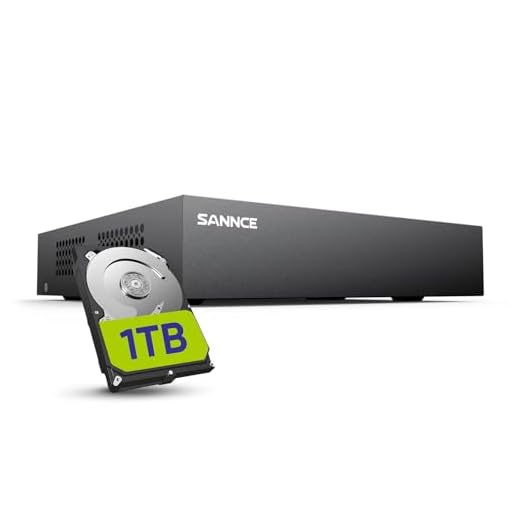
- Standalone DVR
- Power adapter for the DVR
- BNC video cables
- Power cables
- Drill and screws for mounting the camera
- Monitor or TV for viewing the camera feed
- Ethernet cable (optional for remote access)
Having these tools ready will ensure a smooth installation process and help you set up your security camera system efficiently.
Locate the ideal installation spot
Before you begin installing your security camera, it’s important to find the perfect spot for it. Here are some factors to consider:
- Determine the areas you want to monitor: Identify the key areas around your property that you want to keep an eye on.
- Consider the camera’s field of view: Make sure the camera will be able to capture the desired area without any obstructions.
- Check for power sources: Ensure there is a nearby power outlet for the camera to connect to.
Once you have identified the ideal spot for your security camera, you can proceed with the installation process.
Mount the camera securely
Once you have determined the location for your security camera, use the appropriate mounting hardware to securely attach it to the wall or ceiling. Make sure the camera is positioned at the desired angle and height for optimal coverage.
Steps to mount the camera:
- Mark the drilling points on the surface where you will mount the camera.
- Drill holes at the marked points using a suitable drill bit.
- Insert wall plugs into the holes to provide a secure anchor for the screws.
- Attach the mounting bracket of the camera to the surface using screws.
- Securely place the camera onto the mounting bracket and adjust the angle as needed.
- Tighten the screws to ensure the camera is firmly in place.
Connect the camera to the DVR
Once you have positioned your security camera and configured your DVR, it’s time to connect the camera to the DVR unit. Follow these steps to ensure a successful connection:
Step 1: Gather the necessary cables
Make sure you have the appropriate cables to connect your camera to the DVR. This usually includes a BNC cable for video transmission and a power supply cable for the camera.
Step 2: Connect the camera to the DVR
Locate the BNC video output port on the camera and the corresponding video input port on the DVR. Connect the BNC cable securely to both ports. Next, connect the power supply cable from the camera to a power source to ensure the camera has power.
| Camera | DVR |
|---|---|
| BNC output port | Video input port |
| Power supply cable |
Run the cables neatly
Once you have decided on the placement of your security cameras and DVR, it’s time to run the cables. Make sure to run the cables neatly to avoid any tangling or interference. Here are some tips to help you run the cables neatly:
- Plan the cable routes before running them.
- Use cable clips or ties to secure the cables along the walls or ceilings.
- Avoid running cables near electrical lines to prevent interference.
- Label the cables at both ends for easy identification.
- Keep the cables organized and tucked away to maintain a clean installation.
Test the camera and adjust settings
Once you have connected the security camera to the standalone DVR using the cables, it’s time to test the camera and adjust the settings to ensure everything is working properly. Follow these steps:
- Power on the DVR and the camera.
- Access the DVR menu and navigate to the camera settings.
- Check the video feed from the camera on the monitor connected to the DVR.
- Adjust the camera’s focus, angle, and resolution to get the desired view.
- Test the camera in different lighting conditions to ensure the video quality is consistent.
- Check the camera’s motion detection and recording settings to make sure they are set up correctly.


