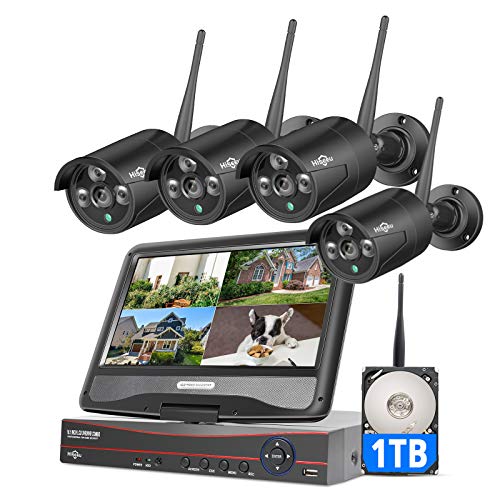


Security cameras are an essential part of any home or business security system. They provide a way to monitor your property and deter crime. Plug security cameras are a popular choice for DIY enthusiasts as they are easy to install and use. In this guide, we will walk you through the steps to install plug security cameras in your home or office.
Step 1: Choose the Right Location
Before you start the installation process, decide where you want to place your plug security cameras. Make sure to choose locations that provide a clear view of the area you want to monitor.

Tip: Consider placing cameras near entry points, such as doors and windows, as well as in high-traffic areas.
Step-by-Step Guide to Installing Plug Security Cameras
Installing plug security cameras can provide added security to your home or office. Follow these steps to set up your plug security cameras:
1. Choose the Right Location
Decide where you want to install your plug security cameras. Make sure the location provides a good view of the area you want to monitor.
2. Mount the Camera
Use the mounting hardware provided with the camera to secure it in place. Make sure it is firmly attached to the wall or ceiling.
Tip: Position the camera at a height that allows it to capture the desired field of view.
Follow these steps carefully to ensure your plug security cameras are properly installed and functioning effectively.
Choose the Right Location
When installing plug security cameras, it is crucial to choose the right location for optimal coverage and security. Consider the following factors when selecting the placement of your cameras:
1. Entry Points: Install cameras near all entry points to your home or property, such as doors, windows, and garage doors. This will help capture any suspicious activity as it happens.
2. High Traffic Areas: Place cameras in high traffic areas where people are likely to pass by. This can include hallways, living rooms, or driveways.
3. Blind Spots: Identify any blind spots in your property where intruders could hide or enter undetected. Install cameras to cover these areas to ensure comprehensive surveillance.
4. Height and Angle: Mount cameras at a height and angle that provides a clear view of the area you want to monitor. Avoid positioning cameras too high or too low, as this can affect the quality of the footage.
5. Weatherproofing: If placing cameras outdoors, ensure they are weatherproof and can withstand various weather conditions. This will extend the lifespan of your cameras and maintain their functionality.
Check Camera Compatibility
Before installing plug security cameras, it is crucial to ensure that the cameras you have purchased are compatible with your existing security system or network. Check the specifications of the cameras to make sure they can be easily integrated with your current setup.
Some cameras may require specific software or hardware to function properly, so it is important to verify compatibility before proceeding with the installation. If you are unsure about compatibility, contact the manufacturer or consult with a professional installer for guidance.
Install the Mobile App
After connecting your security cameras to the power source and setting up the network connection, the next step is to install the mobile app that allows you to monitor the cameras remotely.
1. Go to the App Store or Google Play Store on your smartphone or tablet.
2. Search for the app provided by the security camera manufacturer.
3. Download and install the app on your device.
4. Open the app and follow the on-screen instructions to set up your account and connect the cameras to the app.
5. Once the cameras are successfully connected, you can view live footage, receive alerts, and manage settings from the app wherever you are.
Connect the Camera to Power
Before proceeding with the installation, make sure to connect the security camera to a power source. Most plug-in security cameras come with a power adapter that needs to be plugged into a power outlet. Ensure that the power adapter is compatible with the voltage requirements of the camera.
Once you have connected the camera to power, you can proceed with the rest of the installation process. Make sure to keep the power source easily accessible in case you need to troubleshoot or adjust the camera in the future.
Set Up the Camera Wi-Fi Connection
Once you have physically installed the security cameras, the next step is to set up the camera’s Wi-Fi connection. Follow these steps to ensure a successful connection:
- Power On: Make sure the camera is powered on and ready for setup.
- Access Settings: Use the camera’s corresponding app or software to access the settings menu.
- Connect to Wi-Fi: Look for the Wi-Fi settings within the app and select your home network. Enter the network password if required.
- Confirm Connection: Once connected, the camera should show a successful Wi-Fi connection status.
By completing these steps, your security camera will be connected to your home Wi-Fi network, allowing you to remotely access and monitor the camera’s feed.
Mount the Camera
Once you have determined the location for your security camera, it’s time to mount it. Follow these steps:
- Use the mounting template provided with your camera to mark the holes for drilling.
- Drill the holes according to the markings using a suitable drill bit.
- Insert anchors into the holes if needed for extra support.
- Attach the mounting bracket to the wall or ceiling using screws.
- Securely attach the camera to the mounting bracket.
- Adjust the camera angle as needed to ensure proper coverage of the area.
- Make sure the camera is securely mounted and test it to ensure it is stable.
Test and Adjust Camera Angle
Once the camera is securely installed, it’s important to test and adjust the camera angle to ensure optimal coverage. Follow these steps:
- Access the camera’s live feed on your mobile device or computer.
- Walk around the area you want to monitor and check the camera’s view.
- Adjust the camera angle as needed to capture the desired area.
- Ensure there are no obstructions blocking the camera’s view.
- Test the camera’s night vision capabilities in low-light conditions.
By testing and adjusting the camera angle, you can maximize the effectiveness of your security system and ensure that all areas are properly monitored.


