

If you’re looking to enhance the security of your home or business, installing security cameras can be a great solution. Aldi offers a range of affordable and reliable security cameras that are easy to install and use. In this guide, we’ll walk you through the steps to set up your Aldi security cameras and ensure that your property is well-protected.
Before you begin the installation process, it’s important to choose the right location for your security cameras. Consider areas that are vulnerable to break-ins or vandalism, and make sure that the cameras have a clear view of these areas. Once you’ve selected the locations, you can start the installation process.

The first step is to unpack your Aldi security camera kit and familiarize yourself with the components. You’ll typically find cameras, mounting brackets, cables, and a central hub in the kit. Follow the manufacturer’s instructions to connect the cameras to the hub and power them up. Make sure to test the cameras to ensure that they are functioning correctly before mounting them.
Step-by-Step Guide to Installing Aldi Security Cameras
Installing Aldi security cameras can help enhance the security of your home or workplace. Follow these steps to set up your Aldi security cameras:
Step 1: Unbox the Camera
Start by unboxing the Aldi security camera and checking that all the components are included. This typically includes the camera, mounting hardware, power adapter, and user manual.
Step 2: Choose a Location
Select a suitable location to install the camera. Ensure it has a clear view of the area you want to monitor and is within range of a power outlet for easy connectivity.
Step 3: Mount the Camera
Use the mounting hardware provided to securely attach the camera to the chosen location. Make sure it is fixed properly to prevent any movement or tampering.
Step 4: Connect the Camera
Connect the camera to a power source using the provided power adapter. Follow the manufacturer’s instructions to establish a connection to your Wi-Fi network for remote monitoring.
Step 5: Set Up the Camera
Download the Aldi security camera app on your smartphone or tablet. Follow the on-screen instructions to set up the camera, configure settings, and customize alerts based on your preferences.
By following these steps, you can successfully install Aldi security cameras to enhance the security of your property.
Choosing the Right Location
When installing your Aldi security cameras, it is crucial to choose the right location to ensure optimal coverage and effectiveness. Here are some tips to help you select the best spots:
- Identify high-risk areas: Start by identifying the areas of your property that are most vulnerable to break-ins or security threats. These could include entry points, blind spots, or valuable assets.
- Consider camera placement: Place cameras at strategic locations that offer a clear view of the identified high-risk areas. Make sure to position them at a height where they are out of reach but still capture a wide angle of the surroundings.
- Avoid obstructions: Ensure that there are no obstructions such as trees, shrubs, or walls blocking the camera’s view. Clear any obstacles that could interfere with the camera’s line of sight.
- Protect from weather: Install outdoor cameras in locations where they are shielded from extreme weather conditions such as rain, snow, or direct sunlight. This will help prolong the life of the cameras and maintain their functionality.
By carefully selecting the right locations for your Aldi security cameras, you can enhance the overall security of your property and have peace of mind knowing that you have reliable surveillance in place.
Preparing the Necessary Tools
Before you begin installing your Aldi security cameras, make sure you have all the necessary tools handy. Here are some essential tools you will need:
- Drill
- Screwdriver
- Tape measure
- Pencil
- Level
- Power drill
Having these tools readily available will help streamline the installation process and ensure that your security cameras are securely mounted and functioning properly.
Mounting the Camera
Before mounting the Aldi security camera, make sure to choose a suitable location that provides a clear view of the area you want to monitor.
1. Use the mounting template provided in the camera’s packaging to mark the screw holes on the wall or ceiling.
2. Drill pilot holes for the screws using an appropriate drill bit based on the surface material.
3. Securely attach the camera mount to the wall or ceiling using the screws provided.
4. Adjust the camera angle to ensure the desired field of view is captured.
5. Connect the camera to the power source and follow the manufacturer’s instructions to set up the camera’s settings.
6. Test the camera to ensure it is functioning correctly before finalizing the installation.
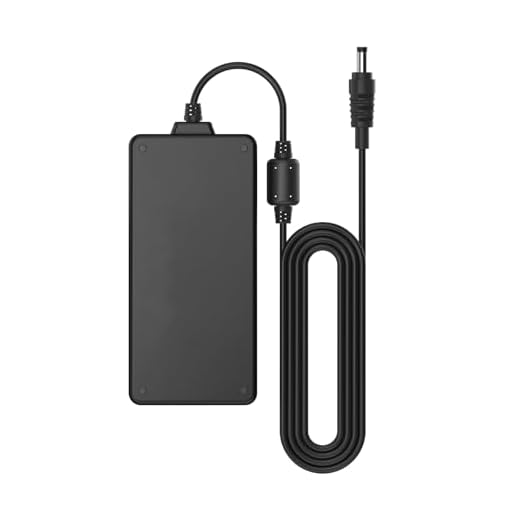
Connecting the Camera to Power
Before installing your Aldi security camera, you need to connect it to power. Follow these steps to ensure a proper connection:
- Locate the power adapter that came with your camera.
- Connect one end of the power adapter to the camera’s power input port.
- Plug the other end of the power adapter into a power outlet.
- Ensure that the power connection is secure and the camera’s LED lights up, indicating power.
Once the camera is properly connected to power, you can proceed with the installation process.
Setting Up the Camera System
Before you start setting up the ALDI security cameras, make sure you have all the necessary components, including the cameras, cables, power adapter, and DVR system.
1. Mounting the Cameras
Decide on the best locations to mount your cameras for optimal coverage. Make sure the cameras are facing the areas you want to monitor and are positioned at the right angle.
2. Connecting the Cables
Connect the cameras to the DVR system using the provided cables. Make sure to secure the connections and route the cables neatly to avoid any interference or damage.
For wireless cameras, follow the manufacturer’s instructions to connect them to the DVR system wirelessly.
Once the cameras are mounted and connected, power on the system and follow the on-screen instructions to set up the cameras and configure the settings.
Testing and Adjusting the Camera
Once you have successfully installed your Aldi security camera, it is important to test and adjust it to ensure optimal performance. Here are some steps to help you with the process:
1. Check the Camera’s View
After installation, make sure to check the camera’s view to ensure it covers the desired area. Adjust the camera’s position if needed to get the best angle and coverage.
2. Test the Camera’s Functionality
Next, test the camera’s functionality by monitoring the live feed on your connected device. Check for any issues with the video quality, motion detection, and night vision capabilities.
- Ensure the video quality is clear and sharp.
- Verify the motion detection feature is working properly.
- Test the night vision mode to see if it provides clear footage in low-light conditions.
By testing and adjusting your Aldi security camera, you can ensure that it is working effectively to protect your home or property.


