


Night Owl security cameras are a popular choice for home and business surveillance systems. These cameras provide high-quality video footage and advanced features to help you keep your property secure. While many Night Owl cameras are wireless, some users prefer to hardwire their cameras for a more reliable connection and continuous power supply.
Hardwiring your Night Owl security cameras involves running cables from the cameras to a power source and a recording device. This process can be a bit more involved than setting up a wireless system, but it offers greater stability and eliminates the need to worry about battery life or signal interference.

In this guide, we will walk you through the steps to hardwire your Night Owl security cameras. From selecting the right cables to configuring your recording device, you’ll learn everything you need to know to set up a reliable and effective surveillance system for your home or business.
Prepare Your Tools
Before you start hardwiring your night owl security cameras, make sure you have all the necessary tools ready. Here are the tools you will need:
- Power drill
- Screwdriver set
- Wire strippers
- Electric tape
- Ladder or step stool
- Cable clips or ties
- Power cables for the cameras
Having these tools on hand will make the installation process much smoother and ensure that you have everything you need to properly hardwire your night owl security cameras.
Gather Necessary Equipment
Before you start hardwiring your Night Owl security cameras, make sure you have all the necessary equipment on hand. Here’s a list of things you’ll need:
1. Night Owl Security Cameras
Make sure you have the Night Owl security cameras that you want to hardwire installed in the desired locations.
2. Power Supply
You will need a power supply to provide electricity to the cameras. Make sure you have the appropriate voltage and amperage for your cameras.
Pro Tip: It’s recommended to use a UPS (Uninterruptible Power Supply) for added protection against power outages.
Once you have all the necessary equipment, you’re ready to start hardwiring your Night Owl security cameras.
Locate Power Source
Before hardwiring your Night Owl security cameras, you need to locate a power source nearby. This can be an outdoor electrical outlet, junction box, or any other power supply that is within reach of the camera’s location.
Make sure the power source is easily accessible and can provide the necessary voltage for your cameras. You may need to use an extension cord or additional wiring to connect the camera to the power source.
Find Accessible Outlet
Before hardwiring your Night Owl security cameras, you need to locate an accessible outlet that can supply power to the cameras. Look for an outlet that is close to where you want to install the camera and make sure it is easily reachable. This outlet will serve as the power source for your camera system.
Plan Camera Placement
Before hardwiring your night owl security cameras, it’s important to plan the placement of each camera. Consider the areas you want to monitor and the best angles to capture clear footage. Make sure the cameras are positioned to cover entry points, vulnerable areas, and blind spots.
Steps to plan camera placement:
- Survey your property to identify key areas for camera placement.
- Determine the optimal height and angle for each camera to achieve the best coverage.
- Ensure the cameras are positioned to avoid obstructions like trees, walls, or glare.
By carefully planning the placement of your night owl security cameras, you can maximize their effectiveness and enhance the security of your property.
Determine Best Position
Before hardwiring your night owl security cameras, it’s crucial to determine the best position for optimal surveillance coverage. Here are some tips to help you choose the best location:
1. Evaluate the area: Take a walk around your property and identify the areas that need monitoring. Look for blind spots, entry points, and high-traffic areas that require surveillance.
2. Consider the camera angle: Position your cameras at a high vantage point to capture a wider field of view. Make sure the camera is angled correctly to cover the desired area without any obstructions.
3. Ensure proper lighting: Place your cameras in well-lit areas to ensure clear footage, especially at night. Avoid positioning cameras directly facing bright lights or reflective surfaces.
4. Concealment: If you prefer discreet surveillance, consider hiding your cameras in inconspicuous locations such as behind trees, shrubs, or other objects.
By carefully assessing these factors, you can determine the best position for your night owl security cameras to enhance the security of your property.
Run Power Cable
When hardwiring your Night Owl security cameras, you will need to run power cables to each camera location. Follow these steps to properly run the power cable:
- Determine the best route for the power cable from the camera location to the power source.
- Use a cable running kit or fish tape to guide the power cable through walls, ceilings, or other obstacles.
- Secure the power cable along the route using cable clips or cable ties to keep it neat and organized.
- Ensure that the power cable is not exposed to elements or potential damage to maintain a reliable power supply to your cameras.
Pro Tip:
Consider using a surge protector or voltage regulator to protect your Night Owl security cameras from power surges or fluctuations.

Secure Wiring Safely
When hardwiring your Night Owl security cameras, it is crucial to ensure that the wiring is securely installed to prevent any accidents or malfunctions. Here are some tips to help you secure the wiring safely:
1. Use Cable Clips or Clamps
Use cable clips or clamps to secure the wiring along the walls or ceilings. This will prevent the wires from dangling or getting in the way, reducing the risk of tripping hazards or damage to the cables.
2. Avoid Exposed Wiring
Avoid leaving any exposed wiring unprotected. Make sure to route the wires through conduits or cable channels to keep them safe from environmental elements or accidental damage. This will also help maintain a neat and tidy installation.
Connect Camera to Power
Before starting the hardwiring process, make sure to connect your night owl security camera to a power source. This will ensure that the camera is powered on and ready for installation.
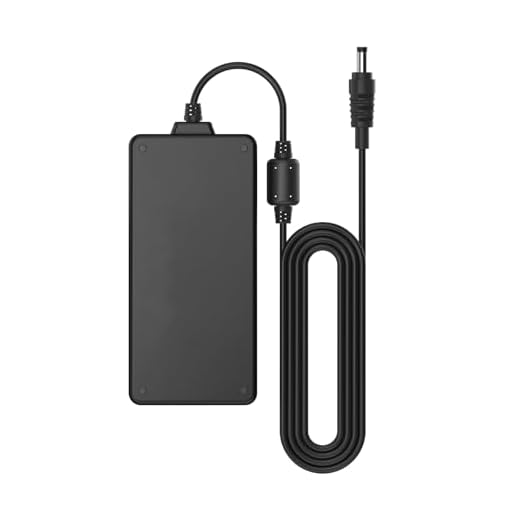
Step 1: Locate the Power Adapter
Find the power adapter that came with your camera. It typically has a plug that connects to the camera and a wall outlet.
Step 2: Plug in the Power Adapter
Insert the plug of the power adapter into the camera’s power port. Then, plug the adapter into a nearby electrical outlet to provide power to the camera.
Establish Electrical Connection
Before hardwiring your Night Owl security cameras, it is crucial to establish a strong electrical connection. Ensure that the power source you are connecting the cameras to is stable and reliable. This will help prevent any power surges or fluctuations that could potentially damage your cameras.
Make sure to turn off the power supply before attempting to connect the wires. Use appropriate electrical tools and equipment to make a secure and safe connection. Follow the manufacturer’s instructions carefully to ensure the proper installation of your Night Owl security cameras.
Test Camera Functionality
After hardwiring your Night Owl security cameras, it is important to test their functionality to ensure they are working properly. Follow these steps to test the camera:
| Step 1: | Power on the camera by connecting it to the power source. |
| Step 2: | Check the camera’s indicator lights to see if they are on. |
| Step 3: | Access the camera feed on your monitor or smartphone to view the live footage. |
| Step 4: | Adjust the camera’s angle and settings to ensure optimal coverage. |
| Step 5: | Test the camera’s night vision by checking the quality of the footage in low-light conditions. |
By following these steps, you can verify that your Night Owl security cameras are installed correctly and functioning as expected.


