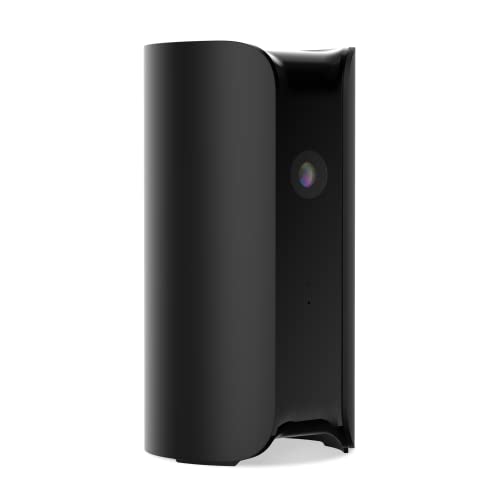
Canary security cameras are popular for their ease of use and high-quality video monitoring capabilities. However, gaining access to a used Canary camera can be a bit tricky if the previous owner did not reset the device properly.
In this article, we will guide you through the steps you need to take to gain access to a used Canary security camera and start using it with peace of mind.
Whether you purchased a used Canary camera or received it as a gift, it’s important to ensure that the device is properly set up and secured before using it to monitor your home or office.

Unlocking a Used Canary Security Camera
If you have purchased a used Canary security camera and need to gain access to it, there are a few steps you can take to unlock it and set it up for use.
Reset the Camera
The first step is to reset the camera to its factory settings. To do this, locate the reset button on the camera (usually found on the bottom or back) and press and hold it for about 10 seconds until you see the camera lights flash.
Set Up a New Account
Once the camera is reset, you can set it up with a new account. Download the Canary app on your smartphone, follow the on-screen instructions to connect the camera to your Wi-Fi network, and create a new account to access the camera’s live feed and settings.
Check Camera Condition
Before gaining access to a used Canary security camera, it is important to check its condition to ensure it is in good working order. Here are some steps to follow:
- Inspect the physical condition of the camera for any visible damage or signs of wear and tear.
- Check if the camera powers on and functions properly by connecting it to a power source.
- Test the camera’s video and audio quality by recording a short clip and playing it back.
- Ensure that the camera’s Wi-Fi connectivity is working by attempting to connect it to a network.
By thoroughly checking the condition of the used Canary security camera, you can be confident in its performance and security features before gaining access.
Resetting the Camera
If you are trying to gain access to a used Canary security camera, you may need to reset it to its factory settings. Here’s how you can do it:
1. Locate the reset button: The reset button is usually located on the back or bottom of the camera. It is typically a small hole that you can press with a paperclip or a similar tool.
2. Press and hold the reset button: Use a paperclip to press and hold the reset button for about 10-15 seconds. You may need to use some force to ensure that the button is fully pressed.
3. Wait for the camera to reset: After holding the reset button for the specified time, release it and wait for the camera to reset. This process may take a few minutes.
4. Reconfigure the camera: Once the camera has been reset, you will need to reconfigure it with your desired settings, including setting up a new password and connecting it to your Wi-Fi network.
By following these steps, you should be able to reset the Canary security camera and gain access to it as if it were brand new.
Connecting to Wi-Fi Network
Once you have powered on the used Canary security camera, you will need to connect it to your Wi-Fi network in order to access its features remotely. Follow these steps to connect the camera to your Wi-Fi:
- Open the Canary app on your smartphone or tablet.
- Follow the on-screen instructions to add a new device.
- Select the option to connect a Canary device to Wi-Fi.
- Enter your Wi-Fi network name and password when prompted.
- Wait for the camera to connect to your Wi-Fi network, which may take a few minutes.
- Once the connection is established, you can start using the Canary camera to monitor your home or office.
Make sure to place the camera within the range of your Wi-Fi network for a stable connection. If you encounter any issues during the setup process, refer to the Canary user manual or contact customer support for assistance.
Updating Firmware
Updating the firmware of your used Canary security camera is essential to ensure that it is running the latest software and security patches. Follow these steps to update the firmware:
- Check the current firmware version of your Canary camera by accessing the settings menu in the Canary app.
- Visit the official Canary website to download the latest firmware update for your camera model.
- Connect your Canary camera to a stable Wi-Fi network to ensure a successful firmware update.
- Follow the instructions provided by Canary to install the firmware update on your camera.
- Once the update is complete, restart your Canary camera to apply the changes.
Regularly checking for firmware updates and keeping your Canary camera up-to-date is crucial for maintaining its security and performance.
Setting Up Canary Account
Before gaining access to a used Canary security camera, you need to set up a Canary account. Follow these steps to create your account:
- Download the Canary app: Start by downloading the Canary app on your smartphone or tablet from the App Store or Google Play Store.
- Open the app: Once the app is installed, open it and select “Create Account” to begin the setup process.
- Enter your email: Provide your email address and create a secure password for your account.
- Verify your email: Check your email inbox for a verification link from Canary and follow the instructions to confirm your account.
- Log in: Once your account is verified, log in to the Canary app using your email and password.
- Add your Canary device: Follow the on-screen instructions in the app to add your used Canary security camera to your account.
By setting up your Canary account, you will be able to access and manage your security camera from anywhere using the Canary app.
Configuring Camera Settings
Once you have gained access to your used Canary security camera, it is important to configure the settings to ensure optimal performance and security. Follow these steps to configure your camera settings:
1. Connect to the Camera
Start by connecting your camera to a power source and a stable internet connection. This will allow you to access the camera’s settings through the Canary app on your smartphone or computer.
2. Access the Settings
Open the Canary app and log in to your account. Navigate to the camera settings section to access a variety of options such as motion detection, recording settings, and video quality.
- Adjust Motion Detection: Customize the sensitivity of the motion detection feature to reduce false alarms.
- Set Recording Schedule: Choose when you want the camera to record video footage, such as during specific hours or when motion is detected.
- Enhance Video Quality: Adjust the resolution and frame rate of the camera to improve the video quality.
By configuring these settings, you can customize your Canary security camera to meet your specific needs and preferences.


