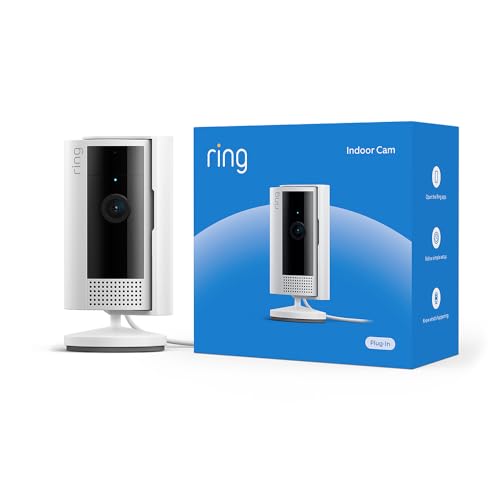

Security cameras are an essential part of home security systems, providing a watchful eye on your property at all times. Properly installing a security camera to your house can enhance the overall security of your home and give you peace of mind.
When fixing a security camera to your house, it’s important to consider the optimal placement for maximum coverage and effectiveness. Choosing the right location, ensuring proper mounting, and connecting the camera to a power source and monitoring system are crucial steps in the installation process.
By following the proper guidelines and steps, you can effectively fix a security camera to your house and enhance the security of your home and property.
Guide to Installing Security Camera
Installing a security camera is an essential step to enhance the safety and security of your home. Follow these steps to properly fix a security camera to your house:
1. Choose the right location: Select a strategic location that provides a clear view of the area you want to monitor.
2. Mount the camera: Use a drill and screws to securely mount the camera on the chosen spot. Make sure it is positioned at the right angle for optimal coverage.

3. Connect the cables: Connect the camera to a power source and ensure the cables are neatly tucked away to prevent tampering.
4. Adjust settings: Configure the camera settings, such as motion detection and recording options, to suit your security needs.
5. Test the camera: Perform a test run to ensure the camera is functioning properly and capturing clear footage.
By following these steps, you can effectively install a security camera to protect your home and loved ones.
Choose the Right Location
Before installing your security camera, it’s crucial to choose the right location to ensure maximum coverage and effectiveness. Here are some factors to consider:
| Visibility: Place the camera in a location where it has a clear line of sight and is not obstructed by objects like trees or walls. |
| Height: Mount the camera at an appropriate height to capture the desired area without being too high or too low. |
| Weatherproof: If the camera is going to be installed outdoors, make sure it is weatherproof and can withstand various weather conditions. |
| Power Source: Ensure the camera is placed near a power source or consider using a battery-powered camera if wiring is a challenge. |
| Privacy: Be mindful of privacy concerns and avoid pointing the camera towards areas where people have a reasonable expectation of privacy. |
Gather Necessary Tools
Before you start fixing the security camera to your house, make sure you have all the necessary tools handy. Here are the tools you will need:
- Security camera system: Make sure you have the camera, cables, and any other components that come with the system.
- Drill: You will need a drill to create holes for mounting the camera.
- Screws and anchors: These will be used to secure the camera to the wall.
- Screwdriver: A screwdriver will be necessary to tighten the screws in place.
- Tape measure: Use a tape measure to ensure the camera is mounted at the correct height and angle.
- Pencil: You will need a pencil to mark where the holes need to be drilled.
- Ladder: Depending on the height of the installation, you may need a ladder to reach the mounting location.
Having these tools ready will make the installation process smoother and ensure the security camera is securely fixed to your house.
Mount the Camera Bracket
Once you have chosen the ideal location for your security camera, it’s time to mount the camera bracket. Follow these steps:
- Hold the bracket against the wall or ceiling and mark the screw holes with a pencil.
- Drill pilot holes for the screws using a drill bit that is slightly smaller than the screws.
- Attach the bracket securely to the wall or ceiling using the screws provided.
- Make sure the bracket is level to ensure that the camera will be properly aligned.
- Once the bracket is securely in place, attach the camera to the bracket according to the manufacturer’s instructions.
By mounting the camera bracket correctly, you ensure that your security camera is securely in place and properly positioned to capture the desired area.
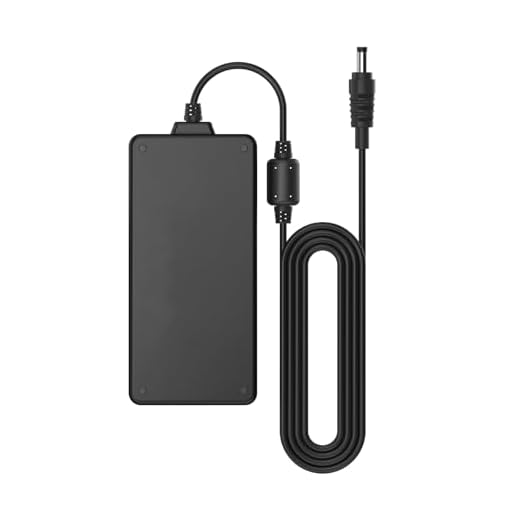
Connect the Camera to Power
Before mounting the security camera, make sure to connect it to a power source. Most security cameras come with a power adapter that needs to be plugged into a power outlet. Ensure that the power adapter is compatible with the camera and the voltage requirements match.
Once you have connected the camera to power, you can proceed with mounting it to your house following the manufacturer’s instructions.
Adjust Camera Angle
Once you have securely mounted your security camera to your house, it is important to adjust the angle to ensure optimal coverage. Follow these steps to adjust the camera angle:
- Use a ladder or step stool to access the camera.
- Loosen the camera mounting bracket screws to adjust the angle.
- Position the camera so that it covers the desired area without obstructions.
- Tighten the mounting bracket screws to secure the camera in place.
Regularly check and adjust the camera angle as needed to maintain proper security coverage of your property.
Connect Camera to Monitor
To view the footage from your security camera, you will need to connect it to a monitor. Follow these steps to complete the setup:
- Locate the video output port on your camera. This is usually an HDMI or VGA port.
- Connect one end of the video cable to the camera’s output port.
- Locate the corresponding input port on your monitor. This could be an HDMI or VGA port as well.
- Connect the other end of the video cable to the monitor’s input port.
- Power on both the camera and the monitor.
- Switch the monitor to the correct input source to view the camera feed.
Once you have completed these steps, you should be able to see the live feed from your security camera on the monitor.
Test Camera Functionality
After installing the security camera, it is crucial to test its functionality to ensure that it is working correctly and capturing footage as expected. Follow these steps to test the camera:
| 1. | Power On: Make sure the camera is properly connected to power and turned on. |
| 2. | Check Connection: Verify that the camera is connected to the Wi-Fi network or the recording device. |
| 3. | Adjust Settings: Ensure that the camera settings, such as motion detection and recording schedules, are configured correctly. |
| 4. | View Footage: Use the camera’s monitoring app or software to view live footage and recordings to check for clarity and coverage. |
| 5. | Test Alerts: Trigger motion detection or other alerts to test if the camera sends notifications and records footage accordingly. |
| 6. | Review Storage: Check the storage device or cloud service to ensure that the camera is recording and storing footage properly. |
| 7. | Adjust Position: If necessary, reposition the camera to improve coverage and eliminate blind spots. |
| 8. | Final Check: Conduct a final check to ensure that the camera is functioning correctly and providing the desired security coverage. |
Secure Camera Wiring
When installing a security camera on your house, it’s crucial to ensure that the wiring is secure to prevent tampering or damage. Follow these steps to properly secure the camera wiring:
1. Conceal the Wiring
Make sure to conceal the wiring as much as possible to prevent it from being easily accessible. This can be done by running the wiring through walls, ceilings, or conduits.
2. Use Weatherproof Cables
Use weatherproof cables that are designed for outdoor use to protect the wiring from the elements. This will help prevent damage and ensure the longevity of your security camera system.
By taking these steps to secure the camera wiring, you can ensure that your security system is reliable and effective in protecting your home.