

Installing a security camera is a crucial step in ensuring the safety of your property. However, drilling a hole for the camera can be a daunting task if you are not familiar with the process. In this guide, we will walk you through the steps to drill a hole for a security camera in a safe and effective manner.
Before you begin, it is important to carefully plan the location of the camera and the route for the cables. Make sure to choose a spot that offers a clear view of the area you want to monitor and is within reach of a power source. Once you have decided on the location, gather the necessary tools and materials, including a drill, drill bits, a pencil, a measuring tape, and safety gear.
Step-by-Step Guide on Drilling Hole for Security Camera
Drilling a hole for a security camera installation is a crucial step to ensure proper mounting and positioning. Follow these steps to drill a hole for your security camera:
- Choose the Location: Decide on the best location for your security camera to maximize coverage and visibility.
- Mark the Spot: Use a pencil to mark the spot where you want to drill the hole. Make sure it is level and at the right height.
- Check for Obstructions: Before drilling, check for any obstacles or wires behind the wall to avoid damaging anything.
- Select the Right Drill Bit: Choose a drill bit that matches the size of the hole needed for your camera mount.
- Drill the Hole: Carefully drill the hole at the marked spot using a steady hand and applying even pressure.
- Clean Up: Remove any debris or dust from the hole using a vacuum or brush to ensure a clean installation.
- Mount the Camera: Once the hole is drilled, mount the security camera using the appropriate hardware and secure it in place.
- Test the Camera: After installation, test the camera to ensure it is functioning properly and capturing the desired area.
Choosing the Right Location
When selecting the location for your security camera, there are several factors to consider:
- Visibility: Make sure the camera has a clear line of sight to the area you want to monitor.
- Height: Place the camera at a height that provides a good view of the area without being too high or too low.
- Weather resistance: If the camera will be outdoors, choose a location that is sheltered from rain and direct sunlight.
- Power source: Ensure the camera is located near a power source or consider using a battery-powered camera if no power source is available.
- Accessibility: Select a location that is easy to access for installation and maintenance.
- Privacy: Be mindful of privacy concerns and avoid pointing the camera at areas where privacy could be compromised.
Checking for Wiring and Obstructions
Before drilling a hole for your security camera, it is crucial to check for any existing wiring or obstructions that may interfere with the installation process. You should carefully inspect the area where you plan to install the camera to ensure there are no hidden wires or pipes that could be damaged during drilling.
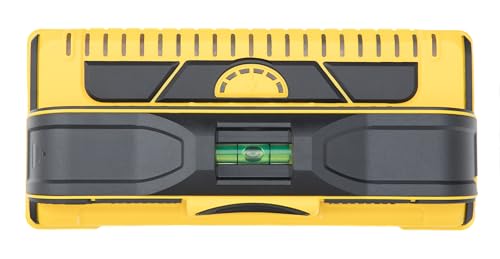
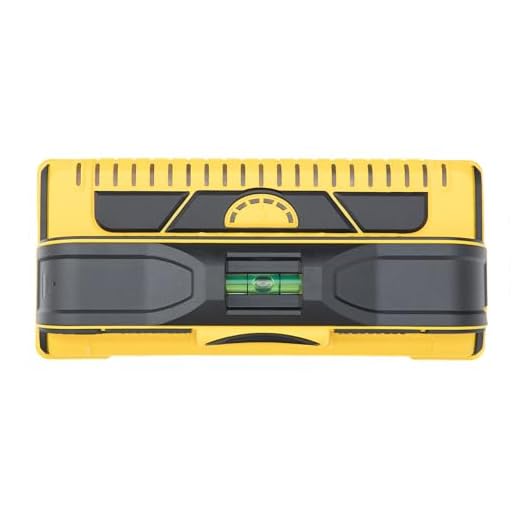
Use a stud finder or a wire detector to scan the wall and ceiling for any electrical wiring or plumbing pipes. If you detect any obstructions, mark their locations and adjust your drilling position accordingly. It is also important to check for any studs or support beams that could affect the stability of the camera mount.
Marking the Spot for Drilling
Before you start drilling the hole for your security camera, it’s crucial to accurately mark the spot where you want to install it. Here’s how to do it:
1. Choose the location
Decide on the best location for your security camera. Make sure it provides a clear view of the area you want to monitor and is within reach of power and internet connections.
2. Use a level
Hold a level against the wall or ceiling to ensure that the camera will be mounted straight. Mark the spot with a pencil or marker.
Selecting the Appropriate Drill Bit
Choosing the right drill bit is crucial when drilling a hole for a security camera. The type of material you are drilling into will determine the best drill bit for the job. For most security camera installations, a masonry drill bit is recommended for drilling into concrete or brick walls. These drill bits are designed to handle the hardness of masonry materials.
It is important to select a drill bit that is the appropriate size for the mounting hardware of your security camera. Make sure to measure the diameter of the mounting screws or anchors to ensure you choose a drill bit that will create a hole that is the right size for installation.
Additionally, consider the length of the drill bit when selecting one for your security camera installation. The drill bit should be long enough to create a hole that is deep enough to securely hold the mounting hardware in place.
By selecting the appropriate drill bit for your security camera installation, you can ensure a successful and secure mounting process.
Drilling the Hole Safely and Efficiently
When drilling a hole for your security camera, it is important to do so safely and efficiently to ensure a proper installation. Follow these steps to drill the hole:
| Step 1: | Choose the location for the camera and mark the spot where you want to drill the hole. Make sure to consider the angle and visibility of the camera. |
| Step 2: | Use a stud finder to locate any studs or electrical wiring in the wall before drilling. This will help you avoid any potential hazards. |
| Step 3: | Use a drill bit that is suitable for the material of the wall (e.g., masonry, wood, or drywall). Drill slowly and steadily to create a clean hole. |
| Step 4: | After drilling the hole, insert a wall anchor if needed to provide extra support for the camera mount. Secure the anchor in place with a screw. |
| Step 5: | Once the hole is ready, feed the camera cables through the hole and attach the camera mount securely to the wall. Make sure the camera is positioned correctly. |
| Step 6: | Test the camera to ensure it is working properly before securing any cables or covering the hole. Adjust the camera angle if needed for optimal coverage. |
Securing the Camera in Place
After drilling the hole for the security camera, it is important to securely fasten the camera in place to ensure it remains stable and functional. Follow these steps to properly secure the camera:
Materials Needed
Before securing the camera, gather the following materials:
| 1. Mounting screws |
| 2. Wall anchors (if necessary) |
| 3. Screwdriver or drill |
Securing the Camera
1. Align the mounting holes on the camera with the holes drilled in the wall.
2. Insert the mounting screws through the holes in the camera and into the wall. Use wall anchors if needed for added stability.
3. Tighten the screws securely to ensure the camera is firmly attached to the wall.
4. Double-check the alignment and stability of the camera to make sure it is positioned correctly.
5. Connect the camera to the power source and test the functionality to ensure it is working properly.


