

Are you looking to upgrade your home security system without the hassle of running cables? Converting a wired security camera to wireless could be the solution you’ve been searching for. By making this switch, you can enjoy the convenience of remote monitoring and recording without the restrictions of a wired connection.
Whether you’re a DIY enthusiast or just looking to simplify your setup, the process of converting a wired security camera to wireless is easier than you might think. In this article, we’ll walk you through the steps involved in making the transition, from choosing the right wireless adapter to setting up your camera for seamless operation.
With the right tools and a bit of know-how, you can transform your wired security camera into a wireless powerhouse that offers flexibility, convenience, and peace of mind. Let’s dive into the details and get started on your wireless security camera upgrade today!
Step-by-Step Guide
To convert a wired security camera to wireless, follow these steps:
- Assess Your Wired Camera: Check the specifications and connectors of your wired camera to ensure compatibility with wireless conversion.
- Choose a Wireless Adapter: Select a suitable wireless adapter that can convert the video signal from your camera to a wireless format.
- Power Supply: Ensure that the wireless adapter has a power source and can connect to your camera for power.
- Connect the Adapter: Connect the wireless adapter to your camera using the appropriate connectors and cables.
- Set Up Wireless Connection: Configure the wireless adapter to connect to your Wi-Fi network and follow the setup instructions.
- Test the Connection: Verify that the wireless setup is working correctly by checking the video feed on your monitoring device.
- Adjust Settings: Fine-tune the settings of your wireless camera for optimal performance and security.
Important Note:
Make sure to follow the manufacturer’s instructions and guidelines when converting your wired security camera to wireless to avoid any issues.
Benefits of Wireless Conversion
Converting a wired security camera to wireless offers numerous benefits. Firstly, it eliminates the need for complex wiring installations, making the setup process simpler and more convenient. Wireless cameras can be easily installed in various locations without the restrictions of cables, providing greater flexibility in positioning. Additionally, wireless cameras are more discreet and less obtrusive, enhancing the overall aesthetics of the surveillance system. Furthermore, wireless cameras can be easily moved or repositioned as needed, allowing for greater adaptability in monitoring different areas. Overall, converting to wireless technology can improve the functionality and usability of your security camera system.
Required Tools and Materials
Before you can convert your wired security camera to wireless, you will need the following tools and materials:
Tools:
1. Screwdriver: You may need a screwdriver to disassemble your wired camera and access its internal components.
2. Wire cutters/strippers: To remove any unnecessary wiring and prepare the camera for wireless setup.
Materials:
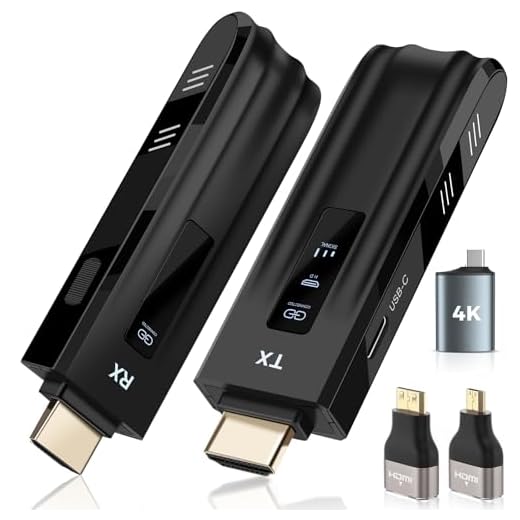
1. Wireless transmitter/receiver kit: This kit will allow you to transmit the camera’s video signal wirelessly to your monitoring device.
2. Power adapter: To provide power to the wireless transmitter and receiver.
3. Wi-Fi router: To connect the wireless receiver to your network for remote viewing.
Troubleshooting Tips
If you encounter any issues during the conversion process, here are some troubleshooting tips to help you:
1. Check Power Supply
Make sure that the wireless adapter and the camera are receiving power. Check the power source, cables, and connections to ensure they are properly plugged in and functioning.
2. Verify Network Connection
Ensure that the wireless network is set up correctly and that the camera is connected to the network. Check the network settings, SSID, and password to ensure they are accurate.
Tip: Restarting the camera and wireless adapter can sometimes resolve connection issues.


