


Security cameras are an essential tool for monitoring your home or business, providing peace of mind and enhancing security measures. Connecting your security camera to an Asus router ensures seamless communication and access to your camera’s feed remotely.
In this guide, we will take you through the step-by-step process of connecting your security camera to an Asus router, ensuring a secure and reliable connection for your surveillance needs.
By following these instructions, you can easily set up your security camera to work with your Asus router, enabling you to monitor your property remotely and enhance the overall security of your premises.

Step-by-Step Guide to Connect Security Camera to Asus Router
Connecting a security camera to your Asus router is a straightforward process that can help you monitor your home or office remotely. Follow these steps to set up your security camera with your Asus router:
Step 1: Configure Your Security Camera
First, you need to configure your security camera according to the manufacturer’s instructions. This usually involves connecting the camera to a power source and setting up its Wi-Fi connection.
Step 2: Access the Asus Router Settings
Log in to your Asus router’s web interface by entering its IP address in a web browser. You may need to enter your username and password to access the settings.
Once logged in, navigate to the wireless settings section of the router’s interface.
Step 3: Connect the Security Camera to the Router
In the wireless settings section, look for the option to add a new device to the network. Follow the on-screen instructions to connect your security camera to the router’s Wi-Fi network.
Once the camera is successfully connected to the router, you should be able to access it remotely using the camera’s app or software.
By following these steps, you can easily connect your security camera to your Asus router and enhance your home or office security.
Check Camera Compatibility with Asus Router
Before connecting your security camera to an Asus router, it is crucial to ensure that the camera is compatible with the router. Check the camera’s specifications and requirements to see if it supports the same network protocols and security standards as the Asus router.
You can typically find this information in the camera’s user manual or on the manufacturer’s website. Look for compatibility with Wi-Fi standards (such as 802.11ac or 802.11n), encryption protocols (WPA2 or WPA3), and network connectivity options.
| Camera Specification | Asus Router Compatibility |
|---|---|
| Wi-Fi Standard: 802.11ac | Ensure Asus router supports 802.11ac for optimal performance. |
| Encryption: WPA2 | Check if the Asus router uses WPA2 encryption for secure connections. |
| Network Connectivity: Ethernet | Verify if the camera can be connected via Ethernet to the Asus router. |
By confirming the compatibility between your security camera and Asus router, you can avoid any connectivity issues and ensure a smooth setup process.
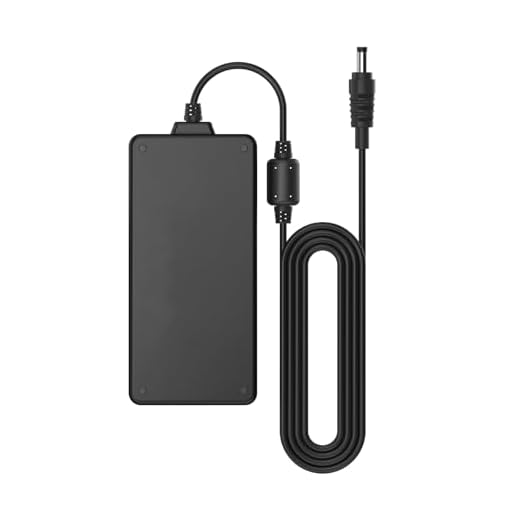
Connect Camera to Power Source
Before connecting your security camera to your ASUS router, you need to ensure that the camera is properly powered. Follow these steps to connect the camera to a power source:
Step 1: Locate the Power Adapter
Find the power adapter that came with your security camera. It typically consists of a power plug and a cable.
Step 2: Connect the Camera to Power
| 1. | Plug one end of the power cable into the power adapter. |
| 2. | Insert the other end of the power cable into the power input port on your security camera. |
| 3. | Plug the power adapter into a power outlet. |
Once the camera is connected to a power source, you can proceed with connecting it to your ASUS router for surveillance and monitoring purposes.
Access Router Settings
To connect your security camera to an ASUS router, you will need to access the router settings. Follow these steps to access the router settings:
- Connect your computer to the ASUS router using an Ethernet cable or Wi-Fi connection.
- Open a web browser on your computer and enter the router’s IP address in the address bar. The default IP address for ASUS routers is usually 192.168.1.1 or 192.168.0.1.
- Enter the router’s username and password when prompted. The default username is usually “admin” and the default password is usually “admin” or blank. If you have changed the login credentials, use those instead.
- Once logged in, you will have access to the router settings where you can configure the network settings, set up port forwarding, and manage connected devices.
Make sure to consult the ASUS router’s user manual for specific instructions on accessing the router settings if needed. With access to the router settings, you can easily connect your security camera and ensure proper network configuration for surveillance purposes.
Configure Router for Camera Connection
Before connecting your security camera to your ASUS router, you need to configure the router settings to ensure a smooth connection. Follow these steps to set up your router:
1. Access Router Settings
First, you need to log in to your ASUS router’s web-based interface. Open a web browser and enter the router’s IP address in the address bar. You will be prompted to enter your username and password.
2. Set Up Port Forwarding
Once you are logged in to the router interface, navigate to the port forwarding settings. Enable port forwarding for the specific port required by your security camera. This will allow external access to the camera through the router.
After configuring the port forwarding settings, save your changes and restart the router to apply the new settings. Your ASUS router is now ready to connect to your security camera.
Assign IP Address to Security Camera
Assigning a fixed IP address to your security camera is important for easy access and management. Here’s how you can assign an IP address to your security camera:
- Access your router’s web interface by typing the router’s IP address in a web browser.
- Log in with your username and password.
- Locate the DHCP settings in the router’s configuration menu.
- Find the MAC address of your security camera (usually located on the camera itself).
- Assign a static IP address to the camera by associating the MAC address with a specific IP address in the DHCP settings.
- Save the changes and reboot your router.
Once you have assigned a fixed IP address to your security camera, you can easily access it using the assigned IP address whenever you need to view or manage the camera’s settings.
Test Connection and Camera Functionality
Once you have successfully connected your security camera to your ASUS router, it is important to test the connection and ensure that the camera is functioning properly. Follow these steps to test the connection:
- Access the camera’s live feed through the camera’s app or web interface.
- Check the video quality and ensure that there are no disruptions or delays in the feed.
- Move around the camera’s viewing area to test its range and coverage.
- Verify that you can access the camera remotely from a different network or location.
- Test the camera’s motion detection and other features to ensure they are working correctly.
- Check for any firmware updates for the camera and install them if necessary to improve performance and security.
By testing the connection and camera functionality, you can ensure that your security system is working effectively and providing the protection you need.
Secure Camera Feed and Access
Securing your camera feed and access is crucial to protect your privacy and ensure your security system functions properly. Here are some steps to help you secure your camera feed and access:
| Change Default Passwords: | Always change the default passwords on your security cameras and router to unique, strong passwords to prevent unauthorized access. |
| Enable Encryption: | Make sure your camera feed is encrypted to prevent interception by hackers. Enable WPA2 encryption on your router to secure the data transmission. |
| Update Firmware: | Regularly update the firmware on your security cameras and router to patch any security vulnerabilities and ensure optimal performance. |
| Set Up Access Controls: | Configure access controls on your router to restrict access to your camera feed only to authorized devices and users. |
| Monitor Activity: | Regularly monitor the activity on your security cameras and router to detect any suspicious behavior or unauthorized access attempts. |


