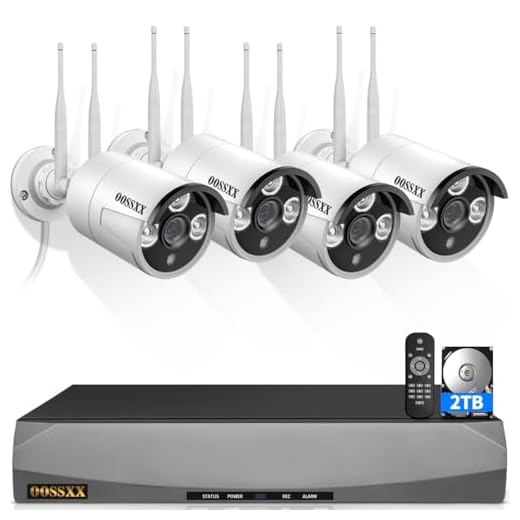


Security cameras are an essential part of any modern home security system, providing peace of mind and surveillance capabilities. However, to fully utilize the benefits of your security camera DVR, it’s crucial to connect it to your WiFi network. This allows you to access live feeds, recordings, and alerts remotely from your smartphone or computer.
Connecting your security camera DVR to WiFi may seem like a daunting task, but with the right guidance, it can be a simple and straightforward process. In this article, we will provide a step-by-step guide on how to connect your security camera DVR to WiFi, ensuring that your home remains secure and protected at all times.
Whether you’re a tech-savvy individual or a beginner in the world of security cameras, this guide will help you navigate the process with ease and confidence. So, let’s dive in and learn how to connect your security camera DVR to WiFi for enhanced surveillance and security!
Step-by-Step Guide to Connecting Security Camera DVR to WiFi
Connecting your security camera DVR to WiFi can provide you with the convenience of remote monitoring and access. Follow these steps to set up a wireless connection:
- Check your DVR’s compatibility with WiFi: Ensure that your DVR system supports wireless connectivity.
- Access the network settings: Navigate to the network settings menu on your DVR.
- Enable WiFi: Turn on the WiFi feature on your DVR to start searching for available networks.
- Select your WiFi network: Choose your network from the list of available options and enter the password if required.
- Configure network settings: Enter the necessary network information such as IP address, subnet mask, gateway, and DNS settings.
- Test the connection: Verify that your DVR is successfully connected to the WiFi network by testing remote access on a mobile device or computer.
By following these steps, you can easily connect your security camera DVR to WiFi for seamless monitoring and surveillance.
Check Compatibility and Requirements
Before attempting to connect your security camera DVR to Wi-Fi, it is important to ensure that your DVR system is compatible with wireless networking. Check the specifications of your DVR to see if it has built-in Wi-Fi capabilities or if you need to use an external Wi-Fi adapter.
Additionally, make sure that your Wi-Fi network meets the requirements for connecting your DVR. You will need a stable internet connection with sufficient bandwidth to support the streaming of video footage from your cameras. Ensure that your Wi-Fi signal is strong and reliable in the area where your DVR is located to prevent any connection issues.
Connect DVR to Router
Here are the steps to connect your DVR to your router:
- Locate the Ethernet port on your DVR and router.
- Use an Ethernet cable to connect the DVR to one of the LAN ports on the router.
- Power on both the DVR and the router.
- Access the network settings on your DVR and configure the network connection.
- Enter the router’s SSID and password to connect to the Wi-Fi network.
- Verify the connection by checking the network status on the DVR.
Configure DVR Network Settings
Configuring the network settings on your DVR is essential to connect it to your Wi-Fi network. Follow these steps to set up the network settings:
1. Access the DVR Menu: Use the remote control or front panel buttons to navigate to the network settings menu on your DVR.
2. Enable DHCP: Make sure DHCP (Dynamic Host Configuration Protocol) is enabled on your DVR so it can automatically obtain an IP address from your router.
3. Enter Wi-Fi Credentials: If your DVR supports Wi-Fi connectivity, enter your Wi-Fi network name (SSID) and password in the appropriate fields.
4. Save Settings: After entering the network details, save the settings and reboot the DVR to apply the changes.
5. Test Connection: Verify the network connection by accessing the DVR remotely or checking the network status in the settings menu.
By following these steps, you can successfully configure the network settings on your DVR to connect it to your Wi-Fi network.
Set Up WiFi Connection on DVR
To connect your security camera DVR to WiFi, follow these steps:
- Check Compatibility: Ensure that your DVR system supports WiFi connectivity.
- Access Network Settings: Navigate to the network settings on your DVR interface.
- Scan for WiFi Networks: Search for available WiFi networks and select yours.
- Enter WiFi Credentials: Input the SSID and password of your WiFi network.
- Connect: Once the information is entered, save the settings and connect to the WiFi network.
- Test Connection: Verify the connection by accessing the DVR remotely using the WiFi connection.
By following these steps, you can successfully set up the WiFi connection on your DVR and access your security camera system wirelessly.
Test Connection and Signal Strength
After successfully connecting your security camera DVR to Wi-Fi, it is crucial to test the connection and signal strength to ensure optimal performance. Follow these steps to check the connection:
- Check Network Settings: Access the network settings on your DVR and verify that the Wi-Fi network is selected and connected.
- Test Live View: Use the DVR’s software or mobile app to view live footage from your security cameras. Confirm that the video streams smoothly without interruptions.
- Signal Strength: Check the signal strength indicator on your DVR or software interface. A strong signal is essential for reliable video transmission.
If you encounter any issues with the connection or signal strength, consider relocating the DVR closer to the Wi-Fi router or installing a Wi-Fi range extender to improve coverage.
Access DVR Remotely via WiFi
To access your DVR remotely via WiFi, follow these steps:
- Connect your DVR to your WiFi network using the network settings on the DVR.
- Ensure that your DVR is connected to the internet through the WiFi network.
- Find the IP address of your DVR by checking the network settings on the DVR or using a network scanning tool.
- Open a web browser on your computer or smartphone and enter the IP address of your DVR in the address bar.
- Enter your DVR’s username and password to log in to the DVR’s web interface.
- Once logged in, you can view live video feeds, playback recordings, and adjust settings remotely.
By following these steps, you can easily access your DVR remotely via WiFi and monitor your security cameras from anywhere with an internet connection.
Troubleshoot Common WiFi Connection Issues
When connecting your security camera DVR to WiFi, you may encounter some common issues that can disrupt the connection. Here are some troubleshooting tips to help you resolve these issues:
| Issue | Solution |
| Weak WiFi Signal | Move the DVR closer to the WiFi router or consider using a WiFi extender to improve signal strength. |
| Incorrect WiFi Password | Double-check the WiFi password entered on the DVR to ensure it is correct. Make sure it matches the password for your WiFi network. |
| Network Interference | Avoid placing the DVR near devices that emit electromagnetic interference, such as microwaves or cordless phones. |
| Outdated Firmware | Check for firmware updates for your DVR and install them to ensure compatibility with the latest WiFi standards. |
| IP Address Conflict | Ensure that the DVR is assigned a unique IP address on your network to prevent conflicts with other devices. |


