

If you are looking to enhance the security of your home or business, installing a security camera DVR system can be a great solution. These systems allow you to monitor your property remotely and provide you with peace of mind knowing that your premises are secure. One of the key benefits of a security camera DVR system is the ability to connect it to your computer, allowing you to view and manage your camera footage conveniently.
Connecting your security camera DVR to your computer is a relatively straightforward process, but it may require some technical know-how. In this guide, we will walk you through the steps to connect your security camera DVR to your computer, so you can keep an eye on your property from the comfort of your desk.

By following the steps outlined in this article, you will be able to set up a connection between your security camera DVR and your computer, giving you access to live or recorded footage whenever you need it. Let’s dive into the details and get your security camera system up and running with your computer!
Guide to Connecting Security Camera DVR to Computer
Connecting your security camera DVR to your computer allows you to monitor your surveillance footage directly on your PC. Follow these steps to set up the connection:
Step 1: Check Compatibility
Make sure that your security camera DVR and computer are compatible for connection. Check the ports and cables required for the connection.
Step 2: Connect the DVR to the Computer
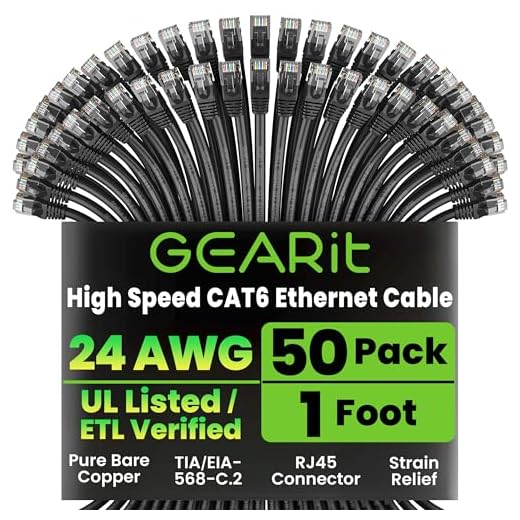
Use the appropriate cables to connect the security camera DVR to your computer. Typically, you will need an Ethernet cable or a USB cable for the connection.
Note: Some security camera DVRs may require additional software installation on your computer to establish the connection.
Step-by-Step Instructions
Follow these steps to connect your security camera DVR to your computer:
- Check Connections: Ensure that both your security camera DVR and computer are powered on.
- Connect DVR to Computer: Use a USB cable to connect the DVR to your computer. Make sure to use a compatible cable.
- Install Software: Install any necessary software provided by the DVR manufacturer on your computer.
- Configure Settings: Open the software and follow the on-screen instructions to configure the settings for the DVR connection.
- View Footage: Once connected, you should be able to view the live footage from your security cameras on your computer screen.
Required Equipment
Before you can connect your security camera DVR to your computer, you will need the following equipment:
- Security Camera DVR: Make sure you have a functioning security camera DVR that is compatible with your computer.
- Computer: You will need a computer with available USB ports or network connection to connect to the DVR.
- Internet Connection: For remote viewing or accessing the DVR over the network, you will need an internet connection.
- Video Cables: Depending on the type of connection, you may need video cables such as HDMI, VGA, or RCA cables.
- Power Adapter: Make sure the DVR has a power adapter and is plugged into a power source.
- Software: You may need to install specific software on your computer to access and view the DVR footage.
Connection Methods
There are several ways to connect your security camera DVR to your computer:
1. Ethernet Cable: The most common method is to connect the DVR to your computer using an Ethernet cable. Simply plug one end of the cable into the DVR and the other end into an available Ethernet port on your computer.
2. USB Cable: Some DVRs have a USB port that allows you to connect directly to your computer using a USB cable. This method is straightforward and easy to set up.
3. Network Connection: If your DVR is connected to a network, you can access it from your computer by entering the DVR’s IP address in a web browser. This method requires network configuration but offers remote access to your DVR.
4. Wireless Connection: If your DVR supports Wi-Fi, you can connect it to your computer wirelessly. Make sure both devices are on the same network and follow the instructions provided by the manufacturer for wireless setup.
Software Installation
Before connecting your security camera DVR to your computer, you will need to install the necessary software. Follow these steps to ensure a successful installation:
Step 1: Download the Software
Visit the manufacturer’s website or use the software CD that came with your security camera DVR to download the software onto your computer.
Step 2: Install the Software
Once the software is downloaded, run the installation wizard and follow the on-screen instructions to complete the installation process.
| Important: | Make sure to select the appropriate software version that is compatible with your security camera DVR model. |
Troubleshooting Tips
If you are having trouble connecting your security camera DVR to your computer, try the following troubleshooting tips:
1. Check the cables: Make sure all cables are securely connected between the DVR and your computer. If any cables are loose or damaged, replace them.
2. Restart your devices: Try restarting both your DVR and computer. Sometimes a simple restart can fix connectivity issues.
3. Update drivers: Make sure you have the latest drivers installed for your DVR and computer. Check the manufacturer’s website for updates.
4. Check network settings: Ensure that your network settings are correct and that both devices are on the same network. Double-check IP addresses and subnet masks.
5. Firewall settings: Check your computer’s firewall settings to ensure they are not blocking the connection to the DVR. You may need to add an exception for the DVR.
6. Test with another device: If possible, try connecting the DVR to another computer or device to see if the issue is with the DVR or your computer.
7. Contact support: If you have tried all the above steps and still cannot connect your DVR to your computer, contact the manufacturer’s technical support for further assistance.
Network Configuration
Connecting your security camera DVR to your computer requires proper network configuration. Make sure that both your DVR and computer are connected to the same network. You can do this by connecting them to the same router or switch using Ethernet cables.
IP Address Configuration
Assign a static IP address to your DVR and computer within the same subnet. This will ensure that they can communicate with each other on the network. Consult your DVR’s manual for instructions on how to set a static IP address.
Remote Access Setup
Setting up remote access to your security camera DVR allows you to view live feeds and recordings from your computer anywhere in the world. Follow these steps to enable remote access:
- Connect your DVR to the internet using an Ethernet cable.
- Configure port forwarding on your router to allow remote access to the DVR. Refer to your router’s manual for instructions on how to do this.
- Set up a Dynamic Domain Name System (DDNS) service to assign a domain name to your DVR’s IP address, as most internet service providers use dynamic IP addresses that can change.
- Install remote viewing software on your computer and enter the DDNS domain name or static IP address of your DVR to access it remotely.
- Enter the username and password for your DVR to log in and start viewing the camera feeds.
Final Checks and Testing
Before completing the setup process, it is important to perform some final checks and testing to ensure that your security camera DVR is properly connected to your computer:
1. Verify all connections: Double-check all cables and connections between the DVR and your computer to ensure they are securely plugged in.
2. Power on both devices: Make sure both the DVR and your computer are powered on and functioning properly.
3. Test the connection: Open the software or application that came with your DVR and follow the instructions to test the connection between the DVR and your computer.
4. Check the video feed: Monitor the video feed from your security camera on your computer to confirm that the connection is working correctly.
5. Adjust settings if necessary: If you encounter any issues or the video feed is not displaying correctly, double-check the settings and make any necessary adjustments.
By following these final checks and testing procedures, you can ensure that your security camera DVR is successfully connected to your computer and functioning as intended.


