Security cameras are an essential part of keeping your home or business safe and secure. With the advancements in technology, it has become easier than ever to install your own security camera system. In this guide, we will walk you through the step-by-step process of assembling your security camera to ensure proper installation and functionality.
Before you begin, make sure you have all the necessary tools and components for assembling your security camera. This may include the camera unit, mounting brackets, power supply, cables, and any additional accessories. It’s important to read the instructions provided by the manufacturer to ensure proper installation.
Once you have gathered all the necessary components, you can start assembling your security camera by following these simple steps. By taking the time to properly install your security camera, you can have peace of mind knowing that your property is protected.
Step-by-step guide: Assembling security camera
Assembling a security camera may seem daunting, but with the right tools and a clear plan, you can do it yourself. Follow these steps to ensure a successful setup:
Step 1: Unbox the camera
Start by carefully unboxing the security camera and its components. Lay out all the parts and read the instructions to familiarize yourself with the setup process.
Step 2: Mount the camera
Choose a suitable location for the security camera and mount it securely. Ensure the camera has a clear view of the area you want to monitor and is positioned at the right angle.
Tip: Use a level to make sure the camera is mounted straight.
Continue assembling the camera by connecting any cables, adjusting settings, and testing the system to ensure it is functioning properly. Once everything is set up, you can enjoy the added security and peace of mind that a security camera provides.
Unboxing the camera
When you first receive your security camera, it is important to carefully unbox it and check all the contents to ensure everything is included and in good condition.
Steps to unbox the camera:
- Remove the camera box from the shipping package.
- Open the camera box gently, avoiding any damage to the packaging.
- Inspect the contents of the box, including the camera, cables, mounting hardware, and user manual.
- Check for any damages or missing parts.
By unboxing the camera carefully, you can ensure that you have all the necessary components to successfully assemble and install your security camera.
Mounting the camera bracket
Before mounting the camera bracket, make sure you have selected a suitable location for your security camera. Ensure the area provides a clear view of the desired surveillance area.
Step 1: Attach the bracket
Using the provided screws and a screwdriver, attach the camera bracket securely to the chosen surface. Make sure the bracket is level to ensure proper camera positioning.
Step 2: Adjust the angle
Once the bracket is securely attached, adjust the angle of the bracket to achieve the desired camera view. Tighten any screws or bolts to ensure the angle remains fixed.
Connecting power supply
Step 1: Locate the power input on the security camera. It is usually a small circular port labeled “DC IN”.
Step 2: Take the power adapter and plug one end into a power outlet.
Step 3: Connect the other end of the power adapter to the DC input port on the camera.
Step 4: Make sure the connection is secure and the power adapter is providing the correct voltage for the camera.
Step 5: Turn on the power adapter and check if the camera lights up. If it does, the power supply is successfully connected.
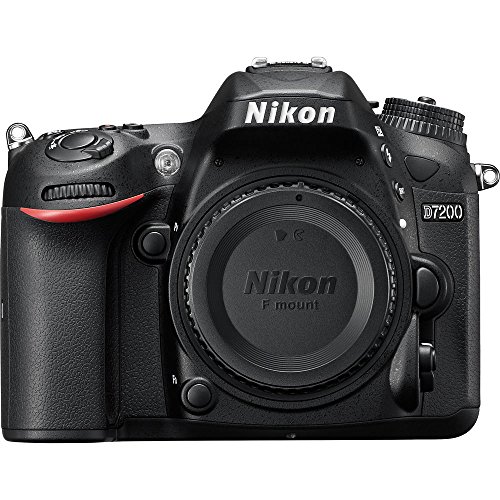
Installing the Camera Lens
When assembling your security camera, one crucial step is installing the camera lens properly. Follow these steps to ensure a successful installation:
Step 1: Remove the Protective Cap
Before attaching the lens to the camera body, make sure to remove any protective cap or cover that may be on the lens. This will allow for a clear view and proper functioning of the camera.
Step 2: Align and Screw in the Lens
Align the lens with the camera body and gently screw it in place. Be careful not to overtighten the lens, as this can damage the threads. Ensure that the lens is securely attached to the camera.
Adjusting camera angle
Once you have securely mounted your security camera, it’s important to adjust the camera angle for optimal coverage. Follow these steps to adjust the camera angle:
- Loosen the screws holding the camera in place.
- Rotate the camera to the desired angle.
- Tighten the screws to secure the camera in the new position.
- Check the camera’s view to ensure it covers the desired area.
- Make any additional adjustments necessary for optimal coverage.
By adjusting the camera angle properly, you can ensure that your security camera provides the best possible coverage of the area you want to monitor.
Setting up the camera software
Once you have mounted your security camera in the desired location, it’s time to set up the camera software. Follow these steps to get your camera up and running:
1. Connect the camera to your computer or network using the provided cables.
2. Install the camera software on your computer by following the instructions included in the manual.
3. Launch the camera software and follow the on-screen prompts to configure the camera settings, such as resolution, motion detection, and recording options.
4. Create a login and password for accessing the camera remotely through a web browser or mobile app.
5. Test the camera by monitoring the live feed and adjusting the settings as needed to ensure optimal performance.
By following these steps, you can easily set up your security camera and start monitoring your property with peace of mind.
Testing Camera Functionality
Before mounting your security camera, it’s crucial to test its functionality to ensure it’s working properly. Follow these steps to test your camera:
1. Power On the Camera
Connect the camera to a power source and turn it on. Check if the camera’s indicator lights are on, indicating that it’s receiving power.
2. Check the Video Feed
Connect the camera to a monitor or a smartphone to view the live video feed. Make sure the image is clear and there are no distortions or obstructions.
| Function | Testing Method |
| Day/Night Vision | Test the camera in different lighting conditions to ensure day/night vision works effectively. |
| Motion Detection | Walk in front of the camera to trigger the motion detection and verify if alerts are sent. |
| Sound Detection | Make noise near the camera to check if sound detection is functioning properly. |