


Are you considering installing WiFi security cameras in your home or office but feeling overwhelmed by the process? Fear not! In this article, we will break down the steps and provide you with all the information you need to make the installation process smooth and hassle-free.
WiFi security cameras offer a convenient way to monitor your property remotely, providing you with peace of mind and added security. However, the thought of setting up these cameras may seem daunting at first. But with the right guidance and preparation, you can easily install WiFi security cameras yourself, saving time and money in the process.
From choosing the right camera model to connecting it to your network and configuring the settings, we will cover everything you need to know to successfully install WiFi security cameras. By the end of this article, you will feel confident and empowered to take on this project and enhance the security of your space.
How to Install Wifi Security Cameras
Installing wifi security cameras can be a straightforward process if you follow these steps:
| 1. | Choose the right location for your camera, ensuring it has a clear view of the area you want to monitor. |
| 2. | Check the wifi signal strength in the chosen location to ensure a stable connection. |
| 3. | Mount the camera using the provided mounting hardware and adjust the angle for optimal coverage. |
| 4. | Connect the camera to a power source and follow the manufacturer’s instructions to connect it to your wifi network. |
| 5. | Install the camera’s mobile app on your smartphone or tablet to view the live feed and adjust settings. |
| 6. | Set up motion detection and alerts to receive notifications when the camera detects activity. |
| 7. | Regularly check the camera’s feed and make adjustments as needed to ensure optimal security coverage. |
Choosing the Right Camera
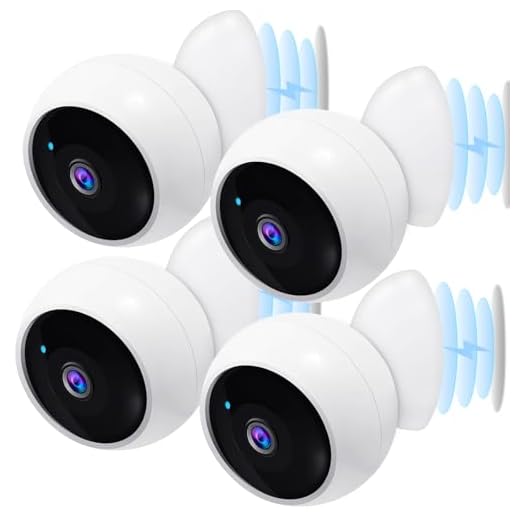
When installing wifi security cameras, it is crucial to choose the right camera for your specific needs. Consider factors such as resolution, field of view, night vision capabilities, weather resistance, and storage options. Higher resolution cameras will provide clearer images, while a wider field of view can cover more area. Night vision is essential for monitoring in low light conditions, and weather-resistant cameras are ideal for outdoor use. Additionally, consider whether you prefer local storage or cloud storage for your footage. By carefully evaluating these factors, you can select a wifi security camera that meets your requirements.
Setting Up the Camera Hardware
Before you begin the installation process, make sure you have all the necessary tools and equipment handy. Most wifi security cameras come with detailed instructions, so be sure to read through them carefully before starting.
Start by finding the ideal location for your camera. It should be placed high enough to capture a wide view of the area you want to monitor but also within range of your wifi signal. Once you’ve chosen the location, use the mounting hardware provided to secure the camera in place.
Connecting the Camera
Next, connect the camera to a power source using the included power adapter. Make sure the camera is receiving power before proceeding. Then, follow the manufacturer’s instructions to connect the camera to your wifi network.
Tip: It’s a good idea to test the camera’s connection and adjust its position if needed before finalizing the installation.
Connecting to Wi-Fi Network
Once you have installed your Wi-Fi security camera in the desired location, the next step is to connect it to your Wi-Fi network. This process may vary depending on the brand and model of your camera, but generally involves the following steps:
1. Access camera settings: Use the camera’s mobile app or web interface to access the settings menu.
2. Locate Wi-Fi settings: Look for the Wi-Fi settings option in the camera’s menu.
3. Select your network: Choose your Wi-Fi network from the list of available networks.
4. Enter Wi-Fi password: Enter the password for your Wi-Fi network when prompted.
5. Connect: Wait for the camera to connect to your Wi-Fi network. Once connected, you should see a confirmation message.
It’s important to ensure that your camera is within range of your Wi-Fi network for a stable connection. If you encounter any issues during the setup process, refer to the user manual or contact customer support for assistance.
Installing the Camera Software
Once you have physically installed the wifi security camera, the next step is to set up the camera software on your computer or mobile device. Most wifi security cameras come with a setup CD or provide a download link for the software on their website.
Follow the instructions provided in the user manual or installation guide to install the camera software on your device. Make sure to connect the camera to your wifi network during the setup process.
After the software is installed, you can access the camera’s live feed, adjust settings, and configure alerts and notifications through the software interface.
Some cameras may require creating an account or logging into a cloud service to access advanced features or remote monitoring capabilities. Make sure to complete the registration process if needed.
Once the camera software is successfully installed and configured, you can start using your wifi security camera to monitor your property and enhance your home security.
Positioning the Camera
When installing your wifi security camera, the positioning is crucial for optimal performance. Make sure to place the camera in a location that provides a clear view of the area you want to monitor. Avoid placing the camera facing direct sunlight or reflective surfaces to prevent glare or distortion in the footage.
Additionally, consider the camera’s field of view and adjust the angle accordingly. Aim the camera slightly downwards to capture activities at ground level while ensuring it covers the desired area effectively. Test the camera’s positioning by monitoring the live feed on your device before finalizing its placement.
Testing and Adjusting Settings
After installing your WiFi security cameras, it’s important to test them to ensure they are working properly and adjust the settings as needed. Here are some steps to follow:
1. Test the Camera Connection
Make sure the cameras are connected to your WiFi network and that you can access the live feed on your smartphone or computer. Check the camera angles and make sure they are capturing the desired areas.
2. Adjust Camera Settings
- Adjust the motion detection sensitivity to avoid false alarms.
- Set up recording schedules to capture footage at specific times.
- Enable notifications so you can be alerted when motion is detected.
By testing and adjusting the settings of your WiFi security cameras, you can ensure they are effectively monitoring your property and providing you with the security you need.


