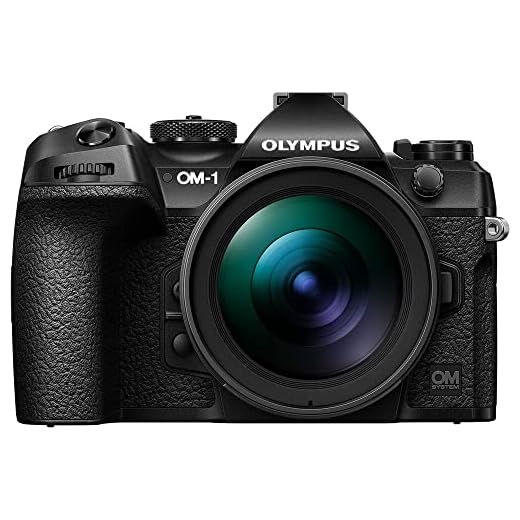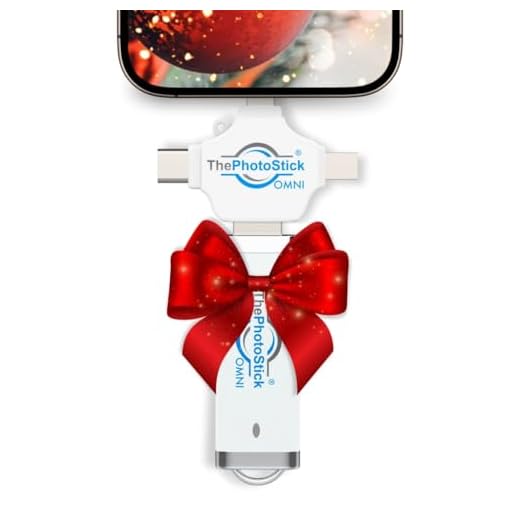


Are you an avid photographer who loves capturing moments with your Olympus camera? If so, you may want to easily transfer those stunning pictures to your iPhone for editing or sharing on social media. Luckily, with the right tools and knowledge, you can seamlessly move your photos from your camera to your iPhone in just a few simple steps.
Why Transfer Pictures?
Transferring pictures from your Olympus camera to your iPhone allows you to have your favorite photos with you at all times. Whether you want to edit them on the go, share them with friends and family, or simply enjoy them on a larger screen, having your photos on your iPhone offers convenience and flexibility.
In this guide, we will walk you through the process of transferring pictures from your Olympus camera to your iPhone using various methods, so you can choose the one that works best for you.
Step-by-step guide on transferring photos from Olympus camera to iPhone
Transferring photos from your Olympus camera to your iPhone is a simple process that can be done in a few easy steps. Follow these instructions to easily transfer your photos:
Step 1: Connect your Olympus camera to your computer
Use the USB cable that came with your camera to connect it to your computer. Once connected, your computer should recognize the camera as a removable storage device.
Step 2: Copy photos to your computer
Open the folder on your computer where your camera is recognized as a removable storage device. Locate the folder containing your photos and copy them to a folder on your computer.
Step 3: Transfer photos to your iPhone
There are several ways to transfer photos from your computer to your iPhone. One common method is to use iTunes. Open iTunes on your computer, connect your iPhone, and sync the folder containing your photos to your iPhone. Alternatively, you can use cloud storage services or third-party apps to transfer the photos.
By following these simple steps, you can easily transfer photos from your Olympus camera to your iPhone and enjoy them on the go.
Install the Olympus Image Share app on your iPhone
To transfer pictures from your Olympus camera to your iPhone, you will need to download and install the Olympus Image Share app from the App Store. This app allows you to easily connect your camera to your iPhone and transfer photos wirelessly.
Connect your Olympus camera to your iPhone via Wi-Fi
To transfer pictures from your Olympus camera to your iPhone, you can establish a Wi-Fi connection between the two devices. Follow these steps:
- Turn on your Olympus camera and navigate to the Wi-Fi settings.
- Enable the Wi-Fi feature on your camera.
- On your iPhone, go to the Settings menu and select Wi-Fi.
- Find and connect to the Wi-Fi network broadcasted by your Olympus camera.
- Once connected, open the Olympus app on your iPhone.
- Follow the on-screen instructions to select and transfer pictures from your camera to your iPhone.
After the transfer is complete, you can access and share your Olympus camera pictures on your iPhone without the need for a physical connection.
Open the Olympus Image Share app on your iPhone
Once you have installed the Olympus Image Share app on your iPhone, open the app by tapping on its icon on your home screen.
Select the photos you want to transfer from your Olympus camera
Before transferring photos from your Olympus camera to your iPhone, you need to select the specific photos you want to transfer. This will make the transfer process smoother and faster.
Steps to select photos:
- Turn on your Olympus camera and navigate to the photo gallery.
- Scroll through the photos and select the ones you want to transfer by tapping on them or using the camera’s selection options.
- Once you have selected all the photos you want to transfer, confirm your selection and proceed to the next step.
Choose the option to transfer the selected photos to your iPhone
Once you have selected the photos you want to transfer from your Olympus camera to your iPhone, look for the option to initiate the transfer process. This option may vary depending on the method you are using to transfer the photos.
Wait for the transfer process to complete
Once you have selected the pictures you want to transfer and initiated the transfer process, you will need to wait for the process to complete. The time it takes for the transfer to finish will depend on the number and size of the pictures being transferred.
Do not disconnect your Olympus camera or iPhone during the transfer process to avoid any data loss or corruption. You can monitor the progress of the transfer on your iPhone screen. Once the transfer is complete, you will see a notification confirming that the pictures have been successfully transferred to your iPhone.
Check the photos in your iPhone’s camera roll
Once you have successfully transferred the pictures from your Olympus camera to your iPhone, you can now check them in your iPhone’s camera roll. Follow these simple steps:
- Unlock your iPhone and go to the home screen.
- Locate and tap on the “Photos” app icon.
- In the Photos app, you will see various albums. Tap on “Camera Roll” to view all the photos on your iPhone.
- Scroll through the camera roll to find the pictures you transferred from your Olympus camera. They should appear alongside your other photos.
- You can now view, edit, share, or organize these photos like any other picture on your iPhone.
By following these steps, you can easily access and enjoy the photos transferred from your Olympus camera on your iPhone’s camera roll.
Organize the transferred photos into albums on your iPhone
Once you have successfully transferred your photos from your Olympus camera to your iPhone, it’s a good idea to organize them into albums for easier access and viewing. Here’s how you can do it:
Step 1: Open the Photos app
Launch the Photos app on your iPhone, where all the transferred photos will be stored in the Camera Roll or Recently Added album.
Step 2: Create a new album
Tap on the “+” icon to create a new album. Give your album a name and then select the photos you want to add to it from the Camera Roll or Recently Added album.
Share your Olympus camera photos on social media from your iPhone
If you want to share your stunning photos captured with your Olympus camera on social media platforms directly from your iPhone, you can easily do so with a few simple steps.
Step 1: Transfer photos to your iPhone
First, transfer the photos from your Olympus camera to your iPhone. You can do this by connecting your camera to your computer and then transferring the photos to your iPhone using iTunes or a third-party app like Dropbox or Google Drive.
Step 2: Choose the photos you want to share
Once the photos are on your iPhone, open your Photos app and select the photos you want to share on social media. You can choose multiple photos by tapping on each one.
| Platform | Steps to Share |
|---|---|
| Open Instagram, create a new post, select the photos, add filters or edits, write a caption, and share. | |
| Open Facebook, create a new post, select the photos, write a caption, and share. | |
| Open Twitter, create a new tweet, select the photos, add text, hashtags, and share. |
By following these simple steps, you can easily share your Olympus camera photos on various social media platforms directly from your iPhone.
Safely disconnect your Olympus camera from your iPhone
After transferring pictures from your Olympus camera to your iPhone, it’s important to safely disconnect the camera to avoid any data loss or corruption. Follow these steps to safely disconnect your Olympus camera from your iPhone:
- Ensure that all files have been successfully transferred to your iPhone.
- Close any open applications that were used for the transfer process.
- Turn off the Olympus camera and disconnect it from the iPhone using the appropriate cable.
- Wait for the camera to power off completely before disconnecting the cable.
- Once the camera is safely disconnected, you can safely remove the cable and store your equipment.


