


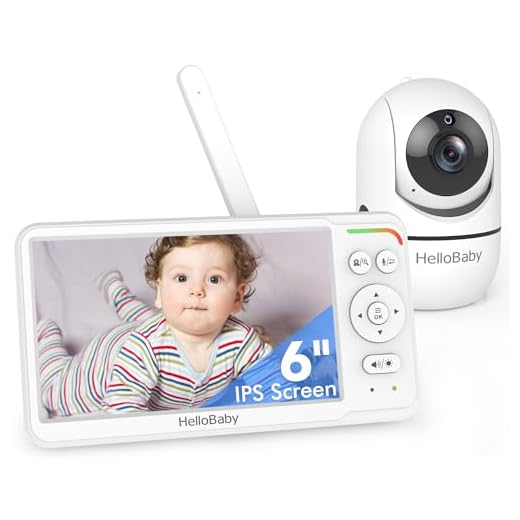
Setting up a digital camera to monitor your surroundings can provide added security and peace of mind. Whether you want to keep an eye on your home, office, or any other location, using a digital camera as a monitoring device can be a cost-effective and efficient solution. In this guide, we will walk you through the steps to set up a monitor digital camera.
First and foremost, choose a suitable digital camera for monitoring purposes. Look for a camera with high-resolution capabilities, night vision, motion detection, and remote access features. Once you have selected the camera, the next step is to determine the location where you want to install it.
Mount the digital camera in a strategic position that offers a wide view of the area you wish to monitor. Ensure that the camera is securely installed and positioned at the right angle to capture clear images and videos. Connect the camera to a power source and configure the settings according to your preferences.
Essential steps for setting up digital camera monitor
Setting up a digital camera monitor is a straightforward process that can greatly enhance your home security system. Follow these essential steps to ensure a successful installation:
- Choose the right location for your camera monitor. Consider factors such as visibility, coverage area, and power source.
- Install the camera mount securely using screws or adhesive, depending on the surface.
- Connect the camera to a power source and ensure it is receiving power.
- Adjust the camera angle and focus to capture the desired area effectively.
- Configure the camera settings, such as resolution, motion detection, and night vision, according to your preferences.
- Connect the camera monitor to your Wi-Fi network for remote access and monitoring.
- Test the camera monitor to ensure it is functioning correctly and capturing clear footage.
- Set up notifications and alerts on your mobile device or computer to stay informed of any activity detected by the camera.
Check camera compatibility with monitor
Before setting up your digital camera with a monitor, it is crucial to ensure that the camera is compatible with the monitor you plan to use. Check the specifications of both the camera and the monitor to see if they are compatible in terms of connections and requirements. Some cameras may require specific types of cables or adapters to connect to certain monitors, while others may have limitations on the resolution or refresh rate they can support. Make sure to read the user manuals of both devices to determine compatibility before proceeding with the setup.
Connect camera to power source
Before setting up your monitor digital camera, you need to ensure that it is connected to a power source to ensure uninterrupted operation. Follow these steps to connect your camera to a power source:
- Check the power requirements: Make sure you have the correct power adapter for your camera and that it meets the voltage and current requirements specified by the manufacturer.
- Locate the power input: Identify the power input port on your camera where you will connect the power adapter.
- Connect the power adapter: Plug the power adapter into a power outlet and then connect the other end to the power input port on your camera.
- Power on the camera: Once the camera is connected to the power source, you can power it on and proceed with the setup process.
By ensuring that your camera is properly connected to a power source, you can start setting it up and using it for monitoring purposes.
Install camera mounting bracket
Before mounting your digital camera, make sure to install the camera mounting bracket securely. Follow these steps to properly install the bracket:
- Locate a suitable location to mount the camera bracket. Make sure it is at a height and angle that provides a clear view of the area you want to monitor.
- Use a pencil to mark the positions of the screw holes on the wall or ceiling where you will attach the bracket.
- Drill pilot holes at the marked positions to make it easier to screw in the screws that will hold the bracket in place.
- Attach the mounting bracket to the wall or ceiling using the appropriate screws. Make sure the bracket is securely fastened to prevent any movement.
- Once the bracket is installed, you can then attach your digital camera to the bracket according to the manufacturer’s instructions.
Adjust camera angle and focus
Once you have mounted the digital camera on the monitor, it is important to adjust the camera angle and focus for optimal performance. Start by positioning the camera so that it captures the desired area or subject. You may need to tilt or rotate the camera to achieve the right angle.
Next, adjust the focus of the camera to ensure that the image is sharp and clear. Most digital cameras have a manual focus option that allows you to fine-tune the focus. Use the camera’s controls to adjust the focus until the image is crisp and in focus.
After adjusting the camera angle and focus, test the camera to make sure it is capturing the desired footage. Make any additional adjustments as needed to ensure that the camera is set up correctly.
Connect camera to monitor using cables
Once you have positioned your digital camera properly, it’s time to connect it to your monitor using cables. Follow these steps:
- Check the ports: Make sure your camera and monitor have the necessary ports to connect them with cables. Common ports include HDMI, VGA, USB, and SD card slots.
- Choose the right cable: Depending on the ports available on your camera and monitor, select the appropriate cable for connection. HDMI cables are commonly used for high-definition video transmission.
- Connect the cable: Insert one end of the cable into the camera’s port and the other end into the monitor’s port. Ensure a secure connection to avoid any signal loss.
- Power on: Turn on your camera and monitor to establish a connection. Your monitor should display the live feed from the camera once the connection is established.
By following these steps, you can easily connect your digital camera to a monitor and start viewing the live feed for monitoring or recording purposes.
Power on camera and monitor
Before you can start using your digital camera and monitor, you need to power them on. Follow these steps to ensure a successful setup:
- First, locate the power buttons on both the camera and the monitor.
- Press and hold the power button on the camera until it turns on. You should see indicator lights or a display screen come to life.
- Next, locate the power button on the monitor and press it to turn the monitor on.
- Wait for the monitor to boot up and display the camera feed, if applicable.
Configure camera settings on monitor
Once you have connected your digital camera to the monitor, you may need to configure the camera settings to ensure the best image quality and performance. Follow these steps to adjust the camera settings:
- Access the camera settings menu by pressing the menu button on the camera.
- Navigate through the settings using the arrow keys on the camera or monitor remote control.
- Adjust settings such as brightness, contrast, color balance, and resolution to your preference.
- Enable any additional features such as motion detection, night vision, or audio recording if needed.
- Save the changes and exit the settings menu to apply the new configurations.
Test camera functionality and adjust as needed
Once you have set up your monitor digital camera, it is important to test its functionality to ensure everything is working correctly. Here are some steps to help you test your camera:
1. Check the camera settings:
Make sure to review the camera settings and adjust them as needed. This includes checking the resolution, frame rate, and recording mode to ensure they meet your requirements.
2. Test the camera feed:
Connect the camera to a monitor or computer and check the live feed to see if the image is clear and the colors are accurate. Adjust the camera position and settings if necessary to get the best view.
By testing the camera functionality and making adjustments as needed, you can ensure that your monitor digital camera is ready to use effectively.
FAQ
What equipment do I need to set up a monitor digital camera?
To set up a monitor digital camera, you will need the camera itself, a power source or batteries, a monitor or a smartphone with a viewing app, and a stable surface or mount to place the camera on.
Is it difficult to set up a monitor digital camera?
Setting up a monitor digital camera is usually straightforward and can be done in a few simple steps. Most cameras come with detailed instructions that guide you through the process, making it easy for even beginners to set up.
Can I access the camera feed remotely?
Yes, many monitor digital cameras offer remote access features that allow you to view the camera feed on your smartphone or computer from anywhere with an internet connection. Make sure to check the camera specifications to see if this feature is supported.


