


Mounting a digital camera on your rear view mirror can be a convenient and practical solution for capturing footage while driving. Whether you want to record your road trips, document your daily commute, or have a record in case of an accident, a camera mounted on your rear view mirror can provide a valuable perspective.
Step 1: Choose the Right Camera
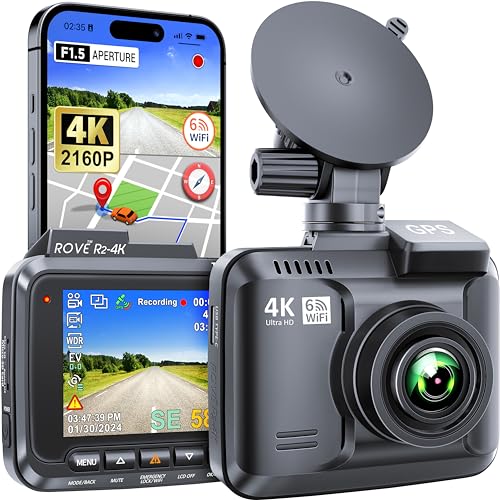
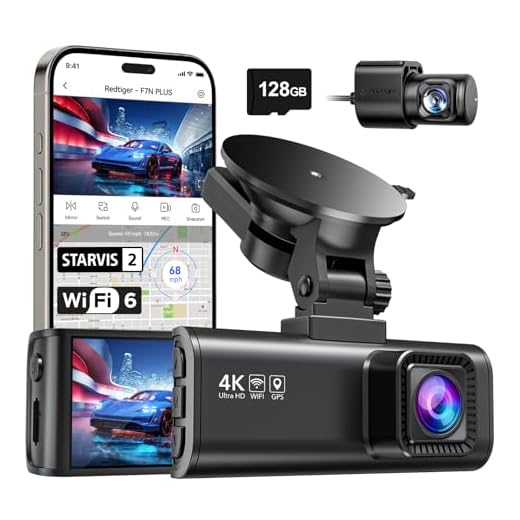
Before mounting a camera on your rear view mirror, make sure you select a camera that is suitable for this purpose. Look for a compact and lightweight camera with good image quality and video recording capabilities. You may also want to consider features such as a wide-angle lens, motion detection, and loop recording.
Step 2: Select the Mounting Location
Once you have the camera, decide where you want to mount it on your rear view mirror. You can choose to mount it on the windshield, on the mirror itself, or on the dashboard. Make sure the camera is positioned in a way that provides a clear view of the road ahead without obstructing your view or distracting you while driving.
Mounting Digital Camera on Rear View Mirror
Mounting a digital camera on your rear view mirror can provide you with a convenient way to capture footage while driving. Here are the steps to mount a digital camera on your rear view mirror:
- Choose the right camera: Select a compact digital camera that is lightweight and has good video quality.
- Get a mounting bracket: Purchase a mounting bracket that is compatible with your camera and can be attached to your rear view mirror.
- Attach the bracket: Securely attach the mounting bracket to your rear view mirror according to the instructions provided.
- Mount the camera: Place the digital camera on the mounting bracket and ensure it is stable and secure.
- Adjust the angle: Adjust the angle of the camera so that it captures the desired view while driving.
- Test the setup: Turn on the camera and test the setup by recording a short video to ensure everything is working properly.
- Drive safely: Remember to always prioritize safety while driving and avoid distractions caused by the camera.
By following these steps, you can mount a digital camera on your rear view mirror and capture footage of your driving experiences.
Choosing the right camera
When selecting a digital camera to mount on your rear view mirror, there are a few key factors to consider:
Resolution
Choose a camera with a high resolution to ensure clear and detailed images. Look for cameras with at least 1080p resolution for optimal clarity.
Field of View
Consider the field of view of the camera to ensure it captures a wide angle of the surroundings. A camera with a wide-angle lens will provide better coverage of the area behind your vehicle.
Additionally, make sure the camera is compact and lightweight to easily mount on your rear view mirror without obstructing your view.
| Resolution: | 1080p or higher |
| Field of View: | Wide angle lens |
| Size: | Compact and lightweight |
Preparing the rear view mirror
Before mounting your digital camera on the rear view mirror, it is important to ensure that the mirror is clean and free from any dirt or debris. Use a microfiber cloth and a glass cleaner to wipe down the mirror and remove any smudges or marks that may obstruct your view.
Next, check the stability of the rear view mirror to ensure it can support the weight of the camera. Make sure it is securely attached to the windshield and adjust it to the desired position for optimal visibility.
If your rear view mirror has a built-in camera mount, you can simply attach your digital camera according to the manufacturer’s instructions. Otherwise, you may need to use a mounting bracket or adhesive tape to secure the camera in place.
| Tip: | Consider using a small level to ensure the camera is mounted straight and level with the horizon for the best results. |
Mounting bracket selection
When selecting a mounting bracket for your digital camera on the rear view mirror, it is important to consider the size and weight of your camera, as well as the stability of the bracket. Look for a bracket that is adjustable and sturdy enough to securely hold your camera in place while driving.
Types of mounting brackets:
There are various types of mounting brackets available in the market, including suction cup mounts, adhesive mounts, and clamp mounts. Each type has its own advantages and drawbacks, so choose the one that best suits your needs.
| Suction Cup Mounts | These mounts use a suction cup to attach to the rear view mirror or windshield. They are easy to install and remove, but may not be as stable as other types of mounts. |
| Adhesive Mounts | Adhesive mounts use strong adhesive to attach the bracket to the rear view mirror. They provide a more permanent solution, but may leave a residue when removed. |
| Clamp Mounts | Clamp mounts securely hold the camera in place using a clamp mechanism. They offer stability and adjustability, but may be bulkier than other types of mounts. |
Consider the type of vehicle you have and your personal preferences when selecting a mounting bracket for your digital camera on the rear view mirror.
Attaching the camera to the bracket
Once you have the bracket securely mounted to the rear view mirror, it’s time to attach the digital camera. Follow these steps:
| Step 1: | Locate the mounting screw on the bracket. |
| Step 2: | Align the camera’s mounting hole with the screw on the bracket. |
| Step 3: | Insert the screw into the camera’s mounting hole and tighten it securely using the appropriate tool. |
| Step 4: | Make sure the camera is stable and positioned correctly for optimal viewing angle. |
With the camera securely attached to the bracket, you’re now ready to power it up and adjust the settings for your rear view mirror digital camera system.
Adjusting the angle and position
Once you have securely mounted your digital camera on the rear view mirror, it’s important to adjust the angle and position for optimal visibility and recording. Follow these steps to ensure the best setup:
1. Angle adjustment:
Start by sitting in the driver’s seat and adjusting the camera angle to capture the desired view. Make sure the camera lens is pointing in the right direction to cover the area you want to monitor.
2. Position adjustment:
Next, adjust the position of the camera on the mirror to avoid any obstructions that may block the camera’s view. Ensure that the camera is securely attached and doesn’t interfere with your driving visibility.
Securing the camera in place
Once you have positioned the digital camera on the rear view mirror, it’s important to secure it properly to ensure it stays in place while driving. Here are some steps to help you secure the camera:
- Use adjustable straps or mounts: Secure the camera using adjustable straps or mounts that can be tightened around the rear view mirror. This will help keep the camera stable and prevent it from moving around.
- Double-check the stability: Before driving, double-check the stability of the camera to ensure it is securely attached to the rear view mirror. Make any necessary adjustments to prevent the camera from falling off while driving.
- Test the camera: After securing the camera, test it by gently shaking the rear view mirror to see if the camera stays in place. If the camera moves, readjust the straps or mounts until it is securely attached.
Testing the camera setup
Before hitting the road, it’s crucial to test the camera setup to ensure everything is working properly. Here are some steps to follow:
- Check the camera angle: Adjust the camera angle to make sure it provides a clear view of the area behind your vehicle.
- Test the display: Turn on the camera and check the display to ensure the image is clear and free of distortion.
- Check the wiring: Make sure all the wiring is securely connected and there are no loose connections that could cause issues while driving.
Final checks
Once you’ve completed these steps, take a test drive to see how the camera performs in real-world conditions. Pay attention to any issues or glitches that may arise and make adjustments as needed.
Ensuring proper wiring
Proper wiring is crucial when mounting a digital camera on a rear view mirror. Follow these steps to ensure a safe and secure installation:
1. Check the power source
Make sure to connect the camera to a reliable power source in the vehicle. This can be the fuse box or any other power outlet that provides constant power. Avoid connecting to sources that are linked to the ignition system to ensure the camera functions even when the vehicle is turned off.
2. Secure the wires
After connecting the camera to the power source, carefully secure the wires along the headliner, pillars, or under the carpet to prevent them from dangling or getting caught on moving parts. Use wire clips or adhesive tape to keep the wires tidy and out of sight for a professional-looking installation.
Final adjustments and fine-tuning
Once you have securely mounted your digital camera on the rear view mirror, it’s time to make final adjustments to ensure optimal positioning and stability.
Start by checking the angle of the camera to ensure it captures the desired field of view. Make small adjustments as needed until you are satisfied with the positioning.
Securing the camera
Double-check all the screws and mounts to ensure they are tightened properly. This will help prevent the camera from shifting or falling off while driving.
Tip: Use a level to ensure the camera is perfectly aligned and straight.
Testing the camera
Before hitting the road, test the camera’s functionality by turning it on and checking the video feed. Make sure the camera is capturing clear images and video without any obstructions.
Remember to adjust the settings on your digital camera for optimal performance based on your driving conditions.
Enjoying the benefits of your mounted camera
Once you have successfully mounted your digital camera on your rear view mirror, you can start enjoying the numerous benefits it offers. Here are some advantages of having a mounted camera:
Enhanced Safety: With a mounted camera, you have an extra set of eyes on the road, helping you capture important moments and potential hazards.
Recording Evidence: In case of accidents or disputes, the footage from your mounted camera can serve as valuable evidence to protect yourself and prove your innocence.
Improved Parking: Parking becomes easier with a mounted camera as you can accurately judge distances and avoid obstacles.
Memorable Moments: Capture memorable moments during your drives and relive them by reviewing the footage from your mounted camera.
Overall, having a mounted camera on your rear view mirror can greatly enhance your driving experience and provide you with added safety and convenience.
FAQ
Can I mount my digital camera on the rear view mirror of my car?
Yes, you can mount a digital camera on the rear view mirror of your car. It can be a convenient way to record your driving experiences or for security purposes.
What are the benefits of mounting a digital camera on the rear view mirror?
Mounting a digital camera on the rear view mirror can provide you with a clear view of the road ahead and can capture any incidents that may occur while driving. It can also serve as a security measure by recording any suspicious activities around your vehicle.
Is it legal to mount a digital camera on the rear view mirror of a car?
It is important to check the laws and regulations in your area regarding the use of digital cameras in cars. Some jurisdictions may have restrictions on where and how cameras can be mounted in a vehicle. Always ensure that your setup complies with local laws.
What are some tips for securely mounting a digital camera on the rear view mirror?
When mounting a digital camera on the rear view mirror, make sure to use high-quality mounting equipment that can securely hold the camera in place. Additionally, consider the angle and position of the camera to ensure optimal visibility and recording capabilities. Regularly check the mount to ensure it is secure and adjust it as needed.


