
 Carmen J. Moore

Light photography is a captivating art form that allows you to manipulate light in creative ways to capture stunning images. With the advancement of digital cameras, the possibilities for experimenting with light have expanded, making it easier than ever to create mesmerizing photographs.
Whether you’re a beginner or a seasoned photographer, understanding the fundamentals of light photography with a digital camera can take your skills to the next level. In this article, we’ll explore essential tips and techniques to help you master the art of capturing light with your digital camera.



Mastering Light Photography with Digital Camera
Light plays a crucial role in photography, and mastering light photography with a digital camera can elevate your images to a whole new level. Here are some tips to help you make the most of light in your photography:
| 1. Understand the Basics | Learn the fundamentals of light, such as intensity, direction, and color temperature. Experiment with different lighting conditions to see how they affect your images. |
| 2. Use Natural Light | Take advantage of natural light sources, such as sunlight or window light, to create beautiful and soft lighting in your photos. Pay attention to the quality of light at different times of the day. |
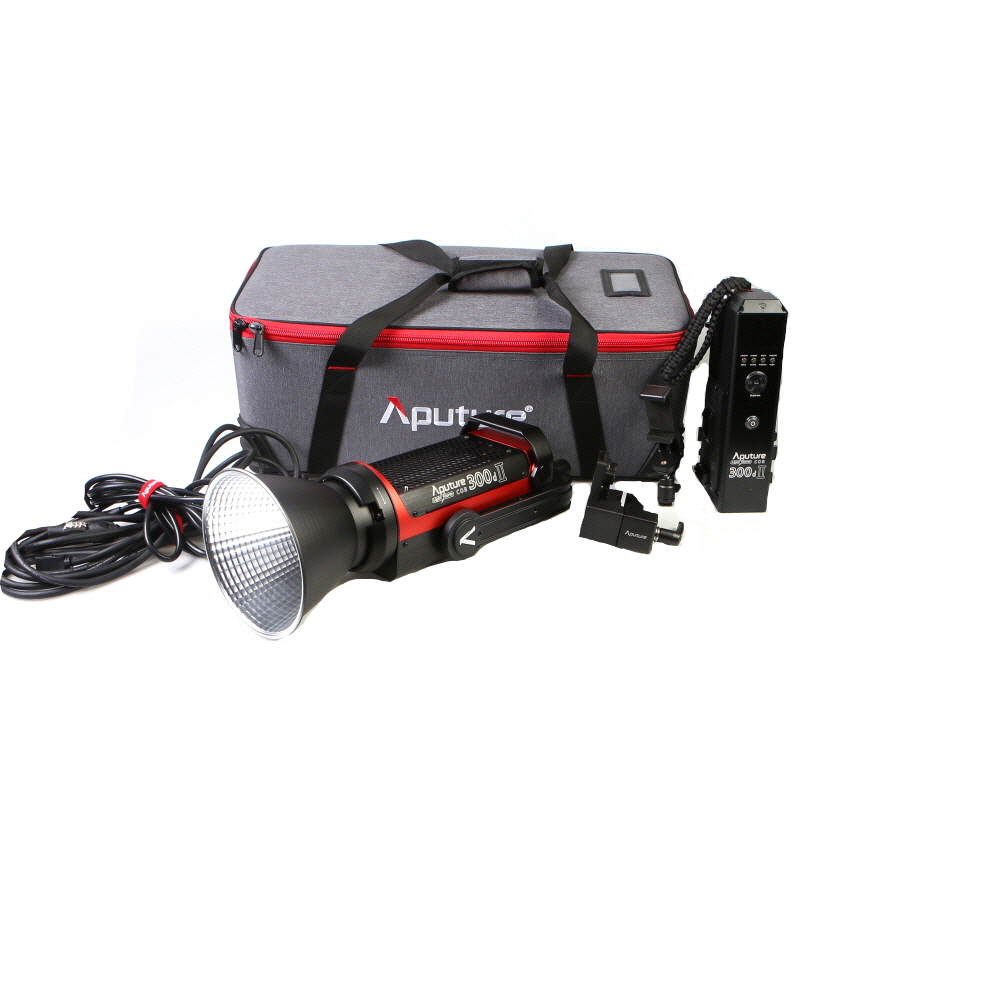
| 3. Experiment with Artificial Light | Explore the use of artificial light sources, such as flash or continuous lighting, to add drama and creativity to your images. Experiment with different lighting setups to achieve the desired effect. |
| 4. Control the Light | Use light modifiers, such as reflectors, diffusers, or gels, to control and shape the light in your photos. Play with the placement of these modifiers to achieve the desired lighting effect. |
| 5. Practice and Experiment | The key to mastering light photography is practice and experimentation. Take the time to shoot in different lighting conditions and analyze the results. Don’t be afraid to try new techniques and push the boundaries of light in your photography. |
Understanding the Basics of Light Photography
Light photography is all about capturing the essence of light in your images. Understanding the basics of light photography is crucial to creating stunning photos that truly shine. Here are some key concepts to keep in mind:
1. Light Sources
Identifying and utilizing different light sources is essential in light photography. Natural light, such as sunlight or moonlight, can create unique and atmospheric effects in your photos. Artificial light sources, like lamps or flashlights, can also be used creatively to add drama and interest to your images.
2. Light Direction
The direction of light can dramatically affect the mood and composition of your photos. Experiment with front lighting, side lighting, and backlighting to see how they influence the subject and overall look of your images. Understanding how light direction interacts with your subject can help you create dynamic and visually compelling photographs.
| Key Concepts | Examples |
|---|---|
| Light Sources | Natural light, artificial light |
| Light Direction | Front lighting, side lighting, backlighting |
Choosing the Right Camera Settings for Light Photography
When capturing light photography with a digital camera, selecting the correct camera settings is crucial to achieving the desired results. Here are some key factors to consider:

1. Shutter Speed
Adjusting the shutter speed allows you to control how long the camera’s sensor is exposed to light. For light photography, a slower shutter speed is often preferred to capture the movement and trails of light sources.
2. Aperture
The aperture setting determines the amount of light that enters the camera. A wider aperture (lower f-stop number) lets in more light, which is beneficial for low-light conditions. However, consider the depth of field you want in your shot when setting the aperture.
Experiment with different combinations of shutter speed, aperture, and ISO settings to find the optimal balance for your light photography. Don’t be afraid to try long exposures or play with different lighting conditions to create unique and captivating images.
Utilizing Natural Light for Stunning Photos
One of the most important elements in photography is light. Natural light can create stunning effects in your photos and enhance the overall quality of your images. Here are some tips on how to utilize natural light for your photography:
1. Golden Hour
One of the best times to capture photos with natural light is during the golden hour, which occurs during the first hour of sunrise and the last hour of sunset. The light during this time is soft, warm, and diffused, creating a beautiful glow in your photos.
2. Window Light
Another great source of natural light is window light. Position your subject near a window to take advantage of the soft, diffused light that comes through. This type of light can create flattering portraits and add a natural glow to your images.
Experimenting with Artificial Lighting Techniques
Artificial lighting can open up a whole new world of possibilities in light photography. By using different types of artificial light sources, such as studio lights, LED panels, or even household lamps, you can create unique and dramatic lighting effects.
Here are some tips for experimenting with artificial lighting techniques:
1. Play with shadows: Position your artificial light source at different angles to create interesting shadows and depth in your photos.
2. Use colored gels: Experiment with colored gels placed over your light source to add a pop of color to your photos.

3. Try light painting: Use a long exposure and a moving light source to create light trails or abstract patterns in your photos.
4. Mix natural and artificial light: Combine natural light with artificial light sources to create a dynamic and visually interesting scene.
By experimenting with artificial lighting techniques, you can take your light photography to the next level and create stunning and unique images.
Capturing Light Trails and Motion with Long Exposure
One of the creative ways to use light in photography is to capture light trails and motion with long exposure. This technique involves using a slow shutter speed to capture moving light sources, such as car lights, fireworks, or stars, as streaks or trails in the image.
To capture light trails and motion with long exposure, you will need a tripod to keep your camera steady, a remote shutter release or self-timer to avoid camera shake, and a dark environment to prevent overexposure. Set your camera to manual mode and adjust the shutter speed to a few seconds or more, depending on the speed of the moving light source. Experiment with different shutter speeds to achieve the desired effect.

When shooting light trails, try to include leading lines or interesting compositions in your frame to enhance the visual impact of the image. You can also combine different light sources or colors to create dynamic and colorful light trails. Remember to review your images and adjust your settings as needed to achieve the best results.
Enhancing Light Photography with Post-Processing Tools
Once you have captured your light photography images with your digital camera, you can further enhance them using post-processing tools. These tools allow you to adjust the exposure, contrast, and color balance of your photos to make them look even more stunning.
One popular post-processing tool is Adobe Lightroom, which offers a wide range of editing features such as exposure adjustment, color correction, and noise reduction. You can also use Adobe Photoshop to fine-tune your light photography images by adding filters, adjusting levels, and retouching imperfections.
Another great post-processing tool is Capture One, which is known for its advanced color grading capabilities and tethered shooting support. With Capture One, you can easily enhance the colors and tones of your light photography images to create a more vibrant and dynamic look.
By using post-processing tools, you can take your light photography to the next level and create visually stunning images that will impress your viewers. Experiment with different editing techniques and find the style that best suits your creative vision.

Tips and Tricks for Perfecting Your Light Photography Skills
Light photography can produce stunning and captivating images when done correctly. Here are some tips and tricks to help you perfect your light photography skills:
1. Understand the Basics of Exposure
Understanding exposure is crucial for light photography. Experiment with different shutter speeds, aperture settings, and ISO levels to achieve the desired effect. Remember, the longer the exposure, the more light will be captured in the image.
2. Use a Tripod for Stability
When shooting in low light conditions, using a tripod can help stabilize your camera and prevent blurry images. This is especially important when using longer exposure times to capture light trails or night scenes.
By following these tips and practicing regularly, you can improve your light photography skills and capture stunning images that showcase the beauty of light.
Exploring Creative Lighting Effects for Unique Shots
One of the most exciting aspects of light photography is the ability to experiment with different lighting effects to create unique and captivating shots. By playing with light sources and angles, you can add drama, mystery, and visual interest to your images.

1. Silhouettes
Creating silhouettes is a classic technique in light photography. To achieve this effect, position your subject in front of a bright light source (such as the sun) and adjust your camera settings to expose for the background light. This will result in a dark silhouette of your subject against a bright background, creating a striking and dramatic image.
2. Light Painting
Light painting involves using a light source to “paint” light onto your subject or background during a long exposure. This technique allows you to create abstract patterns, shapes, and textures in your images. Experiment with different light sources, such as flashlights, LED lights, or even sparklers, to add a touch of magic to your photos.
FAQ
What equipment do I need to do light photography with a digital camera?
To do light photography with a digital camera, you will need a digital camera with manual settings, a tripod to keep your camera steady, a remote shutter release or self-timer function, and various light sources such as flashlights, candles, or string lights.
Can you suggest some creative ideas for light photography with a digital camera?
Sure! Some creative ideas for light photography with a digital camera include light painting, where you can use a flashlight to draw shapes in the air, creating light trails, capturing light reflections on water surfaces, or experimenting with long exposure shots of moving lights.
What settings should I use on my digital camera for light photography?
For light photography, you should set your digital camera to manual mode so you can control the exposure settings. Use a low ISO setting to reduce noise, a small aperture for a greater depth of field, and a slow shutter speed to capture the movement of light. Experiment with different settings to achieve the desired effect.



I’m not sure I agree with the advice about only shooting during the golden hour. I often find that mid-day sun can create great shadows and contrast for certain subjects, especially in urban settings.
That’s a valid point! Mid-day lighting can be harsh, but it can also create dramatic effects. It really depends on the desired look of your photos. Experimenting with different times of day can lead to interesting results.
I’ve only shot with natural light so far. How does the quality of artificial light compare? Is it worth investing in additional lighting equipment?
Natural light can create beautiful, soft effects, especially during golden hour. Artificial light allows for more control and creativity, especially in low-light conditions. It can definitely be worth the investment if you're looking to expand your skills.
I just tried light painting for the first time, and it was incredible! I used a flashlight with a long exposure at night, and the results were so cool. I recommend practicing in a dark place and experimenting with different shapes and movements. Just be patient, as it takes some tries to get it right!
That sounds amazing! I’ve been wanting to try light painting. Did you use any specific settings on your camera?
What are some good beginner tips for controlling light with reflectors and diffusers? I’m just starting out and feel a bit overwhelmed.
Great advice! Starting with simple items like white sheets or reflectors can make a big difference. Experiment with angles and distances to see how they affect the light.
Reflectors can be super helpful! I've used a white sheet or even a car sunshade as a reflector to bounce natural light onto my subject. It’s cheap and effective!