


As a photography enthusiast, I often find myself in situations where I need to capture high-quality images with my phone camera and then enlarge them for printing or display purposes. However, the default settings on most phone cameras are not optimized for enlargement, resulting in pixelated or blurry images when blown up.
To overcome this challenge, I have experimented with various digital camera settings to achieve the best results when enlarging phone photos. One setting that has consistently delivered superb image quality is adjusting the resolution to the highest possible setting.
By setting the resolution to its maximum value, the camera captures more details and information, resulting in sharper and crisper images. This is especially important when enlarging the photos, as it allows for more data to work with and reduces the chances of pixelation or loss of detail.

In addition to resolution, I also pay close attention to other camera settings such as ISO, aperture, and shutter speed. Controlling these settings effectively allows me to achieve the desired depth of field, sharpness, and lighting conditions in my photos. By adjusting them according to the shooting environment and subject, I can ensure that my phone camera captures images that can be easily enlarged without compromising on quality.
Best Digital Camera Setting for Enlarging Phone
When it comes to capturing moments on my phone, I always want to make sure that the quality of the photos is top-notch. One of the ways to achieve this is by using a digital camera to take pictures and then enlarging them on my phone later. However, it is important to know the best digital camera settings to ensure the best results when enlarging these photos.
Focusing on image resolution: The most crucial setting to pay attention to when using a digital camera for enlarging photos on a phone is the image resolution. Higher resolution images have more pixels and therefore retain more detail when enlarged. It is recommended to set the camera to its highest resolution setting to capture the most detail possible.
Adjusting the ISO: The ISO setting on a digital camera controls its sensitivity to light. When taking photos that will later be enlarged on a phone, it is important to adjust the ISO setting to ensure the image doesn’t appear too grainy or noisy. Lower ISO settings, such as 100 or 200, are preferable for capturing crisp and clear images that can be enlarged without loss of quality.
- Set the image resolution to the highest possible setting.
- Adjust the ISO setting to a lower value, such as 100 or 200.
- Use a tripod or stabilize the camera to avoid blurriness in the photos.
- Experiment with different aperture settings to control the depth of field in the photos.
By following these recommended camera settings, I can ensure that the photos I capture on my digital camera will look stunning even when enlarged on my phone. It’s all about maximizing image quality and retaining as much detail as possible, so that every moment can be perfectly preserved.
Understanding the importance of the digital camera settings
The digital camera settings play a crucial role in capturing high-quality images that are suitable for enlarging. Each setting has its own impact on the final outcome, and understanding their importance is essential for achieving the desired results.
One of the key settings to consider is the resolution. The resolution determines the number of pixels in the image, which directly affects the level of detail and sharpness. For enlarging photos, it is recommended to select the highest resolution available on the digital camera. This ensures that there are enough pixels to maintain the quality when the image is enlarged.
Another important setting is the image format. Most digital cameras offer the option to save images in various file formats, such as JPEG or RAW. JPEG is a compressed format that is commonly used for everyday photography, but it may result in loss of detail when the image is enlarged. On the other hand, RAW files contain all the data captured by the camera sensor, allowing for greater flexibility in post-processing and preserving more details when enlarging.
Additionally, the exposure settings, such as aperture, shutter speed, and ISO, should be carefully adjusted to ensure proper exposure and eliminate any potential noise or blur. These settings can vary depending on the lighting conditions and the desired effect, but it is important to find the right balance to capture a well-exposed image that can be successfully enlarged.
In conclusion, understanding and utilizing the digital camera settings correctly is crucial for capturing high-quality images that are suitable for enlarging. By selecting the appropriate resolution, image format, and exposure settings, you can ensure that your photos retain their details and sharpness when enlarged. Taking the time to experiment and learn about these settings will ultimately result in better enlargement results and more satisfying photography experiences.
Choosing the Right Resolution for Enlarging Phone Photos
As someone who loves photography and frequently captures moments on my phone, I understand the importance of choosing the right resolution when it comes to enlarging phone photos. Enlarging an image can often result in a loss of quality, making it crucial to select the appropriate resolution to maintain clarity and detail.
When enlarging phone photos, it is essential to consider the purpose of the enlarged image. If you plan to print the photo or display it in a larger format, opting for a higher resolution is recommended. Higher resolution images contain more pixels, allowing for greater detail and sharpness in the enlarged version.
- Resolution: The resolution of a photo is determined by the number of pixels it contains. Higher resolution images typically have more pixels and are therefore capable of maintaining quality when enlarged.
- Image size: The size of the image file also plays a role in the quality of an enlarged photo. Larger image files tend to contain more information and can result in better quality when scaled up.
- Aspect ratio: Consider the aspect ratio of the original photo and the desired enlargement. Ensuring that the aspect ratios match can help prevent distortion or cropping of the image during the enlargement process.
- Editing software: Utilize editing software that allows you to adjust the resolution and size of the image. Many programs offer options to maintain resolution or upscale images while mitigating quality loss.
Ultimately, the right resolution for enlarging phone photos depends on the intended use and the quality of the original image. By considering these factors and utilizing appropriate editing software, you can ensure that your enlarged phone photos retain their clarity and detail.
Adjusting the ISO for Optimal Image Quality
When it comes to capturing high-quality photos, adjusting the ISO setting on your digital camera is crucial. ISO refers to the sensitivity of your camera’s image sensor to light. By understanding how to adjust this setting, you can achieve optimal image quality.
Firstly, it’s important to note that higher ISO values result in brighter images, but they also introduce more digital noise. So, finding the right balance is key. I recommend starting with a lower ISO setting when shooting in well-lit conditions. This will minimize noise and produce cleaner, more detailed photos. However, in low-light situations, increasing the ISO is necessary to capture enough light and avoid blurred images.
Experimenting with different ISO settings is often the best way to determine the optimal setting for each specific scenario. Keep in mind that modern digital cameras are equipped with advanced noise reduction technologies, making it possible to use higher ISO values without sacrificing too much image quality. However, it’s important to strike the right balance to avoid excessive noise and maintain sharpness in your photos.
Ultimately, finding the optimal ISO setting for your digital camera requires practice and experimentation. By understanding how different ISO values affect image quality, you can make informed decisions and capture stunning photos in a variety of lighting conditions.
Selecting the appropriate white balance setting
When it comes to taking photos with a digital camera, one of the most important settings to consider is the white balance. The white balance setting determines how the camera interprets the colors in a scene and ensures that the white in an image appears truly white. Selecting the correct white balance setting can greatly improve the overall quality of your photos, especially when enlarging images captured with a phone.
There are several white balance presets available on most digital cameras, such as daylight, cloudy, shade, tungsten, and fluorescent. Each preset corresponds to a different lighting condition and is designed to compensate for the color temperature of that particular light source. It’s important to choose the appropriate white balance setting that matches the lighting conditions in order to accurately capture the colors in the scene.
- Daylight: Use this setting when shooting outdoors on a sunny day. It helps to maintain the natural color temperature of sunlight and produces accurate colors.
- Cloudy: Use this setting when shooting on a cloudy or overcast day. It compensates for the cooler color temperature of the diffuse light and prevents the images from appearing too blue.
- Shade: This setting is ideal for shooting in shaded areas. It adds warmth to the image and counteracts the bluish tint caused by the surrounding cool light.
- Tungsten: Use this setting when shooting under incandescent lighting. It balances the warm orange tones emitted by tungsten lights and ensures that whites appear neutral.
- Fluorescent: This setting is designed for shooting under fluorescent lighting conditions. It helps to remove the greenish cast often associated with fluorescent lights and produces more accurate colors.
While the automatic white balance setting can work well in many situations, it is not always accurate, especially when shooting with a phone. In such cases, it is best to experiment with different white balance presets to find the one that gives the most accurate representation of colors. Additionally, some digital cameras also allow for manual white balance adjustment, where you can use a neutral white or gray object as a reference to set the white balance. This can be particularly useful when shooting in challenging lighting conditions or when you want to achieve a specific creative effect.
In conclusion, selecting the appropriate white balance setting is crucial for capturing accurate colors and ensuring that whites appear neutral. By understanding the different white balance presets and experimenting with them, you can enhance the overall quality of your photos, especially when enlarging images captured with a phone.
Using the Right Aperture Setting for Sharpness and Depth of Field
When it comes to capturing sharp and detailed images with the right amount of depth, choosing the correct aperture setting on your digital camera is crucial. The aperture setting determines the amount of light that enters the lens and affects the sharpness of your image as well as the depth of field.
Depth of field refers to the area in your image that is in focus, from the foreground to the background. By adjusting the aperture, you can control how much of your image is in sharp focus and how much is blurred. A wider aperture (lower f-number) creates a shallow depth of field, where the subject is in sharp focus while the background is blurred. On the other hand, a narrower aperture (higher f-number) creates a deeper depth of field, where both the subject and the background are in sharp focus.
For sharpness, it is generally recommended to use a narrower aperture setting, such as f/8 or higher. This helps to ensure that the entire image is in focus, especially for landscape or architectural photography where you want to capture all the details. A narrower aperture also reduces the impact of lens aberrations, resulting in sharper images. However, it’s important to consider the available light and adjust other settings, like ISO and shutter speed, accordingly to maintain proper exposure.
When using a wider aperture setting for a shallow depth of field, such as f/2.8 or lower, you can create a beautiful background blur that isolates your subject and draws attention to it. This is often desired in portrait photography or for emphasizing a specific subject in a larger scene. Just keep in mind that the focus needs to be precise as the shallow depth of field can make it challenging to achieve sharpness throughout the image.
In conclusion, choosing the right aperture setting on your digital camera is essential for achieving sharpness and controlling the depth of field in your images. Consider the desired effect, whether it’s a deeper or shallower focus, and adjust the aperture accordingly while keeping in mind the available light and other camera settings. Experiment with different aperture settings to find the perfect balance for capturing sharp and visually appealing photographs.
Understanding the impact of shutter speed on image quality
As a photographer, I have learned that one of the most important aspects of capturing a great image is understanding the impact of shutter speed on image quality. Shutter speed refers to the length of time that the camera’s shutter remains open, allowing light to enter and hit the camera’s sensor. It plays a crucial role in determining the overall sharpness and clarity of the resulting image.
Firstly, it is important to note that a fast shutter speed can freeze motion and capture sharp images, while a slow shutter speed can create motion blur. One example where shutter speed is particularly crucial is when photographing sports or action scenes. In these situations, using a fast shutter speed is essential to freeze the movement and capture clear, sharp images of the fast-paced action. On the other hand, when photographing scenes where motion blur can add an artistic effect, such as flowing water or moving vehicles, using a slower shutter speed can help to achieve that desired effect.
Secondly, shutter speed also affects the amount of light that enters the camera. A faster shutter speed will let in less light, while a slower shutter speed will allow more light to enter. This is important to consider when shooting in different lighting conditions. For example, during bright daylight, a fast shutter speed might be necessary to avoid overexposure. In low-light situations, however, using a slower shutter speed can help to capture more light and produce a brighter image.
In conclusion, understanding the impact of shutter speed on image quality is crucial for any photographer. It not only affects the amount of light that enters the camera, but also determines the sharpness and overall clarity of the captured image. The choice of shutter speed depends on the specific subject being photographed and the desired effect. Experimenting with different shutter speeds and understanding how they influence the final result can greatly enhance the quality of your photographs.
Exploring the Benefits of Shooting in RAW Format
When it comes to capturing moments and creating lasting memories, the quality of the photographs is crucial. As a photography enthusiast, I have learned about the benefits of shooting in RAW format and how it can enhance the images I capture.

Higher quality and more control: One of the main advantages of shooting in RAW format is the higher image quality it offers. Unlike shooting in JPEG, which compresses and processes the image, shooting in RAW allows for a greater level of control during post-processing. This means I can make adjustments to exposure, white balance, and other settings without sacrificing image quality.
Flexible editing: RAW files contain more data and information compared to JPEG files, making it easier to edit and enhance the image later on. Whether it’s adjusting the exposure, recovering details in shadows or highlights, or fine-tuning the colors, shooting in RAW gives me more flexibility in editing to achieve my desired outcome.
Better image details: With RAW format, I can capture images with higher levels of detail and sharpness. The additional data in RAW files allows for better noise control, resulting in cleaner and more detailed images. This is especially important when enlarging photos, as it helps retain the clarity and sharpness of the image without losing any details.
Preserving the original file: When shooting in RAW format, the original image file remains unchanged, as the camera captures the raw data from the sensor. This means that any adjustments or edits I make are saved separately, leaving the original file intact. This is particularly useful when experimenting with different editing techniques or when revisiting old photos to make new adjustments.
Overall, shooting in RAW format has become an essential part of my photography workflow. The ability to have more control over image settings, flexibility in post-processing, better image details, and the preservation of the original file make shooting in RAW a valuable option for any photography enthusiast looking to capture the best possible images.
Utilizing Manual Focus for Precise Image Enlargements
When it comes to enlarging images captured with a phone camera, utilizing the manual focus setting on a digital camera can greatly improve the precision of the enlargement. By manually adjusting the focus, you can ensure that the areas of the image you want to enlarge are sharp and clear, while minimizing any distortion or blurriness.
One advantage of using the manual focus setting is that it allows you to have complete control over the focus point. This is particularly useful when enlarging images, as you may want to focus on specific details or elements within the frame. By manually adjusting the focus, you can pinpoint these areas and ensure they are sharp, resulting in a more detailed and accurate enlargement.
When using manual focus for image enlargements, it’s important to take your time and experiment with different focus settings. Start by identifying the areas of the image you want to enlarge and adjust the focus accordingly. Use the camera’s viewfinder or LCD screen to visually check the focus and make any necessary adjustments. Keep in mind that the optimal focus point may vary depending on the subject, lighting conditions, and desired outcome.
Additionally, when utilizing manual focus for enlargements, consider using a tripod or stabilizing the camera to minimize any potential camera shake. This will help ensure that your images are sharp and clear, especially when enlarging them to larger sizes. It’s also recommended to shoot in RAW format to preserve maximum image quality, as RAW files retain more detail and provide greater flexibility during post-processing.
In conclusion, utilizing the manual focus setting on a digital camera can greatly enhance the precision of image enlargements. By manually adjusting the focus, you can ensure that specific details in the frame are sharp and clear, resulting in more accurate and detailed enlargements. Take your time to experiment with different focus settings, consider using a tripod or stabilizing the camera, and shoot in RAW format for optimal results.
Experimenting with exposure compensation for balanced exposure
Exposure compensation is a powerful tool in digital photography that allows you to adjust the exposure of your images to achieve a more balanced exposure. By adjusting the exposure compensation, you can make your photos brighter or darker, depending on the lighting conditions and the effect you want to achieve.
In this article, we have discussed the best digital camera settings for enlarging phone photos. However, sometimes the default camera settings may not provide the desired results, especially when it comes to exposure. That’s where exposure compensation comes in handy.
What is exposure compensation?
Exposure compensation is a setting that allows you to manually adjust the exposure of your photos. It is usually represented by a scale that ranges from -3 to +3 EV (Exposure Value), with 0 EV being the standard or “correct” exposure. Moving the scale to the left (-) makes the image darker, while moving it to the right (+) makes the image brighter.
How to use exposure compensation?
To use exposure compensation, you need to first find the exposure compensation button or dial on your camera. Once you have located it, simply adjust it to the desired value, depending on the lighting conditions and the effect you want to achieve. Keep in mind that positive exposure compensation (+) will make your image brighter, while negative exposure compensation (-) will make it darker.
Benefits of experimenting with exposure compensation
- Control over exposure: By experimenting with exposure compensation, you can have more control over the exposure of your photos, allowing you to achieve the desired brightness and contrast.
- Creative effects: Exposure compensation can be used to create different creative effects. For example, you can intentionally underexpose a photo to create a moody or dramatic effect, or overexpose it to create a dreamy, ethereal look.
- Adjust for challenging lighting conditions: In situations where the lighting conditions are challenging, such as high contrast scenes or backlit subjects, exposure compensation can help you achieve a more balanced exposure and avoid blown-out highlights or underexposed shadows.
Conclusion
Experimenting with exposure compensation is a valuable technique that can greatly enhance your photography. It allows you to have more control over the exposure of your photos and create unique and impactful images. By adjusting the exposure compensation, you can achieve a more balanced exposure, even when shooting with a phone camera. So don’t be afraid to play around with exposure compensation and see how it can transform your photos.
Best digital camera setting for enlarging phone
4K Digital Vlogging Camera with Flip Screen
Features
| Model | W08 |
| Color | YL15-W08-C-Black |
| Is Adult Product |


Pentax K-1 Mark II DSLR Camera Bundle
Features
| Part Number | 38607_K5 |
| Model | K-1 Mark II |


| Price history for Pentax K-1 Mark II DSLR Camera Bundle | |
|---|---|
|
Latest updates:
|
|
HPRT Portable Photo Printer with Paper
Features
| Part Number | CP4100-108 |
| Model | CP4100-108 |
| Warranty | 1 year |
| Color | Beige |
| Size | Machine only |


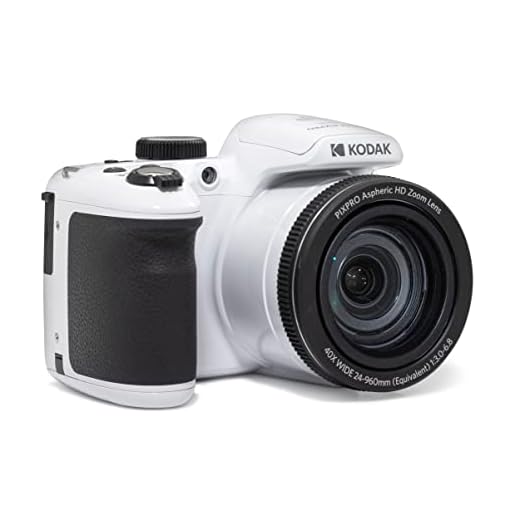
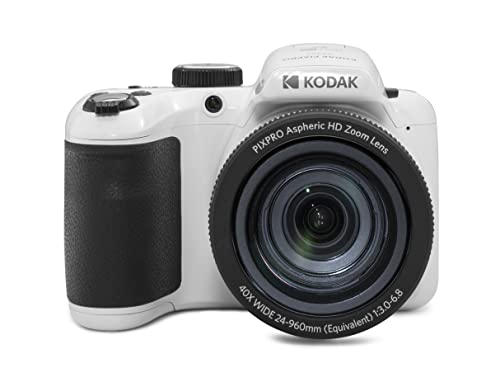
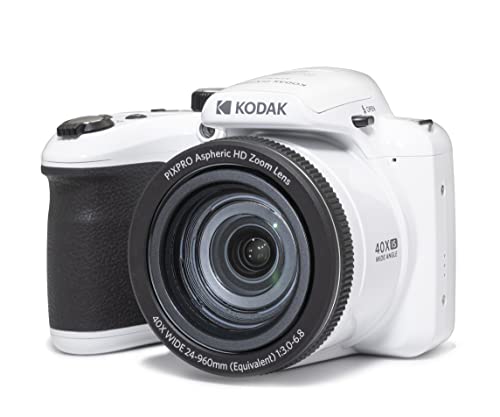
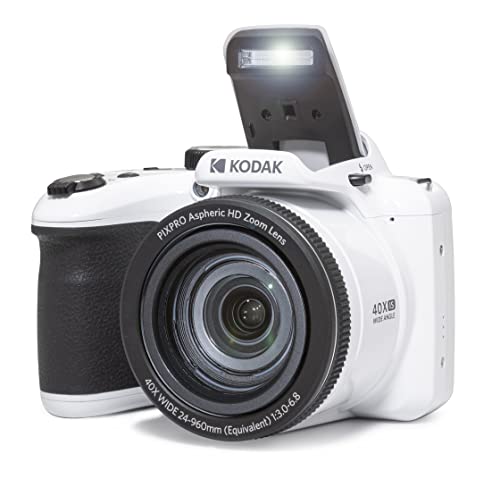
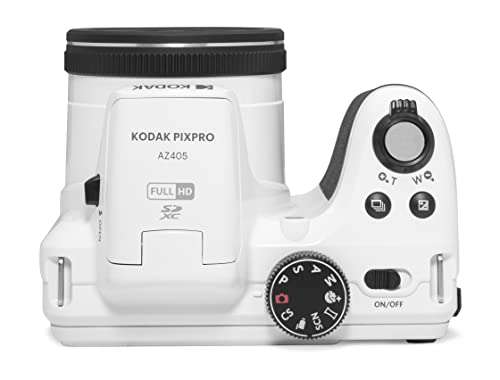
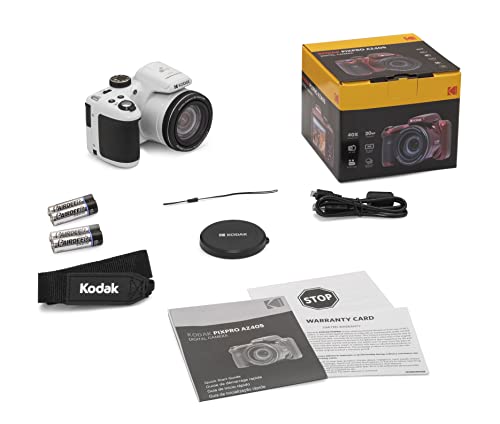
KODAK PIXPRO 20MP Vlogging Camera
Features
| Part Number | AZ405-WH |
| Model | AZ405-WH |
| Warranty | 1 year manufacturer |
| Color | White |
| Release Date | 2022-11-05T00:00:01Z |
| Language | English |

| Price history for KODAK PIXPRO 20MP Vlogging Camera | |
|---|---|
|
Latest updates:
|
|
Compact Autofocus 4K Digital Camera
Features
| Part Number | DC402-AF |
| Model | DC402 |
| Color | White |
| Size | Compact |


4K Digital Camera with Wide-Angle Lens
Features
| Part Number | HL-4K |
| Model | WX02-1 |
| Color | Black |
| Size | compact |


| Price history for 4K Digital Camera with Wide-Angle Lens | |
|---|---|
|
Latest updates:
|
|
Question and answers:
What is the best digital camera setting for enlarging phone photos?
The best digital camera setting for enlarging phone photos is to shoot in the highest resolution possible. This will provide the most amount of detail and allow for larger prints or image enlargements without loss of quality.
Should I shoot in RAW or JPEG format for enlarging phone photos?
It is recommended to shoot in RAW format for enlarging phone photos. RAW files contain more information and allow for more flexibility in post-processing, which is especially important when enlarging an image.
What ISO setting should I use for enlarging phone photos?
For enlarging phone photos, it is best to use a low ISO setting to minimize noise in the image. ISO 100 or 200 is generally a good starting point, but this may vary depending on the lighting conditions.
What aperture setting should I use for enlarging phone photos?
The ideal aperture setting for enlarging phone photos depends on the desired depth of field. If you want a shallow depth of field and background blur, use a wide aperture (low f-number). For maximum sharpness throughout the image, use a smaller aperture (higher f-number).
Should I use manual focus or autofocus for enlarging phone photos?
It is generally recommended to use autofocus when enlarging phone photos. Modern autofocus systems are reliable and accurate, ensuring that your subject is sharp. However, if you have a specific creative vision or if the autofocus is struggling, manual focus can be a viable option.


