
 Carmen J. Moore
Security cameras are an essential part of any surveillance system, providing peace of mind and security for your property. However, like any electrical device, security camera wires can be vulnerable to damage, especially if they are exposed to the elements or accidentally cut. If you find yourself in a situation where your security camera wire has been cut, don’t panic – it is possible to repair it yourself with the right tools and know-how.
Before attempting to repair a cut security camera wire, it is important to assess the extent of the damage. If the wire has been completely severed, you may need to replace the entire length of the wire. However, if the wire has only been partially cut, you may be able to repair it without too much difficulty.
To repair a cut security camera wire, you will need a few basic tools, including wire strippers, electrical tape, and a soldering iron. First, carefully strip the insulation from the ends of the cut wire to expose the bare metal. Then, twist the corresponding wires together and solder them to create a secure connection. Finally, wrap the exposed wires in electrical tape to provide insulation and protection.

How to Fix a Cut Security Camera Wire
If you have a cut security camera wire, don’t panic. Follow these steps to repair it:
- Locate the cut in the wire.
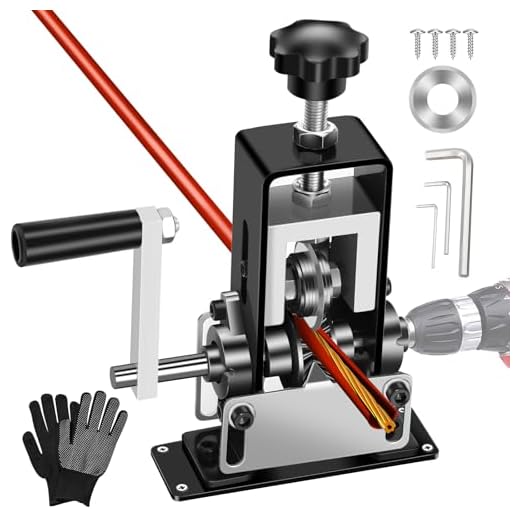
- Strip the insulation from each end of the cut wire.
- Twist the exposed copper wires together, matching the colors.
- Secure the connection with electrical tape or wire nuts.
- Test the camera to ensure the connection is secure and the image is clear.
By following these steps, you can quickly and easily fix a cut security camera wire and ensure your surveillance system stays operational.
Find the Cut Wire
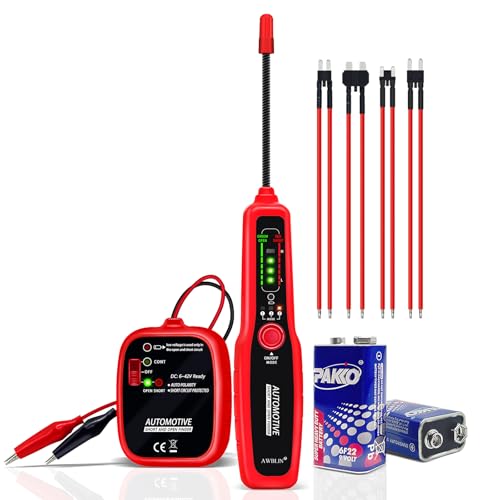
Before you can repair a cut security camera wire, you need to locate the exact spot where the wire has been severed. Start by visually inspecting the wire for any visible damage or cuts. If you can’t see any obvious signs of damage, you may need to use a multimeter to test the continuity of the wire and pinpoint the location of the break.
Once you have identified the cut wire, mark the location so you can easily find it when it’s time to repair the wire. Keep in mind that the cut wire may be located inside a wall or conduit, so you may need to use a cable tracer or probe to follow the wire’s path and locate the break.
Gather Necessary Tools
Before you begin repairing the cut security camera wire, make sure you have the following tools on hand:
- Wire strippers
- Electrical tape
- Wire connectors
- Multimeter (optional for testing)
- Heat shrink tubing (optional for added protection)
Having these tools ready will ensure you can properly repair the cut wire and restore your security camera’s functionality.
Strip the Wire Insulation
After exposing the damaged section of the security camera wire, you will need to strip the insulation from the ends of the wires. Use wire strippers to carefully remove the outer protective layer of insulation without damaging the inner wires. Make sure to strip off only the necessary amount of insulation to expose enough wire for splicing and reconnecting.
Twist the Wires Together
After stripping the insulation from the wire ends, it’s time to twist the exposed wires together to create a secure connection.
Steps:
- Hold the stripped ends of the wires parallel to each other.
- Twist the copper strands of each wire around the corresponding wire from the other end.
Ensure that the twisted connection is tight and secure to prevent any electrical issues in the future.
Step 3: Secure the Connection
Once the wires are properly stripped and twisted together, it is important to secure the connection to ensure a stable and reliable connection. There are several methods to secure the connection:
- Electrical tape: Wrap a few layers of electrical tape around the exposed wires to protect them from moisture and provide insulation.
- Heat shrink tubing: Slide a piece of heat shrink tubing over the twisted wires and use a heat gun to shrink the tubing, creating a tight seal around the connection.
- Waterproof sealant: Apply a waterproof sealant over the connection to protect it from the elements and prevent corrosion.
Choose the method that best suits your needs and ensure that the connection is properly sealed to prevent any future issues.
Test the Connection
After splicing the wires back together, it’s important to test the connection to ensure that the camera is receiving power and functioning properly. Use a multimeter to check for continuity in the wires. Connect the multimeter to the exposed ends of the wires and set it to the continuity mode. If the multimeter beeps, it means the wires are connected properly. If there is no beep, double-check the splice and make sure the connection is secure.
Protect the Connection
Once you have repaired the cut security camera wire, it is important to protect the connection to ensure it stays secure and functional. You can use electrical tape to securely wrap around the repaired area, providing insulation and protection from moisture and other elements. Make sure to wrap the tape tightly to create a strong seal.
Additionally, you can use a waterproof sealant or silicone gel to further protect the connection from water damage. Apply a small amount of sealant around the repaired area and let it dry completely before testing the connection.
Reconnect the Camera
To reconnect the camera, strip the insulation off the ends of the camera wire and the power supply wire. Twist the exposed copper wires together, ensuring a secure connection. Use electrical tape or wire nuts to cover the exposed wires and protect the connection from moisture and other elements. Test the camera to ensure it is functioning properly before securing the wires in place. Once the camera is working, secure the wires with cable ties or clips to prevent any strain on the connection.
Ensure Proper Functionality
After repairing the cut security camera wire, it is crucial to test the functionality of the camera to ensure it is working properly. Connect the repaired wire back to the camera and power source, then observe the camera to see if it is capturing footage correctly. Check for any glitches or disturbances in the video feed, as these could indicate that the repair was not successful. If the camera is not functioning as expected, double-check the connection and repair work to identify any potential issues.



I had to repair a cut wire last winter when my camera was knocked over during a storm. I followed a similar process you outlined, but I used heat shrink tubing instead of electrical tape. It worked really well and seems more durable against moisture. I also tested the connection several times with a multimeter to be sure. Just wanted to share my experience!
What tools do I really need to repair a cut security camera wire? Are there any specific brands or types you recommend?
For basic repairs, wire strippers, electrical tape, and a soldering iron are essential. Brands like Klein Tools for strippers and 3M for electrical tape are quite reliable.
I just fixed my camera wire using electrical tape. It worked well, but I wish I had heat shrink tubing for added protection.