
 Carmen J. Moore
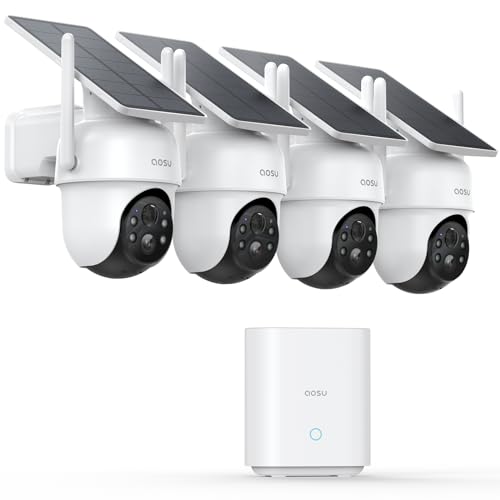
Security cameras are an essential component of any home security system. They provide you with the peace of mind that comes from knowing your property is being monitored and protected. Installing security cameras in your home can help deter potential intruders and provide valuable evidence in case of a break-in or other security incident.
However, installing security cameras can be a daunting task for many homeowners. Where should you place the cameras? How do you ensure they are properly connected to your monitoring system? In this article, we will guide you through the process of installing security cameras in your home, step by step, so you can protect your property and loved ones with confidence.
Step-by-Step Guide to Installing Security Camera in Housing
Installing a security camera in your housing is a great way to enhance your home security. Follow these step-by-step instructions to install your security camera:


| Step 1: | Choose the location for your security camera. Opt for a high vantage point with a clear view of the area you want to monitor. |
| Step 2: | Mount the camera bracket on the chosen location using screws and anchors for stability. |
| Step 3: | Connect the camera to the power source and ensure it is working properly. |
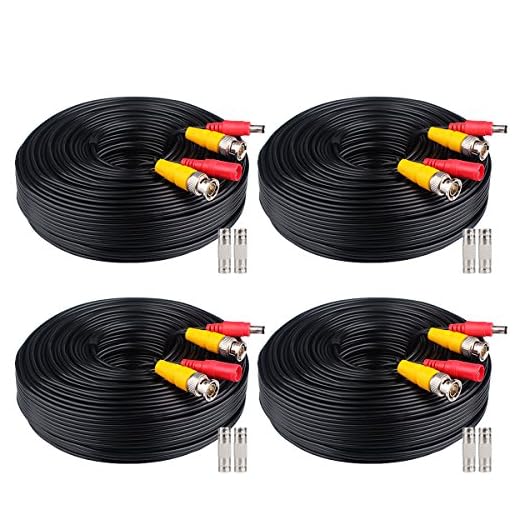
| Step 4: | Run the camera cables through the housing and make sure they are securely attached. |
| Step 5: | Adjust the camera angle to capture the desired view and tighten the screws to secure the position. |
| Step 6: | Test the camera to ensure it is recording and transmitting footage correctly. |
| Step 7: | Set up the monitoring system and configure any necessary settings for optimal performance. |
| Step 8: | Regularly check and maintain your security camera to ensure it continues to function effectively. |
Assess Your Property for Ideal Camera Placement
Before installing security cameras in your housing, it is crucial to assess your property to determine the best locations for camera placement. Start by identifying the vulnerable areas of your property that require monitoring, such as entry points, windows, and blind spots. Consider the layout of your property and the range of each camera to ensure optimal coverage.
Take note of any obstacles or potential interference, such as trees, walls, or other structures that may obstruct the camera’s view. Additionally, consider the lighting conditions in different areas of your property to ensure clear footage day and night. By carefully assessing your property, you can strategically place security cameras to maximize surveillance coverage and enhance the overall security of your housing.
Select the Right Security Camera System for Your Needs
Choosing the right security camera system is crucial to ensure the safety and security of your home. Here are some factors to consider when selecting a security camera system:
1. Camera Resolution
The resolution of the camera determines the clarity of the images it captures. Higher resolution cameras provide clearer and more detailed footage, making it easier to identify faces and objects. Consider opting for cameras with at least 1080p resolution for optimal results.
2. Camera Type
There are different types of security cameras available, such as dome cameras, bullet cameras, and PTZ (pan-tilt-zoom) cameras. Each type has its own advantages and is suitable for different locations and purposes. Consider the area you want to monitor and choose the camera type that best fits your needs.
- Dome Cameras: Ideal for indoor use and discreet surveillance
- Bullet Cameras: Suitable for outdoor use and long-range monitoring
- PTZ Cameras: Allow for remote control and monitoring of specific areas
Gather Necessary Tools and Equipment for Installation
Before you begin the installation process, make sure you have all the necessary tools and equipment ready. Here is a list of items you will need:
Tools:
- Drill
- Screwdriver
- Tape measure
- Pencil
- Cable cutter
- Level
Equipment:
- Security camera
- Mounting bracket
- Power adapter
- Ethernet cable or Wi-Fi connection
- Memory card or cloud storage subscription (optional)
Having these tools and equipment on hand will ensure a smooth and successful installation process for your security camera.
Mounting the Camera in the Desired Location
Once you have chosen the optimal location for your security camera, follow these steps to mount it securely:
Step 1: Gather Tools
Before you begin, make sure you have all the necessary tools, including a drill, screws, a screwdriver, and a ladder if needed.
Step 2: Positioning
Hold the camera mount against the desired location on the housing and mark the drill holes using a pencil.
| Camera Mount | Housing |
|---|---|
| Attach the camera mount securely to the housing using screws. | Align the camera housing with the mount and secure it in place. |
| Make sure the camera is level and facing the correct direction. | Double-check the alignment and tighten all screws. |
Connect the Camera to Power Source and Network
After mounting the camera in the desired location, the next step is to connect it to a power source and network for proper functioning.
1. Plug the camera’s power adapter into a nearby electrical outlet. Make sure the power source can support the camera’s voltage requirements.
2. Use an Ethernet cable to connect the camera to your home’s network router. Insert one end of the cable into the camera’s Ethernet port and the other end into an available port on the router.
Adjust Camera Settings for Optimal Performance
After installing your security camera in the housing, it is important to adjust the camera settings for optimal performance. Here are some key settings to consider:
1. Image Quality
Adjust the image quality settings to ensure that the camera captures clear and crisp images. You can usually adjust settings such as resolution, brightness, and contrast to achieve the desired image quality.
2. Motion Detection
Set up motion detection settings to receive alerts when the camera detects motion. Adjust the sensitivity level to avoid false alarms while ensuring that important events are captured.
- Configure the motion detection zones to focus on specific areas of interest.
- Adjust the motion detection sensitivity to suit your environment.
By fine-tuning these settings, you can optimize the performance of your security camera and enhance its effectiveness in monitoring your property.
Test the Camera to Ensure Proper Functioning
Before finalizing the installation, it is important to test the security camera to ensure it is functioning properly. Follow these steps to test the camera:
- Power On: Ensure the camera is properly connected to power and turned on.
- Check Video Feed: Verify that the camera is capturing a clear video feed.
- Adjust Settings: Check and adjust camera settings for optimal performance.
- Test Night Vision: If the camera has night vision capabilities, test them in low-light conditions.
- Check Alerts: Test motion detection and alerts to ensure they are working correctly.
By testing the camera before completing the installation, you can identify any issues early on and make adjustments as needed to ensure the security camera is working as intended.
Securely Install and Conceal Camera Cables
When installing security cameras in your housing, it’s essential to secure and conceal the camera cables properly to prevent tampering and ensure a clean installation. Follow these steps to ensure your camera cables are installed securely:
1. Use Cable Clips or Cable Ties
Use cable clips or cable ties to secure the camera cables along the walls or ceiling. This will prevent the cables from hanging loose and getting in the way. Make sure to space the clips or ties evenly to create a neat and organized appearance.
2. Conceal Cables in Conduit or Raceway
If you want to hide the camera cables completely, consider installing them inside a conduit or raceway. This will protect the cables from damage and keep them out of sight. Choose a conduit or raceway that matches the color of your walls or ceiling for a seamless look.
| Tip: | For outdoor installations, use weatherproof conduit to protect the camera cables from the elements. |
|---|
Regular Maintenance and Monitoring of Your Security Camera System
Once your security camera system is installed, it is crucial to perform regular maintenance and monitoring to ensure its proper functioning and effectiveness. Here are some key steps to help you maintain and monitor your system:
1. Check Camera Placement
Regularly inspect the positioning of your security cameras to ensure they are still capturing the desired area effectively. Make adjustments as needed to cover blind spots or areas that may have changed over time.
2. Clean Camera Lenses
Keep the camera lenses clean and free from dirt, dust, or debris that may obstruct the view. Use a soft cloth to gently wipe the lenses and ensure clear footage.
Regular maintenance and monitoring of your security camera system will help you ensure the safety and security of your home or property.



When you say to assess the property for camera placement, what specific areas should I focus on?
It's best to focus on entry points like doors and windows, as well as any blind spots around the property. High-traffic areas are also key for monitoring.
I installed my security camera last month using your guide, and it was super helpful! The step-by-step instructions made it easy to mount and connect everything. I had trouble with the motion detection settings at first but figured it out eventually. Just a tip: make sure to test the camera during the day and at night to ensure the night vision works!
I think relying solely on cameras for home security isn't enough. They can be hacked or disabled, so having an alarm system is also important. Combining both would provide better protection.
What are the best types of security cameras for outdoor use? I'm considering a couple of options and would appreciate any recommendations.