
 Carmen J. Moore

Setting up a Lorex 4 camera security system and connecting it to your computer can provide you with peace of mind knowing that your property is being monitored. Lorex cameras are known for their high-quality footage and easy setup process. In this guide, we will walk you through the steps to connect your Lorex 4 camera security system to your computer.
Before you begin, make sure you have all the necessary equipment handy, including the Lorex 4 camera system, a computer with internet access, and the cables provided with the system. Follow these steps carefully to ensure a successful connection.
Step-by-step guide on connecting Lorex 4 camera security camera to computer
If you want to connect your Lorex 4 camera security camera to your computer for monitoring and recording purposes, follow these steps:
- Locate the Ethernet cable that came with your Lorex camera system.
- Connect one end of the Ethernet cable to the Ethernet port on the back of the Lorex camera system.
- Connect the other end of the Ethernet cable to an available Ethernet port on your computer.
- Power on your Lorex camera system and your computer.
- Open the web browser on your computer and enter the IP address of your Lorex camera system in the address bar.
- You will be prompted to enter the username and password for your Lorex camera system. Enter the default login credentials or the ones you have set up.
- Once logged in, you will be able to view and manage your Lorex camera system through your computer.
Following these steps will enable you to connect your Lorex 4 camera security camera to your computer seamlessly for remote monitoring and recording.

Step 1: Gather necessary equipment
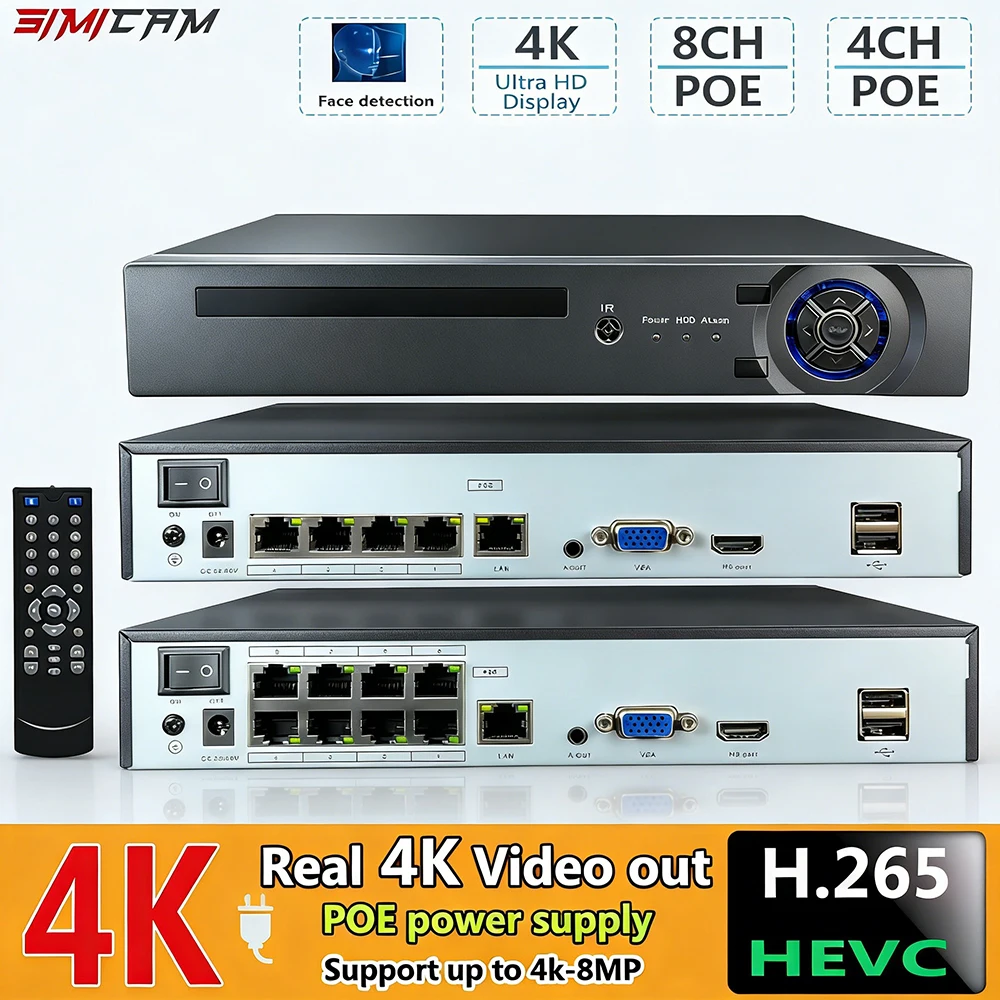
Before connecting your Lorex 4 camera security system to your computer, make sure you have all the necessary equipment on hand:
- Lorex 4 camera security system
- Computer with internet access
- Ethernet cable
- Power adapter for the security system
- Power source for the computer
Step 2: Install Lorex camera software on your computer
After connecting your Lorex 4 camera security system to your computer, the next step is to install the necessary software to access and control the cameras. Follow these steps to install the Lorex camera software:
- Insert the installation CD or download the software from the Lorex website.
- Run the setup file and follow the on-screen instructions to install the software on your computer.
- Once the installation is complete, launch the Lorex camera software.
- Follow the setup wizard to configure the software and connect it to your Lorex 4 camera security system.
- You can now view live feeds, playback recordings, and manage your camera settings using the installed software.
Step 3: Connect the camera to your computer using a USB cable
Once you have installed the software and drivers for your Lorex 4 camera security camera on your computer, you can now connect the camera to your computer using a USB cable. Follow these steps:
| 1. | Locate the USB port on your Lorex 4 camera security camera. |
| 2. | Plug one end of the USB cable into the USB port on the camera. |
| 3. | Plug the other end of the USB cable into an available USB port on your computer. |
| 4. | Wait for your computer to recognize the camera and install any necessary drivers. |
| 5. | Once the camera is successfully connected, you can access and view the camera footage on your computer. |
Step 4: Configure camera settings in the software
Once you have connected your Lorex 4 camera security system to your computer, you will need to configure the camera settings in the software to ensure proper functionality. Follow these steps to set up your cameras:
- Open the Lorex software on your computer.
- Locate the camera settings option within the software interface.
- Adjust settings such as resolution, recording mode, motion detection, and other preferences.
- Make sure to save the changes after configuring the settings.
By properly configuring the camera settings in the software, you can optimize the performance of your Lorex 4 camera security system and ensure that it meets your surveillance needs.
Step 5: Set up remote viewing on your computer
Once you have connected your Lorex 4 camera security system to your computer, you can set up remote viewing to monitor your cameras from anywhere. Follow these steps to enable remote viewing:
| 1. | Download and install the Lorex Cloud app on your computer from the official website. |
| 2. | Launch the app and create an account. Sign in with your credentials. |
| 3. | Add your Lorex 4 camera security system by scanning the QR code on the DVR or manually entering the device ID and password. |
| 4. | Once the cameras are added, you can remotely view live footage, playback recorded videos, and adjust settings from your computer. |
Step 6: Test the connection and camera functionality
Once you have connected your Lorex 4 camera security system to your computer, it’s important to test the connection and camera functionality to ensure everything is working correctly. Follow these steps:
- Open the software or app provided by Lorex to view the camera feed on your computer.
- Check each camera feed to ensure they are displaying properly and that there are no issues with the video quality.
- Test the motion detection feature by moving in front of each camera to see if the system detects movement and records it.
- Check the night vision functionality by testing the cameras in low-light conditions or at night to ensure they switch to night vision mode automatically.
- Verify that the remote viewing feature is working by accessing the camera feed from a different device or location.
- If you encounter any issues during testing, refer to the user manual or contact Lorex customer support for assistance.
Step 7: Troubleshoot any issues that may arise
If you encounter any issues while connecting your Lorex 4 camera security system to your computer, here are some troubleshooting tips to help you resolve them:
| 1. | Check all connections: Ensure that all cables are securely connected and that the power source is working properly. |
| 2. | Restart your devices: Try restarting both your computer and the security camera system to see if it resolves the issue. |
| 3. | Update software: Make sure that your computer’s operating system and the Lorex camera system software are up to date. |
| 4. | Check network settings: Ensure that your network settings are configured correctly and that there are no conflicts with other devices on the network. |
| 5. | Test the camera connections: Check each camera individually to see if they are functioning properly and try connecting them one at a time to isolate any issues. |



Can someone clarify if I need to connect all cameras to the computer at once or can I do it one by one?