
 Carmen J. Moore
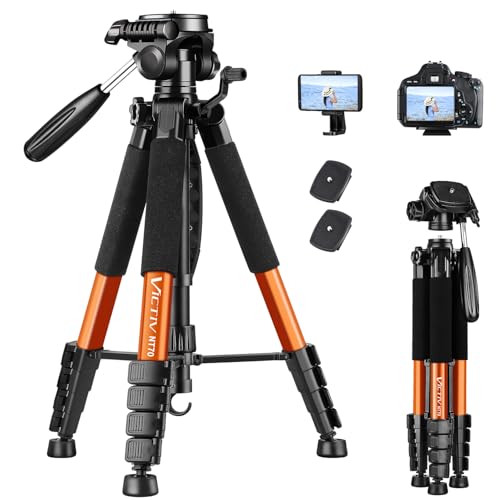
Are you tired of your iPhone photos turning out blurry and dark when you try to take them in low light conditions? One solution to this problem is to use the Night Mode feature on your iPhone camera. Night Mode is designed to help you capture brighter and clearer photos in low light situations by using advanced algorithms to optimize the camera settings.
But how do you activate Night Mode on your iPhone camera? In this article, we will guide you through the steps to enable Night Mode on your iPhone and provide you with tips on how to get the best results when using this feature.

Whether you’re trying to capture a beautiful night skyline or a cozy candlelit dinner, Night Mode can help you take stunning photos even in challenging lighting conditions. Let’s dive into the world of Night Mode photography with your iPhone and elevate your low light photography game!
How to Activate Night Mode on iPhone Camera
Night mode on iPhone camera allows you to capture stunning low-light photos with improved clarity and detail. Follow these simple steps to activate night mode:
- Open the Camera app on your iPhone.
- Ensure you are in a low-light environment where night mode is recommended.
- If the night mode icon appears yellow, it means the camera has detected low light and night mode is ready to be activated.
- Tap on the night mode icon to activate it.
- You can adjust the exposure time by tapping on the night mode icon and sliding the exposure slider left or right.
- Frame your shot and press the shutter button to capture the image.
With night mode activated, your iPhone camera will automatically optimize the settings to capture impressive photos in low-light conditions. Experiment with different exposure times to achieve the desired effect.
Step by Step Guide
To change your iPhone camera to night mode, follow these simple steps:
- Open the Camera app: Launch the Camera app on your iPhone.
- Find the Night mode option: When in the Camera app, look for the moon icon at the top left corner of the screen. This indicates that Night mode is available.
- Enable Night mode: Tap on the moon icon to activate Night mode. You’ll see the Night mode icon turn yellow, indicating that it’s active.
- Adjust settings: You can adjust the exposure time by tapping on the Night mode icon and dragging the slider to your desired level of brightness.
- Capture your photo: Once you’ve set up Night mode, frame your shot and press the shutter button to capture stunning low-light photos.
Camera settings adjustment
When trying to capture better photos in low light conditions, adjusting your camera settings can make a significant difference. Here are some key settings to consider:
1. Turn on Night Mode: If your iPhone has a Night Mode feature, make sure to activate it. Night Mode helps to brighten and enhance photos taken in dark environments.
2. Adjust Exposure: Experiment with adjusting the exposure manually to achieve the desired brightness level. You can do this by tapping on the screen and sliding the exposure control up or down.
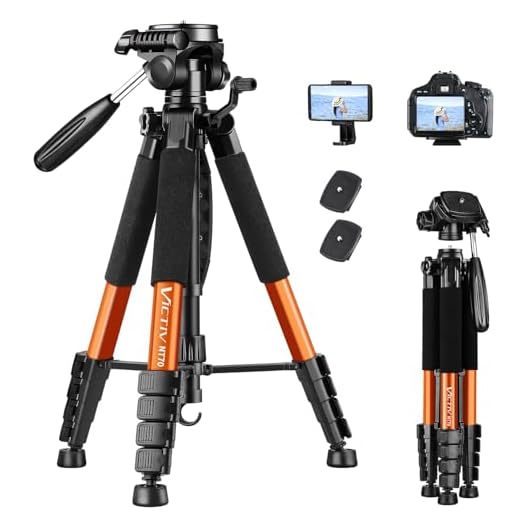
3. Use a Tripod: To minimize camera shake and blur in low light situations, consider using a tripod for more stable shots.
4. Enable Grid Lines: Turning on grid lines can help you compose your photos more effectively, especially in challenging lighting conditions.
5. Avoid Using Flash: In night photography, using the built-in flash can often create harsh lighting and unnatural shadows. Instead, rely on natural or ambient light sources.
6. Experiment with Focus: Try different focusing techniques such as tapping on the subject on the screen or adjusting the focus manually to achieve sharper images in low light.
Benefits of night mode
1. Improved low-light performance: Night mode enhances the camera’s ability to capture clear and detailed photos in low-light conditions, resulting in brighter and sharper images.
2. Reduced noise: By utilizing advanced algorithms, night mode reduces noise in photos taken in dimly lit environments, leading to cleaner and more professional-looking images.
3. Extended exposure times: Night mode allows the camera to capture light over a longer period, resulting in well-exposed images with balanced brightness and contrast.
4. Enhanced colors and details: With night mode, colors appear more vibrant and details are preserved even in challenging lighting situations, providing stunning and true-to-life photographs.
5. Versatility: Night mode is a versatile feature that can be used in various settings, such as cityscapes, landscapes, portraits, and more, offering flexibility and creative opportunities for photographers.
Best practices for night photography
Night photography can be challenging, but with the right techniques, you can capture stunning images even in low light conditions. Here are some best practices to help you improve your night photography skills:
1. Use a tripod
One of the most important tools for night photography is a sturdy tripod. Using a tripod will help you avoid camera shake and ensure sharp images, especially when shooting with slow shutter speeds in low light.
2. Adjust the camera settings
- Set a low ISO to reduce noise in your images.
- Use a wide aperture to let in more light.
- Experiment with different shutter speeds to capture the right amount of light.
By adjusting these settings, you can achieve better results in night photography.
3. Focus manually
In low light conditions, your camera may struggle to autofocus accurately. To ensure sharp focus, switch to manual focus mode and use the live view function to fine-tune the focus on your subject.
By following these best practices, you can elevate your night photography skills and capture stunning images with your iPhone camera in night mode.
Comparison with regular mode
When comparing Night Mode with the regular mode on the iPhone camera, there are several key differences to consider:
- Low light performance: Night Mode significantly improves low light performance by capturing more light and reducing noise, resulting in brighter and clearer photos compared to the regular mode.
- Long exposure: Night Mode uses long exposure techniques to capture more light over a period of time, while the regular mode may struggle in low light conditions without this feature.
- Color accuracy: Night Mode tends to preserve more accurate colors in low light situations, whereas the regular mode may produce washed-out or less vibrant colors.
Overall, Night Mode is designed to enhance the quality of photos taken in low light conditions, providing users with better results compared to the standard mode on the iPhone camera.
Tips for maximizing night mode
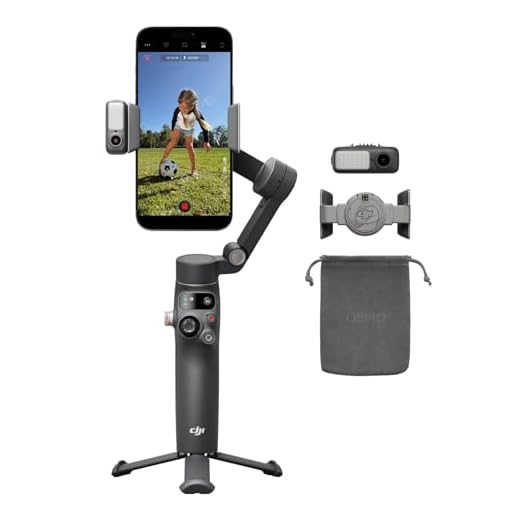
1. Use a tripod or stabilize your phone: To capture clear and sharp night mode photos, it’s essential to keep your phone steady. Using a tripod or stabilizing your phone against a solid surface can help minimize blurriness.
2. Reduce exposure time: In low light conditions, the night mode feature on your iPhone automatically increases exposure time to capture more light. However, this can result in motion blur if there is movement in the frame. To avoid this, try reducing exposure time manually.
3. Experiment with different compositions: Night mode can produce stunning results with the right composition. Try playing with different angles, perspectives, and framing to create visually appealing night shots.
4. Adjust the focus: Ensure that your subject is in focus before capturing the photo. Tap on the subject on your phone’s screen to adjust the focus manually if needed.
5. Avoid using the flash: When using night mode, the flash is usually not necessary and can create harsh lighting. Trust the night mode feature to capture natural-looking low-light photos without the need for additional lighting.


I’ve tried using Night Mode, but sometimes I feel regular mode gives me better results. Is Night Mode really worth it?
Night Mode is designed specifically for low-light conditions, allowing more light capture and reducing noise. However, every situation is different, so it’s perfectly fine to prefer regular mode sometimes.
Can anyone explain how adjusting exposure time affects the final photo? I’m a bit confused about when to use longer or shorter exposures.
Using a tripod made a huge difference for me. My night shots are way clearer now!
I think using flash can work well in some low-light situations. It really brightens up the scene!