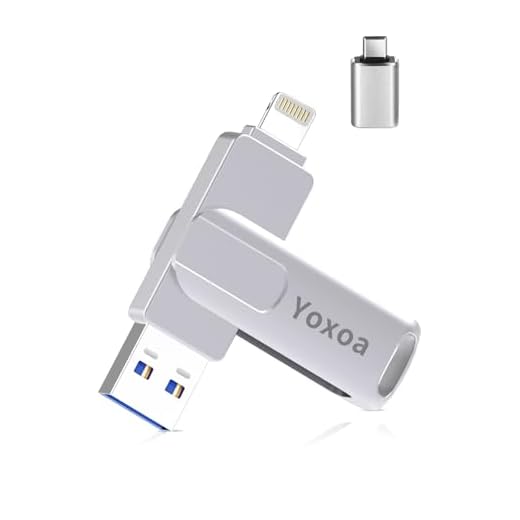


Are you looking for a way to transfer photos from your iPhone camera roll to your computer? Look no further! With the advancement of technology, it has become easier than ever to move your precious memories from your phone to your computer for safekeeping or editing. In this guide, we will walk you through the steps to seamlessly transfer your photos.
There are several methods you can use to transfer your iPhone camera roll photos to your computer. Whether you prefer using a USB cable, cloud storage, or a third-party app, we’ve got you covered. Keep reading to find the method that works best for you.
By following the steps outlined in this article, you’ll be able to effortlessly transfer your iPhone camera roll photos to your computer in no time. Say goodbye to the hassle of emailing photos to yourself or losing important memories due to lack of storage. Let’s get started!
Step-by-step guide to transfer iPhone camera roll to computer
Step 1: Connect your iPhone to your computer using a USB cable.
Step 2: Unlock your iPhone and trust the computer if prompted.
Step 3: Open the Photos app on your computer or any other photo management software.
Step 4: Select your iPhone under the devices or sources section in the Photos app.
Step 5: Choose the photos and videos you want to transfer from your iPhone camera roll to your computer.
Step 6: Click on the import or download button to start transferring the selected items to your computer.
Step 7: Wait for the transfer process to complete and then safely disconnect your iPhone from the computer.
Note: You can also use cloud storage services or third-party software to transfer photos from your iPhone camera roll to your computer.
Step 1: Connect your iPhone to the computer
To transfer your iPhone camera roll to your computer, the first step is to connect your iPhone to the computer using a USB cable.
Make sure your iPhone is unlocked and trust the computer if prompted. Once connected, your iPhone should appear as a device in your computer’s file explorer.
Step 2: Open iTunes on your computer
Next, open iTunes on your computer. If you don’t have iTunes installed, you can download it from the Apple website for free.
Step 3: Select your iPhone device in iTunes
Once iTunes recognizes your iPhone, click on the device icon located in the top left corner of the iTunes window. This will open up the device summary page.
From the device summary page, navigate to the “Photos” tab on the left-hand side of the window. Here you can choose to sync all photos or select specific albums to transfer to your computer.
Step 4: Click on the “Photos” tab
Once your iPhone is connected to your computer, open the iTunes application. In the top left corner, you will see a small iPhone icon. Click on this icon to access your device.
Next, navigate to the “Photos” tab located on the left-hand side of the screen. This tab will allow you to sync your iPhone’s camera roll with your computer.
Step 5: Check the “Sync Photos” option
Once your iPhone is connected to your computer, open iTunes and select your device.
Next, navigate to the “Photos” tab in the device’s settings within iTunes.
| 1. | Check the box next to “Sync Photos” to enable photo syncing. |
| 2. | Choose the folder or application you want to sync photos from. |
Step 6: Choose the folder to sync photos to
Once you’ve connected your iPhone to the computer and opened the Photos app, you can select the folder on your computer where you want to sync the photos to. This is where all the images from your iPhone camera roll will be transferred.
Click on the “Import” or “Sync” button to start the process. You may be prompted to choose a specific folder or create a new one. Select the destination folder and confirm the sync to transfer the photos.
Step 7: Click on the “Apply” button to start the sync process
Once you have selected the photos and videos you want to transfer to your computer, click on the “Apply” button in the bottom right corner of the screen. This will initiate the sync process and transfer the selected items from your iPhone camera roll to your computer.
Step 8: Wait for the sync to complete and access your iPhone camera roll on your computer
Once the sync process is initiated, wait for it to complete. This may take some time depending on the amount of data being transferred.
Once the sync is finished, you can now access your iPhone camera roll on your computer. Simply navigate to the folder where the photos are stored and you should see all your images from your iPhone camera roll.


