
 Carmen J. Moore

Do you love taking photos with your digital camera but struggle to get them onto your computer? Uploading pictures from a digital camera may seem daunting at first, but with the right steps, you can easily transfer your photos and preserve your memories.
In this guide, we will walk you through the process of uploading pictures from a digital camera to your computer, so you can enjoy and share your photos with ease.




Whether you’re a beginner or just looking for a refresher, these simple steps will help you navigate the world of digital photography and ensure your pictures are safely stored and ready for viewing.
Steps to Upload Pictures
Step 1: Connect your digital camera to your computer using a USB cable.
Step 2: Turn on your digital camera and set it to “transfer” or “PC” mode.
Step 3: Open the file explorer on your computer and locate the connected camera device.
Step 4: Select the pictures you want to upload from your camera to your computer.

Step 5: Copy the selected pictures and paste them into a folder on your computer.
Step 6: Safely disconnect your digital camera from the computer.
Step 7: Your pictures are now uploaded and saved on your computer for viewing or editing.
Step 1: Connect the Camera
Before you can upload pictures from your digital camera, you need to connect it to your computer.
1. Locate the USB cable that came with your camera.
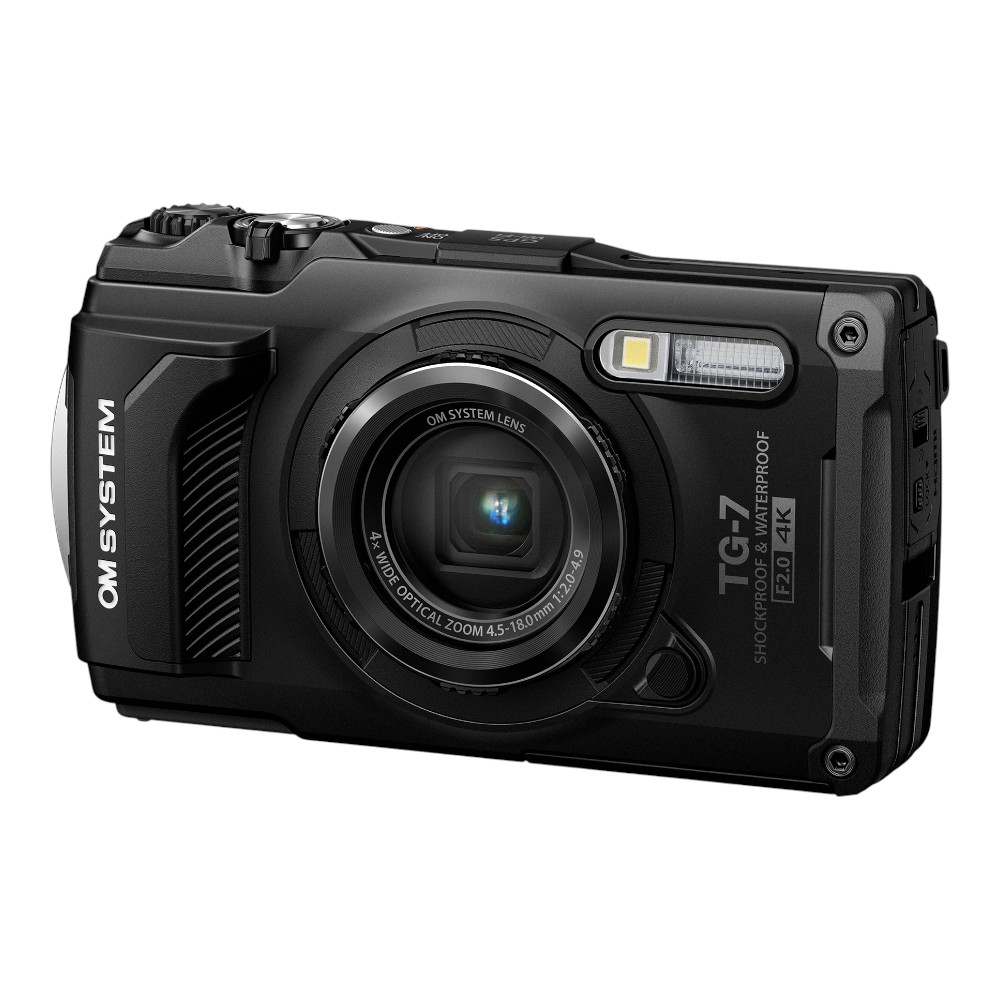
2. Plug one end of the USB cable into the camera and the other end into a USB port on your computer.
3. Turn on your camera and set it to the appropriate mode for transferring photos.
4. Your computer may automatically detect the camera and prompt you to open a program for uploading photos. If not, you can open your photo management software and select the option to import photos from your camera.
Step 2: Turn on the Camera
Before connecting your digital camera to your computer, make sure to turn on the camera. This will allow your computer to recognize the device and access the photos stored on it.
Follow these steps to turn on your camera:

- Locate the power button on your digital camera.
- Press and hold the power button until the camera turns on.
Once your camera is turned on, you can proceed to the next step of uploading your pictures to your computer.
Step 3: Open the File Explorer
Once your camera is connected to the computer, you need to open the File Explorer on your computer. You can do this by clicking on the File Explorer icon in the taskbar or by pressing the Windows key + E on your keyboard.
Once the File Explorer is open, you should see your camera listed as a connected device. Click on the camera icon to access the folder containing your pictures.
Step 4: Locate the Camera Drive
Once your camera is connected to your computer, you need to locate the camera drive. This drive will appear as a new storage device on your computer.
Here’s how to find the camera drive:

- Open the File Explorer on your computer.
- Look for the camera drive under “This PC” or “Computer.” It may be labeled as a removable disk or a specific name related to your camera model.
- Double-click on the camera drive to open it and access the photos stored on your camera.
Step 5: Select the Pictures
Once your digital camera is connected to your computer, open the software that came with your camera or use a file explorer to access the camera’s storage.
Locate the folder containing the pictures you want to upload. You can usually find them in a folder named “DCIM” (Digital Camera Images) or a similar directory.
Click on the pictures you want to upload to select them. You can select multiple pictures by holding down the Ctrl key (Cmd key on Mac) while clicking on each picture.
After selecting the pictures, you can either drag and drop them to a folder on your computer or use the software’s “import” function to transfer them to your desired location.
Step 6: Copy the Pictures
Once you have connected your digital camera to your computer and located the pictures you want to upload, it’s time to copy them to your computer.

Simply select the pictures you want to copy, right-click on them, and choose the “Copy” option. Then, navigate to the folder on your computer where you want to save the pictures, right-click again, and choose the “Paste” option to copy the pictures into that folder.
Alternatively, you can drag and drop the selected pictures from your camera folder to the desired folder on your computer to copy them.
Step 7: Paste in the Destination Folder
After copying the pictures from your digital camera to your computer, navigate to the destination folder where you want to store them. Right-click on the folder and select “Paste” from the drop-down menu. Alternatively, you can press Ctrl+V on your keyboard to paste the pictures into the folder.
Step 8: Safely Eject the Camera
Once you have transferred all the pictures from your digital camera to your computer, it is important to safely eject the camera before unplugging it. This helps prevent data corruption and ensures that your camera is ready for future use.
To safely eject your camera, locate the “Safely Remove Hardware” icon on your computer’s taskbar (usually found on the bottom right corner of the screen). Click on the icon and select your camera from the list of devices. Follow the on-screen instructions to safely eject the camera.

Once you receive a notification that it is safe to do so, you can unplug your camera from the computer. Your pictures are now safely transferred, and your camera is ready for your next photography adventure!
Step 9: Check the Uploaded Pictures
After uploading your pictures from the digital camera to your computer, it’s important to check the quality and clarity of the uploaded images. Make sure to open each picture to ensure they were successfully transferred and are not corrupted.
Tip: Use a photo viewing software or application to easily navigate through the uploaded pictures and verify that all images are intact.
Checking the uploaded pictures will help you identify any issues early on so you can address them before sharing or editing the photos.
FAQ
How do I upload pictures from a digital camera to my computer?
To upload pictures from a digital camera to your computer, you will need a USB cable that came with your camera. Connect one end of the cable to your camera and the other end to a USB port on your computer. Your computer should recognize the camera as a removable storage device, allowing you to access the pictures. You can then copy the pictures from the camera to a folder on your computer.

Can I upload pictures from a digital camera without a USB cable?
Yes, you can upload pictures from a digital camera to your computer without a USB cable by using a memory card reader. Remove the memory card from your camera and insert it into the card reader. Connect the card reader to your computer’s USB port, and you will be able to access the pictures on the memory card as if it were a removable storage device.
What software can I use to upload and organize pictures from my digital camera?
There are various software options you can use to upload and organize pictures from your digital camera. Some popular choices include Adobe Lightroom, Google Photos, and Apple Photos. These programs allow you to import pictures from your camera, organize them into albums, edit them, and share them with others. Choose the software that best fits your needs and preferences.


I had trouble with the USB connection at first, but using a card reader worked like a charm. Just pop out the memory card and plug it into the reader. So much easier!
Thanks for sharing your experience! Using a card reader can indeed simplify the process for many users.
I think using software like Adobe Lightroom is overkill for just uploading pictures. Sometimes the built-in apps are easier for quick transfers.
I agree, simple software can be less intimidating for beginners.
I agree, simple software can be less intimidating for beginners.
In step 5, it says to select multiple pictures by holding Ctrl. Does this work on Mac as well? I usually use Cmd for that.
Don't forget to check the quality after uploading. I've had some images get corrupted in the past.
What if my computer doesn't recognize the camera? Any tips?