
 Carmen J. Moore

Are you struggling with transferring your photos from a digital camera to your computer? Don’t worry, we’ve got you covered! In this article, we will guide you through the process of uploading pictures from your digital camera to your computer step by step. Whether you’re a beginner or just looking for a refresher, this guide will help you easily transfer your precious memories to your computer for safekeeping and sharing.
With the advancement of technology, most digital cameras come with a USB cable or memory card that allows you to easily transfer photos to your computer. However, the process may vary depending on the type of camera you have and the operating system of your computer. It’s essential to understand the different methods available so you can choose the one that suits your needs best. Let’s explore the various ways to upload pictures from your digital camera to your computer effortlessly.




Step-by-step guide to uploading pictures from digital camera to computer
Uploading pictures from your digital camera to your computer is a simple process that allows you to save and share your photos. Follow these steps to transfer your pictures:
Step 1: Connect your camera to the computer
Use the USB cable that came with your digital camera to connect it to your computer. Make sure your camera is turned on and set to the appropriate mode for transferring photos.
Step 2: Open the photo transfer software
Once your camera is connected, your computer should recognize it and prompt you to open the photo transfer software. If not, you can open the software manually by navigating to the camera’s storage location.
Continue with the software instructions to select the photos you want to transfer and choose the destination folder on your computer.
After the transfer is complete, you can disconnect your camera and access your photos on your computer.

Check camera and computer compatibility
Before attempting to upload pictures from your digital camera to your computer, it is important to ensure that your camera and computer are compatible.
Check the user manual of your camera to determine the type of connection it uses to transfer photos. Common connection types include USB, HDMI, and SD card slots.
Make sure your computer has the necessary ports or adapters to connect to your camera. If your computer does not have the required ports, you may need to purchase an adapter or use a different method to transfer photos.
Additionally, verify that your computer’s operating system is compatible with your camera. Some cameras may require specific software or drivers to be installed on your computer in order to transfer photos successfully.
By confirming the compatibility of your camera and computer, you can avoid potential issues and ensure a smooth photo transfer process.
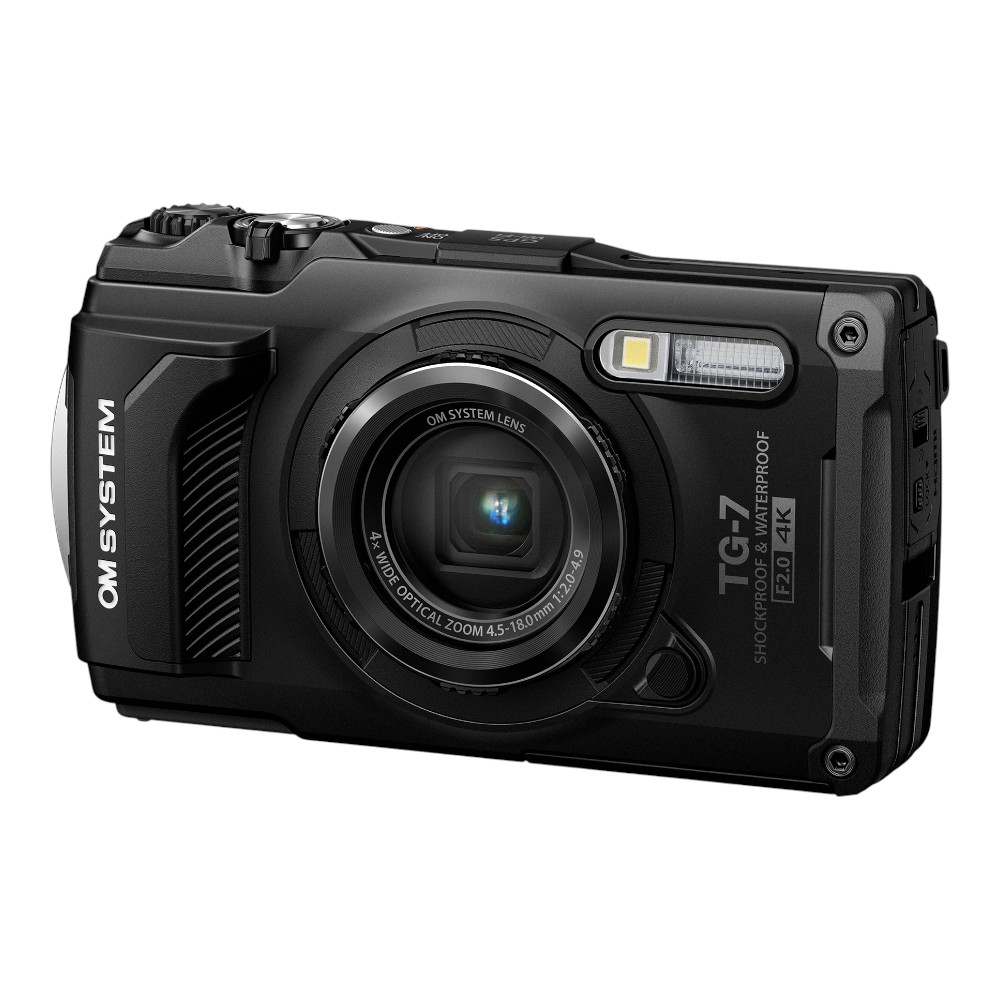
Connect camera to computer using USB cable
Step 1: Turn on your digital camera by pressing the power button.
Step 2: Locate the USB port on your camera. It is usually located on the side or back of the camera.
Step 3: Connect one end of the USB cable to the USB port on your camera.
Step 4: Connect the other end of the USB cable to a USB port on your computer.
Step 5: Your computer should automatically detect the camera and install any necessary drivers.
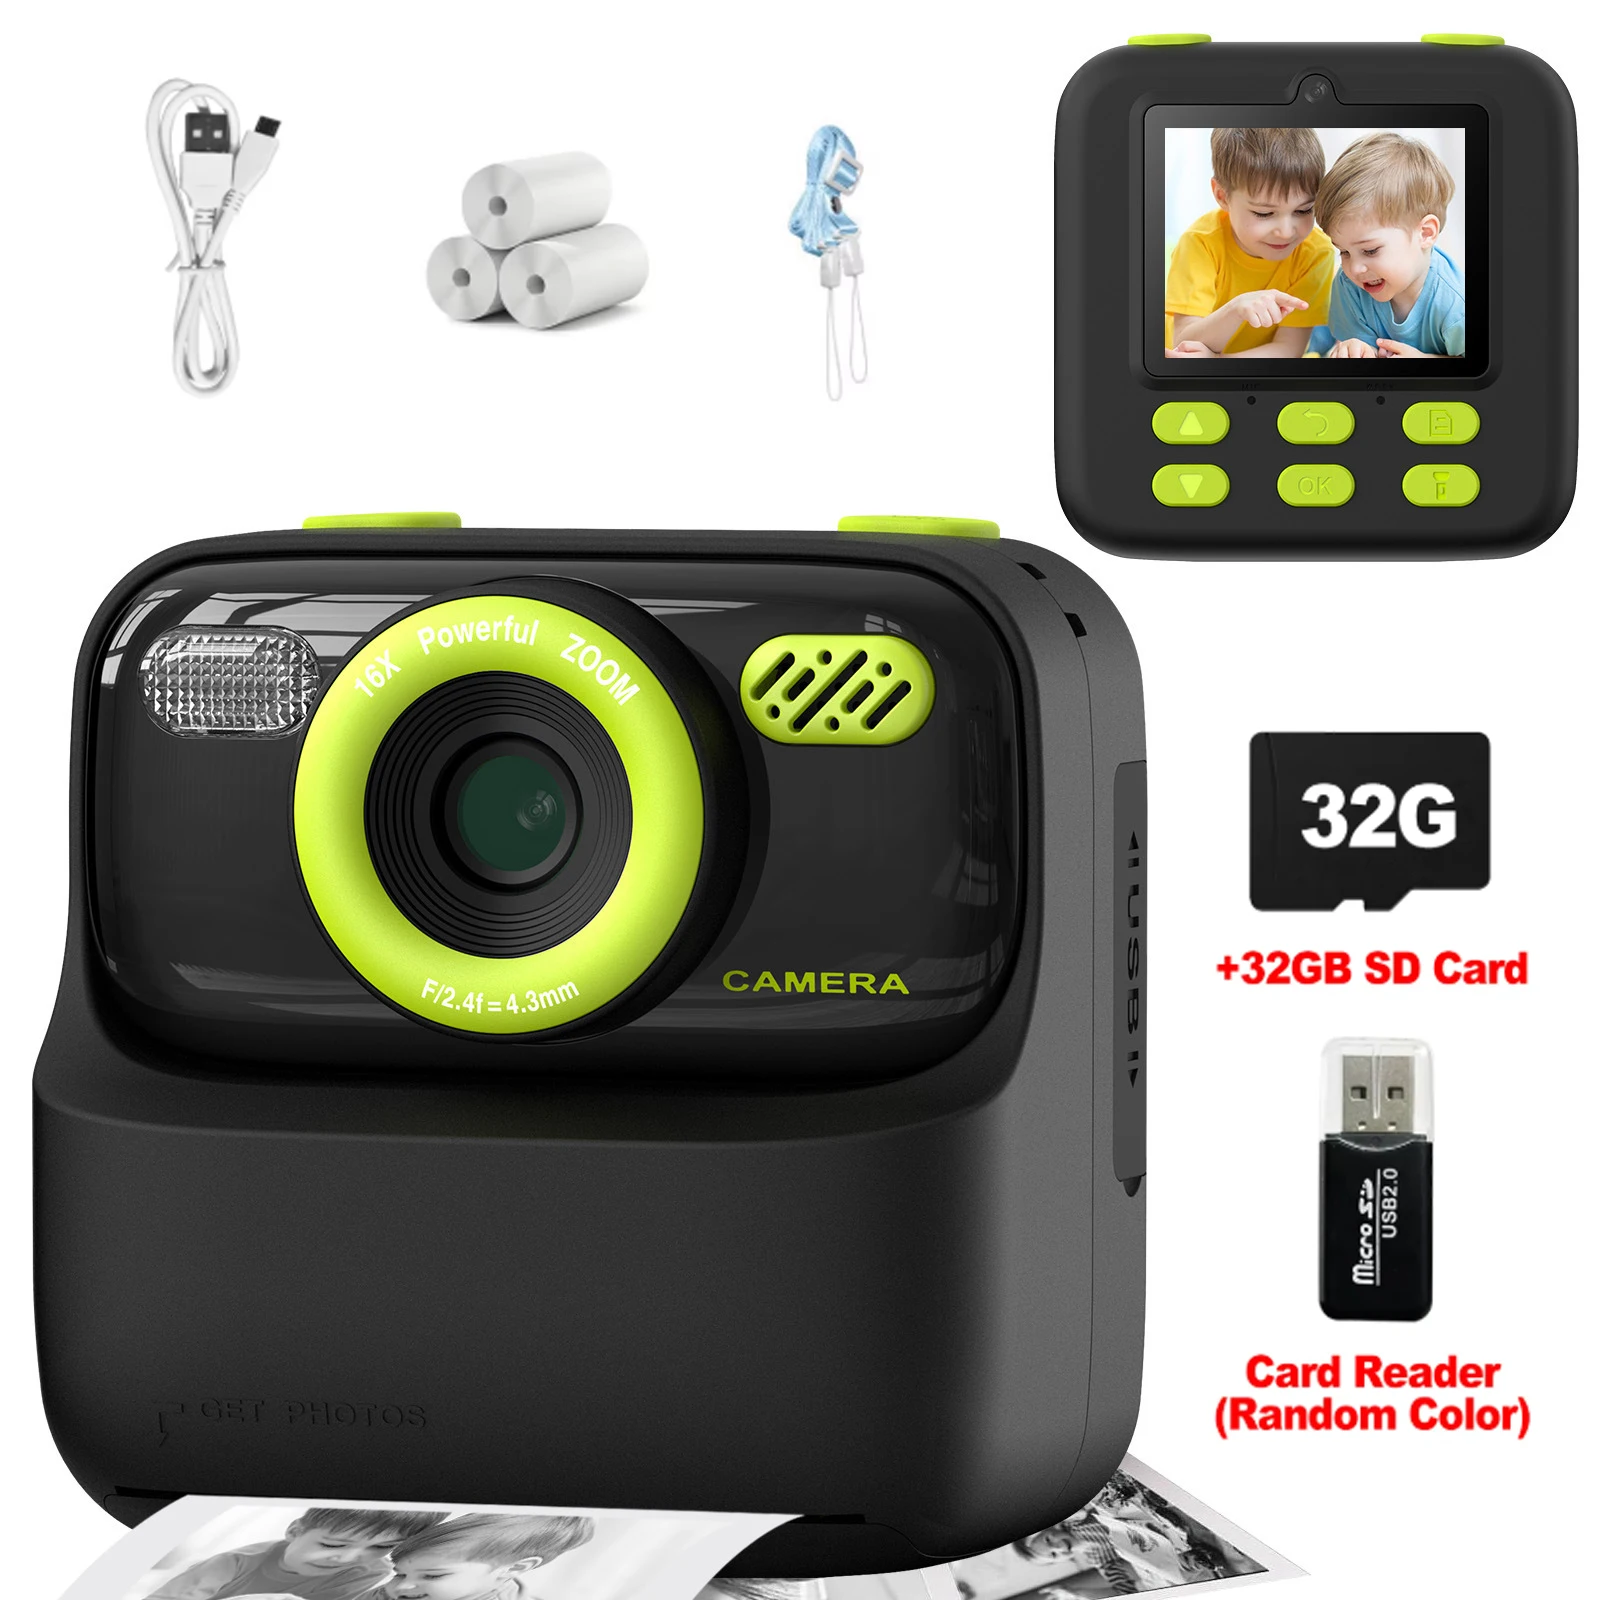
Step 6: Once the camera is connected, you can access the photos on your camera from your computer and transfer them to a folder on your computer.
Turn on the camera and select transfer mode
Before you can upload pictures from your digital camera to your computer, you need to turn on the camera and select the transfer mode. This mode is usually labeled as “PC” or “Computer” on the camera’s menu.
Once you have selected the transfer mode, connect the camera to your computer using the USB cable that came with the camera. Make sure the camera is powered on during this process.
Open file explorer on your computer
To upload pictures from your digital camera to your computer, you will need to open the file explorer on your computer. This will allow you to access the files on your camera and transfer them to your computer.
Locate your camera device in the file explorer
Once you have connected your digital camera to your computer, open the file explorer on your computer. You should see your camera device listed under the “This PC” or “My Computer” section. Click on the camera device to access the files stored on the camera.

Select and copy the pictures you want to transfer
Once your camera is connected to your computer, navigate to the folder where your pictures are stored on the camera. You may need to open the camera as a removable storage device to access the pictures.
Next, select the pictures you want to transfer by clicking on them or using the selection tools in your file explorer. You can select multiple pictures by holding down the Ctrl key while clicking on each picture.
Paste the pictures into a folder on your computer
Once you have copied the pictures from your digital camera to your computer, you can paste them into a folder for easy access and organization. Here’s how:
1. Open the folder where you want to paste the pictures.
2. Right-click inside the folder and select “Paste” from the menu that appears.

3. The pictures will be copied from the clipboard and pasted into the folder.
Now you can easily view and manage your pictures on your computer!
Safely eject the camera from your computer
Once you have finished transferring your pictures from the digital camera to your computer, it is important to safely eject the camera to avoid any data corruption or damage to the device. Follow these steps to safely disconnect your camera:
Step 1: Close any open files or folders
Make sure all the files and folders related to your camera are closed on your computer before ejecting the device. This will ensure that no data is being transferred at the time of disconnection.
Step 2: Eject the camera from your computer
Locate the camera icon on your computer’s desktop or in the file explorer. Right-click on the camera icon and select the “Eject” or “Safely Remove Hardware” option. Wait for the message confirming that it is safe to disconnect the camera before physically removing the device from the computer.

Verify that the pictures are successfully transferred
Once the transfer process is complete, it is important to verify that the pictures have been successfully transferred from your digital camera to your computer. Here are a few steps to ensure that the transfer was successful:
- Check the destination folder: Open the folder on your computer where the pictures were supposed to be transferred. Look for the pictures and confirm that they are there.
- View the pictures: Open one of the transferred pictures to make sure it opens without any issues. Check the quality and resolution to ensure that the pictures were transferred correctly.
Additional verification steps:
If you encounter any issues during the verification process, double-check the connection between your digital camera and computer, and repeat the transfer process if necessary. It is essential to verify the successful transfer of pictures to avoid any data loss or corruption.
FAQ
How can I transfer photos from my digital camera to my computer?
To transfer photos from your digital camera to your computer, you can use a USB cable to connect the camera to your computer. Once connected, you can access the camera’s storage like a regular external drive and copy the photos to your computer.
Is it possible to upload pictures from my digital camera to my computer without using a USB cable?
Yes, you can also upload pictures from your digital camera to your computer using a memory card reader. Remove the memory card from your camera, insert it into the card reader, and then connect the card reader to your computer to transfer the photos.
What software do I need to upload pictures from my digital camera to my computer?
Most modern computers have built-in software that allows you to transfer photos from your digital camera. You can also use third-party software like Adobe Lightroom or Windows Photo Gallery for more advanced photo management and editing.

Can I upload pictures wirelessly from my digital camera to my computer?
Some digital cameras come with wireless connectivity options that allow you to transfer photos wirelessly to your computer. You may need to install specific software or apps on both your camera and computer to enable this feature.
Are there any tips to ensure a smooth transfer of pictures from my digital camera to my computer?
Make sure your camera and computer are fully charged or connected to a power source to avoid interruptions during the transfer process. Additionally, organizing your photos into folders on your computer can help you keep track of your images more efficiently.



When you say to select 'transfer mode' on the camera, does that mean I have to change any settings in the menu?
Yes, selecting 'transfer mode' usually sets the camera to communicate with your computer. You can usually find this option in the settings menu, but it may vary by model.
What if my camera doesn't have a USB port?
I noticed you mentioned verifying the successful transfer of pictures. Do you have any specific tips on what to look for if the pictures don't seem to have transferred correctly? Sometimes I can’t tell if a file is corrupted just by looking at the thumbnail.
Good question! You can open the files in a photo viewer to check for corruption. If an image doesn’t open or shows artifacts, it may be corrupted. Keeping backups of original files is also a good practice.
Always remember to safely eject your camera! I learned this the hard way after losing some photos.
I recently transferred pictures from my Nikon camera to my computer. I used the method you described and it worked great! Just a tip: I had to install some drivers first, but after that, everything went smoothly. I really appreciate the detailed steps you provided.
I think using the USB cable is outdated. Wireless transfer options are much easier now.
Just a heads up, if your computer isn’t detecting the camera, restarting it often helps resolve the issue.
When you say to check compatibility, does that mean some cameras won't work with newer computers?
I used to struggle with this until I got a memory card reader. It makes transferring so much easier. Just pop the card in and drag the files over!
I disagree with the suggestion that using USB is the best method. Sometimes it’s just easier to take out the memory card, especially if you have multiple cameras. It saves time!