
 Carmen J. Moore

Do you have a collection of beautiful photos on your digital camera that you want to share with friends and family? Uploading pictures from your digital camera to your computer or online platform is a simple process that can be done in a few easy steps.
With the right tools and a bit of know-how, you can quickly transfer your photos and start showcasing your photography skills to the world. In this guide, we’ll walk you through the process of uploading pictures from your digital camera so you can effortlessly share your memories with others.
Step-by-Step Guide to Uploading Pictures from Your Digital Camera
Step 1: Connect your digital camera to your computer using the USB cable that came with the camera.




Step 2: Turn on your digital camera and set it to the mode that allows for data transfer.
Step 3: Open your computer’s file explorer or photo management software.
Step 4: Locate the connected camera device in the file explorer or software.
Step 5: Browse through the folders on your camera to find the pictures you want to upload.
Step 6: Select the pictures you wish to transfer to your computer.

Step 7: Copy or drag the selected pictures to a folder on your computer.
Step 8: Wait for the transfer to complete, then safely disconnect your camera from the computer.
Step 9: Your pictures are now uploaded and ready to be viewed or edited on your computer.
Connect Your Camera to Your Computer
Before you can upload pictures from your digital camera, you need to connect it to your computer. Follow these steps to establish the connection:
- Locate the USB cable that came with your camera.
- Plug one end of the USB cable into your camera and the other end into a USB port on your computer.
- Turn on your camera and set it to the mode that allows for data transfer.
- Your computer should recognize the camera as a removable storage device.
Troubleshooting Tips:
- If your computer does not recognize the camera, try using a different USB port.
- Ensure that the USB cable is securely connected on both ends.
- Restart your computer and camera if necessary.
Transfer Pictures to Your Computer
Transferring pictures from your digital camera to your computer is an essential task to back up your precious memories and free up space on your camera. Here are some simple steps to help you transfer pictures easily:
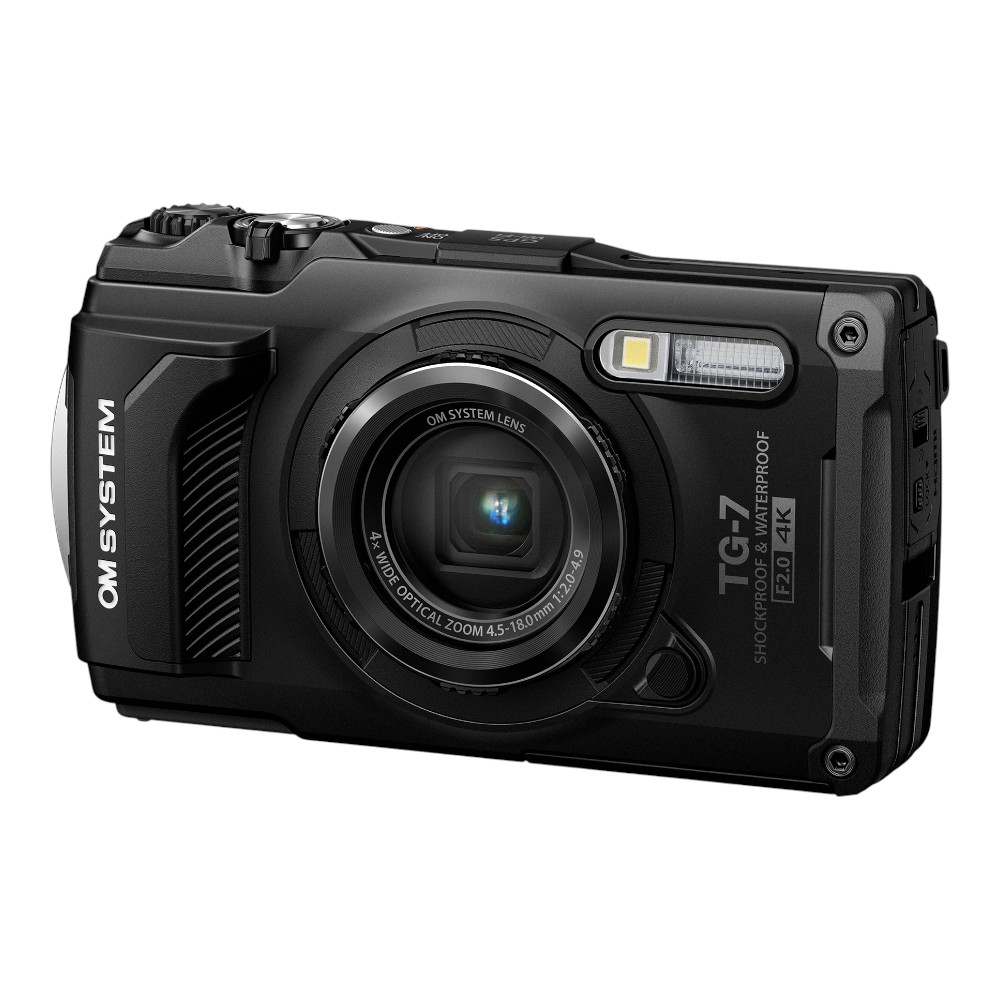
Step 1: Connect Your Camera to Your Computer
Use the USB cable that came with your camera to connect it to your computer. Make sure your camera is turned on and set to the appropriate mode for transferring photos.
Step 2: Access Your Camera’s Storage
Once your camera is connected, your computer should recognize it as a removable storage device. Open the file explorer on your computer and navigate to the camera’s storage to access your pictures.
Depending on your camera model, you may need to install specific software provided by the manufacturer to transfer pictures. Follow the on-screen instructions to complete the installation process.
Now you can select and copy the pictures you want to transfer to your computer’s hard drive or another storage device.
Organize Your Photos on Your Computer
Once you have uploaded your photos from your digital camera to your computer, it’s important to organize them properly so you can easily find and access them in the future. Here are some tips to help you keep your photo collection organized:
Create Folders:
Start by creating folders on your computer to store your photos. You can create separate folders for different events, trips, or categories to keep things organized.
Use Descriptive File Names:
When saving your photos, use descriptive file names that will help you identify the content of the image. Avoid generic names like “IMG_001” and instead use names like “Family Vacation 2021 Beach Sunset.”
- Sort by Date:
- Sort your photos by date to easily locate images taken on specific days or events. Most photo management software allows you to sort and organize your photos by date.
- Add Tags or Keywords:
- Adding tags or keywords to your photos can make it easier to search and find specific images later on. Use keywords that describe the content of the photo to make searching more efficient.
- Backup Your Photos:
- It’s important to regularly back up your photos to ensure you don’t lose them in case of a computer crash or other issues. Consider using an external hard drive or cloud storage to keep your photos safe.
Choose the Right Software for Editing
After transferring your photos from your digital camera to your computer, it’s essential to choose the right software for editing. There are many options available, ranging from basic to advanced editing tools. Some popular choices include Adobe Photoshop, Lightroom, GIMP, and Pixlr. Consider your editing needs and skill level when selecting the software that best suits you. Make sure to explore the features of each program and choose one that offers the tools you need to enhance and edit your photos effectively.
Edit and Enhance Your Photos
Once you have uploaded your photos from your digital camera, you may want to edit and enhance them to make them look even better. There are many tools and software available that can help you do this. Here are a few tips to get you started:
1. Crop and Resize
One of the first things you can do is crop your photos to remove any unwanted elements and resize them to fit the dimensions you need. This can help improve the composition of your photos and make them more visually appealing.

2. Adjust Brightness and Contrast
Adjusting the brightness and contrast of your photos can help make them look more vibrant and professional. You can also play around with other settings such as saturation, sharpness, and color balance to achieve the desired look.
Save and Backup Your Edited Photos
After editing your photos, it’s crucial to save and back them up properly to prevent any loss of your hard work. Here are some tips to help you save and backup your edited photos:
| 1. Save your edited photos in a high-quality format like JPEG or PNG to maintain the image quality. |
| 2. Create a specific folder on your computer or external storage device to store your edited photos for easy access. |
| 3. Consider using cloud storage services like Google Drive, Dropbox, or iCloud to backup your edited photos securely. |
| 4. Regularly backup your edited photos to multiple locations to ensure data redundancy and prevent loss in case of hardware failure. |
| 5. Label and organize your edited photos properly to easily locate and retrieve them when needed. |
Share Your Photos Online
If you want to share your photos with friends and family online, there are many platforms available to make it easy. One popular option is to upload your photos to social media sites like Facebook, Instagram, or Twitter. These platforms allow you to create albums, tag friends, and share your photos with a wide audience.
Alternatively, you can use online photo-sharing services like Flickr, Google Photos, or Imgur. These services offer a place to store and organize your photos, as well as options to share them publicly or privately with specific individuals.
Whichever platform you choose, make sure to adjust your privacy settings to control who can see your photos and always respect the privacy of others by asking for permission before sharing photos of them.

FAQ
Can I upload pictures from my digital camera to my computer without using any cables?
Yes, you can upload pictures from your digital camera to your computer without using cables by using a wireless connection such as Wi-Fi or Bluetooth. Many modern digital cameras have built-in Wi-Fi capabilities that allow you to transfer photos wirelessly to your computer or smartphone.
What is the easiest way to transfer photos from my digital camera to my computer?
The easiest way to transfer photos from your digital camera to your computer is by using a USB cable. Simply connect your camera to your computer using the USB cable provided with your camera, and then follow the on-screen instructions to transfer the photos.
Can I upload pictures from my digital camera to social media directly?
Yes, you can upload pictures from your digital camera to social media directly. Most social media platforms have apps that allow you to upload photos from your camera roll or gallery. You can transfer the photos from your camera to your smartphone and then upload them to social media.
What should I do if my computer doesn’t recognize my digital camera when I connect it?
If your computer doesn’t recognize your digital camera when you connect it, try the following troubleshooting steps: check the USB cable connection, restart your computer and camera, make sure the camera is set to the correct mode (such as transfer or mass storage), and update the camera drivers on your computer.
Is it possible to edit photos on my digital camera before uploading them to my computer?
Yes, many digital cameras have basic photo editing features that allow you to edit photos directly on the camera before uploading them to your computer. You can adjust settings like brightness, contrast, and color balance, as well as apply filters and effects.





I’ve used both Adobe Lightroom and GIMP for editing. Lightroom is definitely more user-friendly, but GIMP is great if you're looking for something free. What do others think?
I prefer Lightroom too. The organization features are top-notch. GIMP is good but a bit overwhelming for beginners.
I’ve been uploading photos from my camera for years, and honestly, the USB method always works best for me. I tried using Wi-Fi once, and it was super slow and got interrupted a lot. Anyone else had that experience?
I disagree that using descriptive file names is that important. I think just sorting by date is easier.
Is it really necessary to use the software that comes with the camera for transferring photos, or can I just use the file explorer?