
 Carmen J. Moore
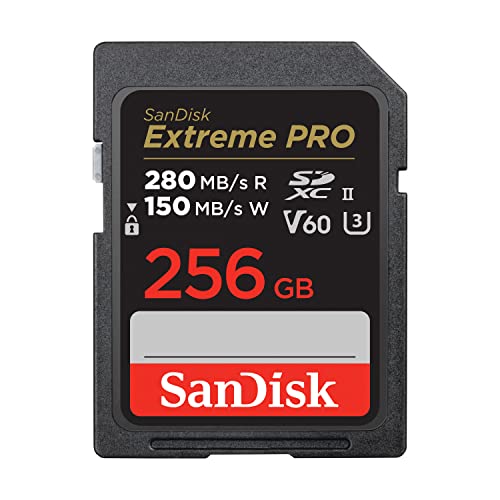
Are you struggling to transfer photos from your digital camera to your computer? It can be a frustrating experience if you’re not sure how to do it. Fortunately, the process is relatively straightforward once you know the steps.
In this guide, we’ll walk you through the process of uploading photos from your digital camera onto your computer, whether you’re using a USB cable, memory card, or wireless transfer method.




Step-by-Step Guide: Uploading Photos from Digital Camera to Computer
Step 1: Connect Your Camera
1. Take the USB cable that came with your camera and connect one end to the camera and the other end to an available USB port on your computer.
Step 2: Turn on Your Camera
2. Turn on your digital camera. Your computer should detect the camera as a new device.
Step 3: Access the Photos
3. Open the file explorer on your computer and navigate to the camera device. You should see a folder containing your photos.
Step 4: Copy the Photos
4. Select the photos you want to upload, right-click, and choose “Copy.” Then, navigate to the desired location on your computer, right-click, and choose “Paste” to transfer the photos.
Step 5: Safely Remove Your Camera
5. Once the photos are successfully transferred, safely eject your camera from the computer by clicking on the “Safely Remove Hardware” icon in the system tray and selecting your camera device.

| Note: | Make sure your camera is fully charged or plugged into a power source during the transfer to prevent any interruptions. |
Connect Your Camera to Computer via USB Cable
To transfer photos from your digital camera to your computer, you will need to connect the two devices using a USB cable. Follow these steps to establish a connection:
- Locate the USB port on your digital camera. It is usually located on the side or back of the camera.
- Plug one end of the USB cable into the USB port on your camera.
- Locate the USB port on your computer. It is usually located on the side or back of the computer.
- Plug the other end of the USB cable into the USB port on your computer.
Once the camera is connected to the computer via the USB cable, you may need to turn on the camera or set it to the appropriate mode for transferring files. Your computer should detect the camera as a new device and prompt you to access the files on the camera.
Turn on Your Camera and Computer
Before you can start uploading photos from your digital camera to your computer, you need to make sure that both your camera and computer are turned on and ready to go.
Step 1: Turn on your digital camera by pressing the power button. Make sure it is fully charged or connected to a power source to avoid any interruptions during the transfer process.
Step 2: Turn on your computer and wait for it to fully boot up. Ensure that all necessary software and drivers are installed for your camera to be recognized by your computer.
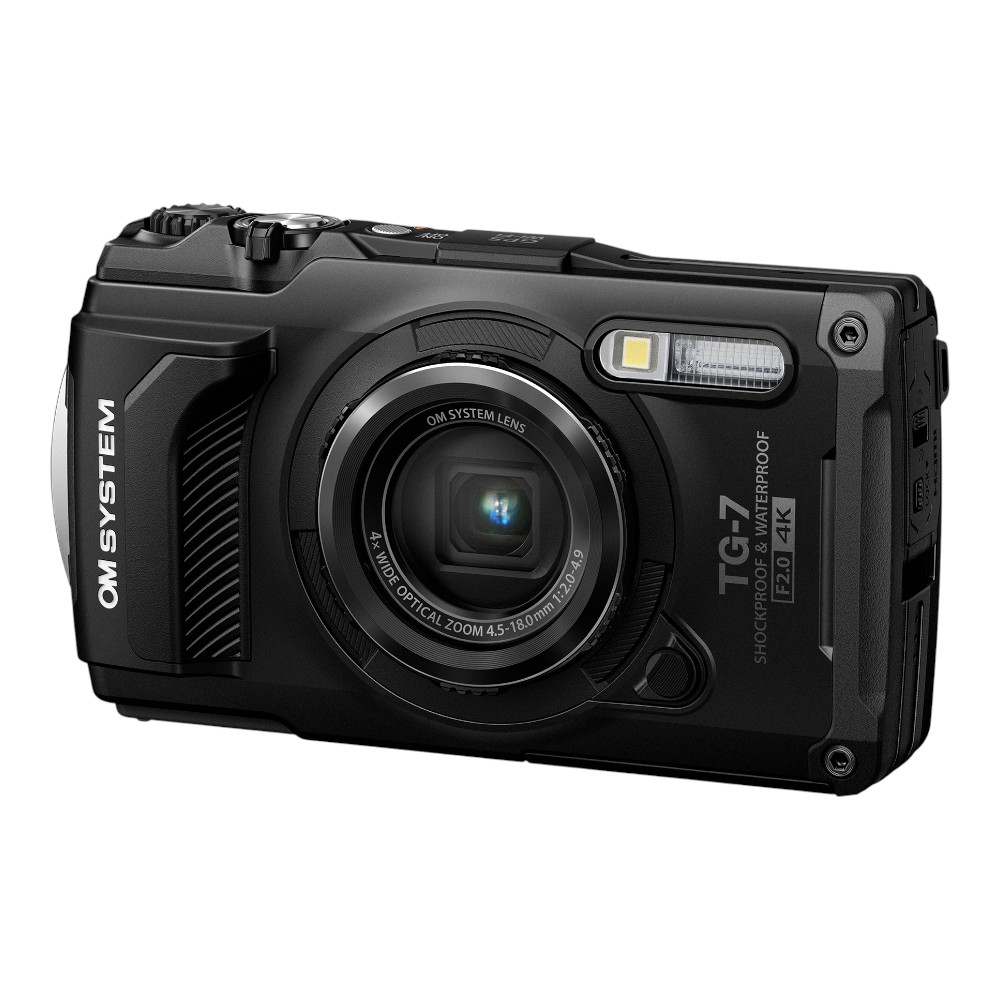
Locate the Photos on Your Camera
Before you can upload your photos from your digital camera to your computer, you need to locate the photos on your camera. Here are the steps to help you find where your photos are stored:
- Turn on your digital camera and navigate to the menu or settings.
- Look for an option that says “View Photos,” “Playback,” or something similar.
- Once you are in the photo viewing mode, use the buttons or touchscreen to scroll through the photos.
- Take note of the folder or location where the photos are stored on your camera.
By following these steps, you will be able to easily locate the photos on your digital camera and proceed with uploading them to your computer.
Copy the Photos to a Folder on Your Computer
After connecting your digital camera to the computer, navigate to the camera’s storage device on your computer. This can usually be found under “My Computer” or “This PC” on a Windows computer or on the desktop on a Mac.
Once you have located the camera’s storage device, open it to view the folders and files stored on the camera. Look for a folder containing your photos; this folder may be labeled “DCIM” or “Pictures.”
Copy the photos from the camera’s folder by selecting them and dragging them to a folder on your computer. You can create a new folder to store the copied photos or use an existing one. Make sure to wait for the copying process to complete before disconnecting your camera from the computer.
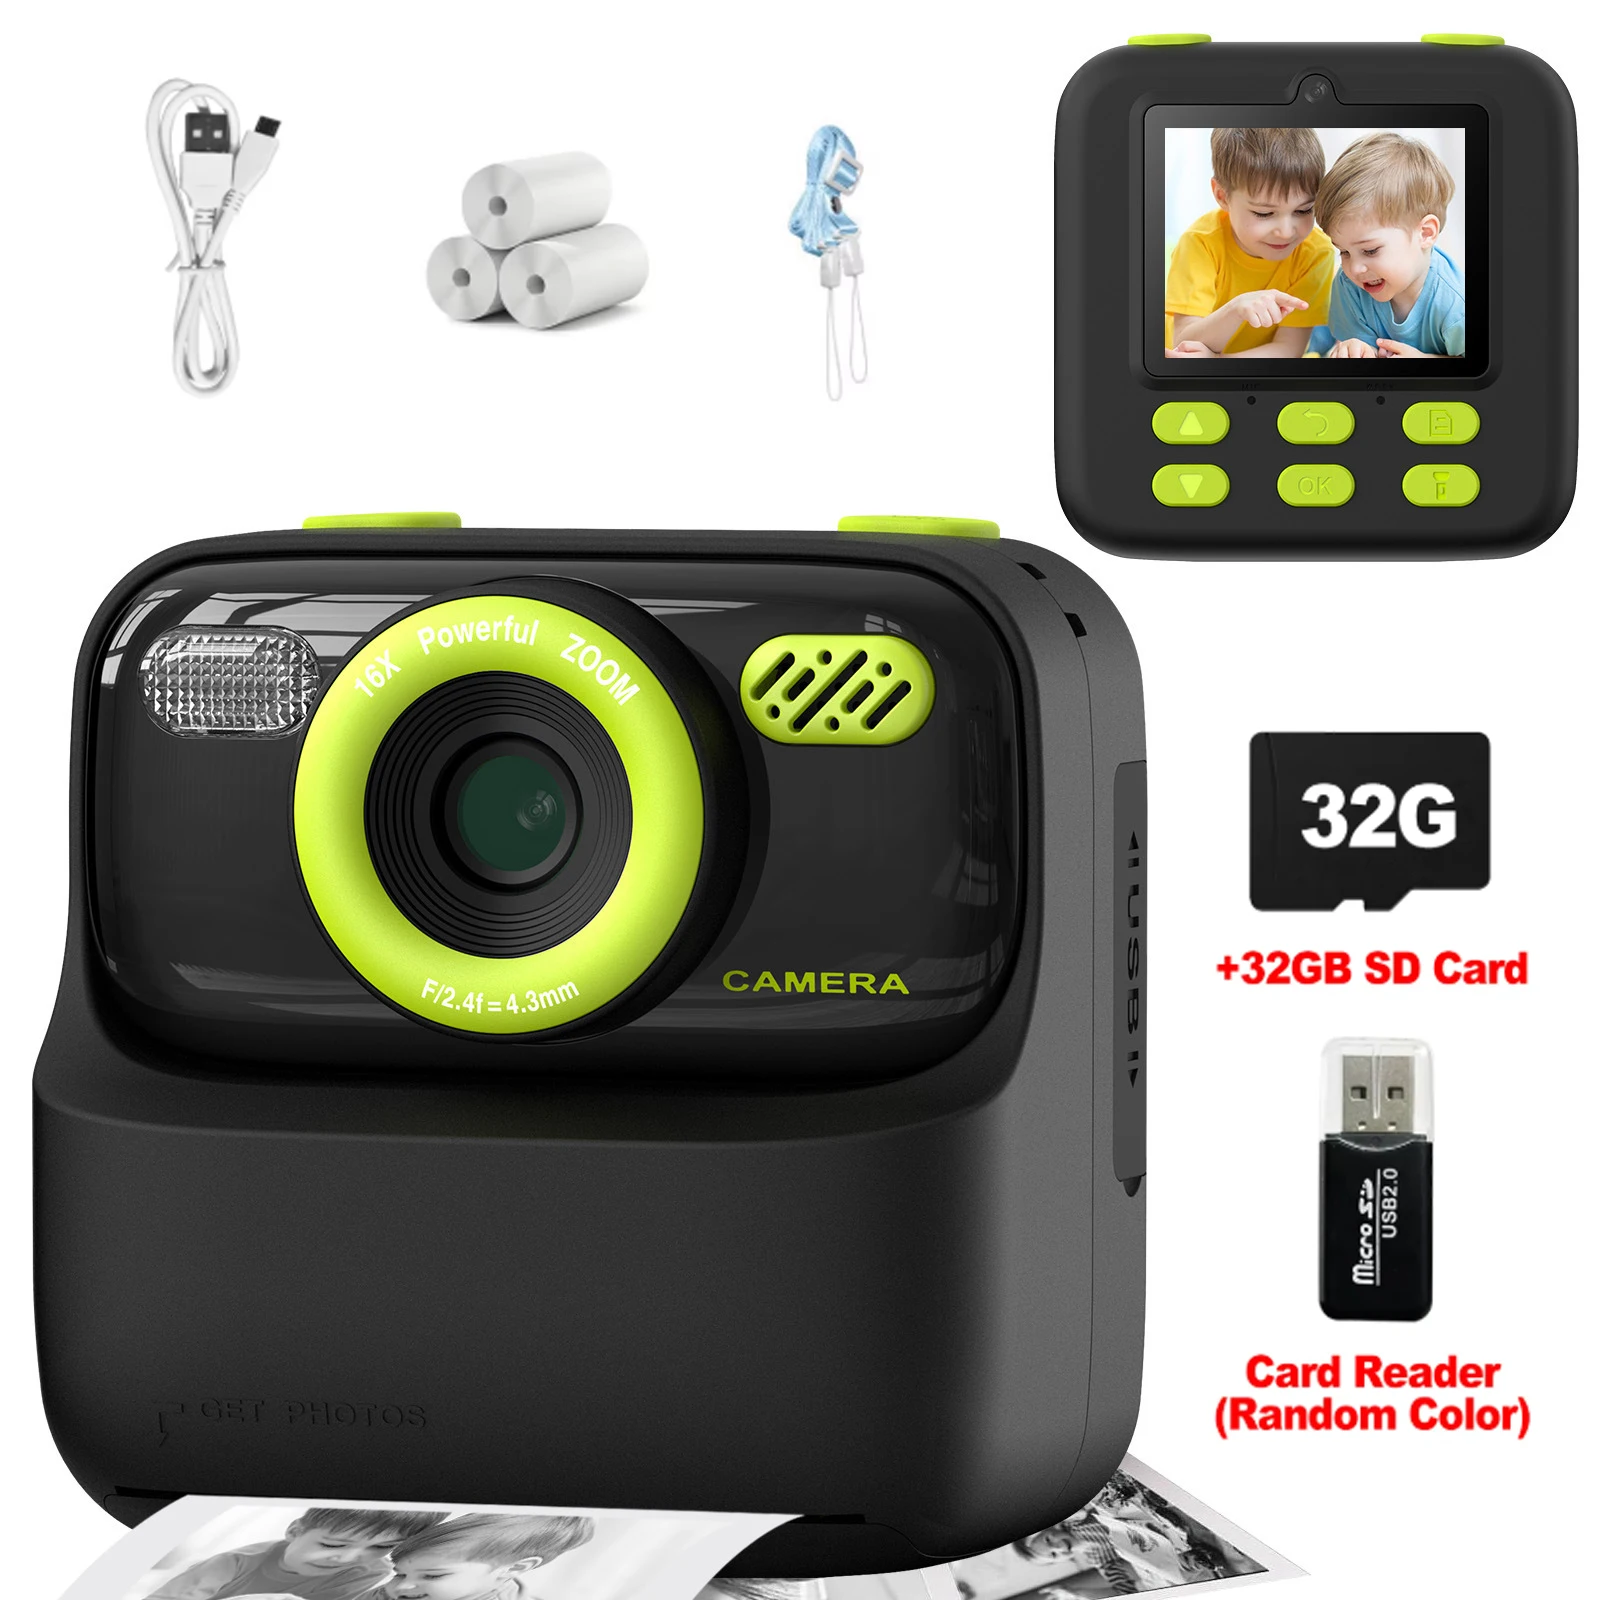
Safely Remove Your Camera from the Computer
Once you have transferred all your photos from the digital camera to your computer, it’s important to safely remove your camera to prevent any data corruption or damage. Follow these steps:
- Make sure all file transfers are complete before disconnecting your camera.
- Locate the “Safely Remove Hardware” icon in the system tray on your computer.
- Click on the icon and select your camera from the list of devices.
- Wait for the system to confirm that it’s safe to remove the camera.
- Once you receive the confirmation message, safely disconnect your camera from the computer.
By following these steps, you can ensure that your camera and data remain safe and secure after transferring photos to your computer.
Open the Folder to View Your Photos
Once you have connected your digital camera to your computer and selected the option to transfer photos, you can now open the folder where your photos are stored on your computer. Follow these steps:
For Windows:
| 1. | Locate the “My Computer” icon on your desktop or in the Start menu and double-click to open it. |
| 2. | Find the icon representing your digital camera (usually labeled as a removable disk or camera name) and double-click to open it. |
| 3. | You should see a folder containing your photos. Double-click on the folder to view and access your photos. |
For Mac:
| 1. | Click on the Finder icon in the dock to open a Finder window. |
| 2. | Look for your digital camera under the Devices section in the Finder sidebar and click on it. |
| 3. | You will see a folder with your photos. Double-click on the folder to open and view your photos. |
Edit or Share Your Photos as Desired
Once you have uploaded your photos onto your computer, you can now edit or share them as desired. You can use photo editing software to enhance the quality of your photos, adjust lighting, crop or resize them, add filters or special effects, or remove any imperfections. Additionally, you can organize your photos into folders, create albums, or share them on social media platforms or with friends and family.
Editing Your Photos
If you want to edit your photos, you can use popular photo editing software like Adobe Photoshop, Lightroom, or free online tools like GIMP or Canva. These tools offer a wide range of features to help you enhance your photos and make them look professional.

Sharing Your Photos
To share your photos, you can upload them to social media platforms like Facebook, Instagram, or Twitter. You can also send them via email, create online photo albums on platforms like Google Photos or Flickr, or print them out to share physical copies with others.
FAQ
What are the steps to upload photos from a digital camera to a computer?
To upload photos from a digital camera to a computer, you first need to connect your camera to the computer using a USB cable. Then, turn on your camera and select the option to transfer photos. Your computer should recognize the camera and prompt you to import the photos. Follow the on-screen instructions to complete the transfer process.
Can I upload photos from a digital camera onto a computer without using a USB cable?
Yes, you can upload photos from a digital camera to a computer without using a USB cable by removing the memory card from the camera and inserting it into a card reader on your computer. Once the memory card is inserted, your computer should recognize it as a removable storage device, allowing you to access and transfer the photos.
What should I do if my computer doesn’t recognize my digital camera when I try to upload photos?
If your computer doesn’t recognize your digital camera when you try to upload photos, you can try the following troubleshooting steps: 1. Make sure the camera is turned on and properly connected to the computer. 2. Check the USB cable for any damage or try using a different cable. 3. Restart your computer and camera. 4. Update the camera drivers on your computer. If these steps don’t work, you may need to consult the camera’s user manual or contact customer support for further assistance.
Is it possible to edit photos on the computer after uploading them from a digital camera?
Yes, it is possible to edit photos on the computer after uploading them from a digital camera. Once the photos are transferred to your computer, you can use photo editing software such as Adobe Photoshop, GIMP, or Lightroom to enhance, crop, resize, or apply filters to the images. Editing photos on a computer offers more flexibility and control over the final result compared to editing on a camera.




I always use a card reader instead of USB. It’s so much faster and easier for me to just pop the card in and copy the files. I recommend that method if you have a card reader handy!
I disagree about using USB. Wireless transfer seems more convenient and less hassle. Anyone else feel that way?
I think wireless is great too, but it can be slow depending on the connection. USB is usually faster and more reliable for large files.