
 Carmen J. Moore

Are you looking to transfer your digital camera photos to your MacBook but not sure where to start? Fear not, as we have got you covered! With the right tools and a few simple steps, you can easily upload your precious memories to your MacBook for safekeeping and easy access. In this guide, we will walk you through the process, making it a breeze for you to organize and enjoy your photos on your Mac.
Whether you are a photography enthusiast or just someone who loves capturing moments, having your digital camera photos on your MacBook can be incredibly convenient. No more searching through memory cards or devices – everything will be neatly stored on your computer, ready to be edited, shared, or simply cherished.
Step-by-step guide to uploading digital camera photos to MacBook
Uploading digital camera photos to your MacBook is a simple process that can be done in just a few steps. Follow this guide to transfer your photos quickly and easily:




Step 1: Connect your digital camera to your MacBook
Start by connecting your digital camera to your MacBook using a USB cable. Make sure your camera is turned on and set to the correct mode for transferring photos.
Step 2: Open the Photos app
Once your camera is connected, open the Photos app on your MacBook. The app should automatically detect your camera and prompt you to import your photos.
Step 3: Import your photos
Click on the “Import” button in the Photos app to start importing your photos from your digital camera. You can choose to import all photos or select specific ones to transfer to your MacBook.
That’s it! Your digital camera photos are now uploaded to your MacBook and ready for you to view, edit, and share.

Prepare your digital camera for connection
Before connecting your digital camera to your MacBook, make sure to follow these steps:
1. Check the battery
Ensure that your digital camera has enough battery power to transfer photos. It is recommended to have a fully charged battery to avoid any interruptions during the transfer process.
2. Turn off the camera
Before connecting the camera to your MacBook, turn off the camera to prevent any data loss or corruption while transferring photos. This will also ensure a smooth connection between the camera and your MacBook.
Connect your digital camera to your MacBook
Before you can upload your digital camera photos to your MacBook, you need to establish a connection between the two devices. Follow these steps to connect your digital camera to your MacBook:
Step 1: Check camera compatibility
Make sure your digital camera is compatible with your MacBook. Check the camera’s manual or specifications to see if it can connect to a Mac computer.
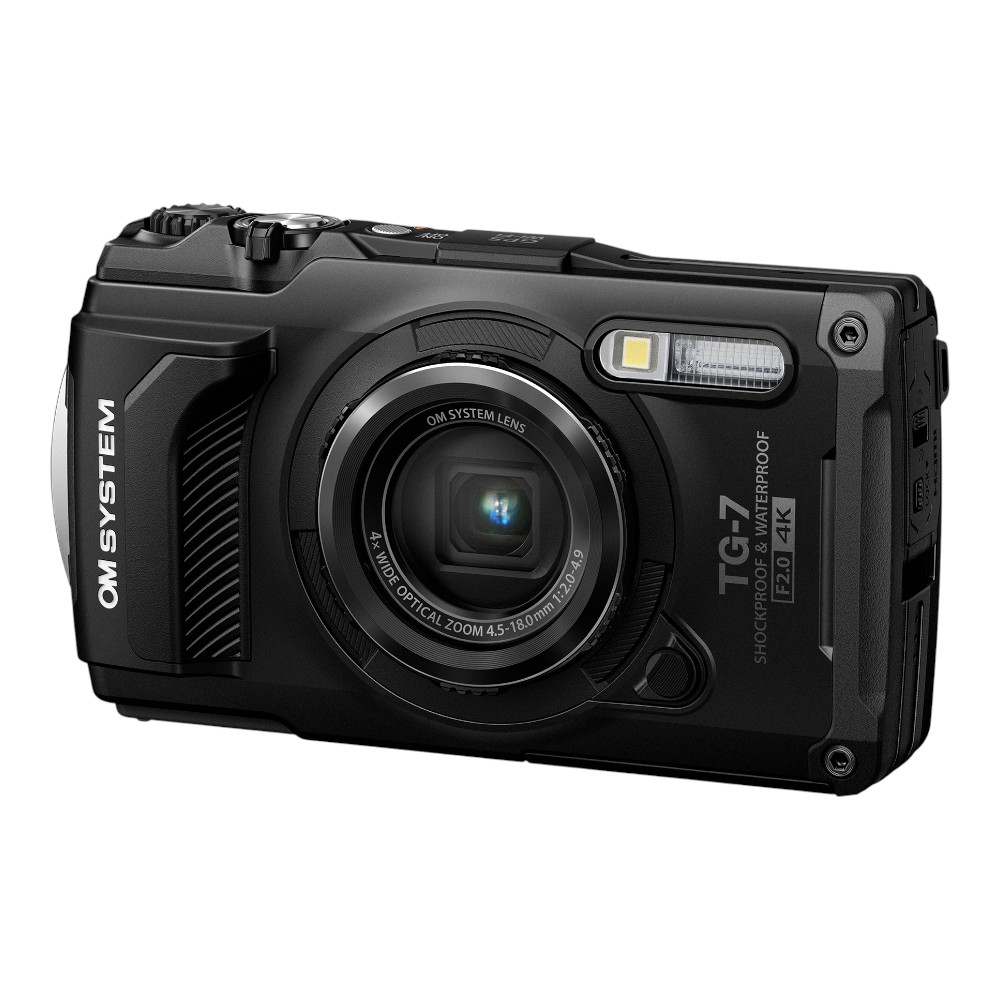
Step 2: Use a USB cable
Locate the USB cable that came with your digital camera. Connect one end of the USB cable to the camera and the other end to an available USB port on your MacBook.
Once the camera is connected to your MacBook, you may need to turn on the camera or set it to “transfer” mode to access the photos.
Import photos from your digital camera
Importing photos from your digital camera to your MacBook is a simple process that allows you to easily organize and edit your images. Follow these steps to transfer your photos:
- Connect your digital camera to your MacBook using a USB cable.
- Turn on your digital camera and set it to transfer mode if needed.
- Open the Photos app on your MacBook.
- In the Photos app, click on the “Import” tab located at the top of the window.
- You will see all the photos on your digital camera displayed in the Import window.
- Select the photos you want to import by clicking on them.
- Click the “Import Selected” button to transfer the selected photos to your MacBook.
- Once the import process is complete, you can view and edit your photos in the Photos app.
Organize and edit your imported photos
Once you have successfully imported your digital camera photos to your MacBook, it’s time to organize and edit them for easy access and enhancement. Here are some tips on how to efficiently manage your photo collection:
- Create folders or albums to categorize your photos based on events, dates, or themes. This will help you easily locate specific photos when needed.
- Use photo editing software like Adobe Photoshop or Lightroom to enhance the quality of your photos, adjust colors, crop images, or remove imperfections.
- Add tags or keywords to your photos to make them searchable and easier to organize. This will help you quickly find specific photos by searching for relevant keywords.
- Delete duplicate or unwanted photos to free up storage space and keep your photo library clutter-free. Be selective and only keep the best shots.
- Backup your edited photos to an external hard drive or cloud storage to ensure their safety and accessibility in case of any device failures.
Safely eject your digital camera
After transferring your photos to your MacBook, it’s important to safely eject your digital camera to prevent any data loss or corruption. To do this, locate your digital camera in the Finder window and drag it to the Trash icon on your dock. This will eject the camera safely from your computer.

Backup your imported photos on MacBook
After you have successfully imported your digital camera photos to your MacBook, it is important to create a backup of these photos to ensure their safety and prevent any potential loss. One of the best ways to back up your imported photos is to use Time Machine, the built-in backup feature on macOS.
To set up Time Machine for photo backup, follow these steps:
| 1. | Connect an external hard drive to your MacBook. |
| 2. | Go to System Preferences and select Time Machine. |
| 3. | Click on “Select Backup Disk” and choose the external hard drive you connected. |
| 4. | Turn on Time Machine by clicking the switch at the top right corner of the Time Machine preferences window. |
| 5. | Your imported photos will now be automatically backed up to the external hard drive at regular intervals. |
By setting up Time Machine for photo backup, you can rest assured that your precious memories captured by your digital camera are safe and secure even in the event of a hardware failure or accidental deletion on your MacBook.
FAQ
How can I transfer photos from my digital camera to my MacBook?
To transfer photos from your digital camera to your MacBook, you can use a USB cable to connect the camera to your computer. Once connected, your MacBook should recognize the camera as a storage device and allow you to access and transfer the photos to your desired location on the computer.
Is there a specific software I need to upload digital camera photos to my MacBook?
Most MacBooks come with the Photos app pre-installed, which can be used to upload and manage photos from your digital camera. Additionally, you can also use third-party software like Adobe Lightroom or Image Capture to transfer photos from your camera to your MacBook.


I tried this method, and it worked perfectly! The Photos app made everything so easy. Just had to make sure my camera was set to the right mode.
Remember to backup your photos after importing. You never know when a hard drive might fail!
I think using a memory card reader is faster than connecting the camera directly. Anyone else feel the same way?
I agree! It's often quicker and avoids issues with detection.
What if my camera isn't detected by the MacBook? Any troubleshooting tips?