
 Carmen J. Moore

Are you looking to share your latest digital camera photos on Facebook? Uploading photos from your digital camera to Facebook is a great way to showcase your photography skills and share special moments with friends and family. However, the process can sometimes be confusing for beginners. In this article, we will guide you through the steps to transfer photos from your digital camera to Facebook effortlessly.




First and foremost, you need to connect your digital camera to your computer. Use a USB cable to establish a connection between your camera and computer. Once your camera is connected, navigate to the folder where your photos are stored. Make sure to organize your photos into a separate folder on your computer to make the uploading process easier.
Next, log in to your Facebook account and navigate to the “Photos” section. Click on the option to create a new photo album. Give your album a title, description, and set the privacy settings as per your preference. Now, you are ready to upload your photos from your digital camera to Facebook.
Step-by-step guide: transferring photos from digital camera to Facebook
Transferring photos from your digital camera to Facebook is a simple process that allows you to share your memories with friends and family. Follow these steps to upload your photos:
- Connect your digital camera to your computer using a USB cable.
- Turn on your camera and wait for it to be recognized by your computer.
- Open the file explorer on your computer and navigate to the folder where your photos are stored on the camera.
- Select the photos you want to upload to Facebook by clicking on them.
- Copy the selected photos by right-clicking and choosing the “Copy” option.
- Log in to your Facebook account and navigate to the photo upload section.
- Paste the copied photos into the upload area by right-clicking and choosing the “Paste” option.
- Add captions or tag friends in the photos if desired.
- Click the “Post” button to share your photos on Facebook.
That’s it! Your photos from your digital camera are now successfully uploaded to Facebook for everyone to see.
Connect your digital camera to your computer
To transfer photos from your digital camera to Facebook, you first need to connect your camera to your computer. Follow these steps to establish the connection:

- Locate the USB cable that came with your camera.
- Turn off your camera and computer.
- Connect one end of the USB cable to the camera and the other end to a USB port on your computer.
- Turn on your camera.
- Your computer should recognize the camera as a new device and install any necessary drivers.
- Open your computer’s file explorer to access the photos on your camera.
Once you have successfully connected your camera to your computer, you can proceed to transfer your photos to Facebook.
Transfer photos from your camera to your computer
Transferring photos from your digital camera to your computer is a simple process that allows you to easily access and organize your images. Follow these steps to transfer your photos:
1. Connect your camera to your computer using a USB cable or memory card reader.
2. Turn on your camera and select the option to connect to a computer.
3. Open the file explorer on your computer and locate the connected camera device.
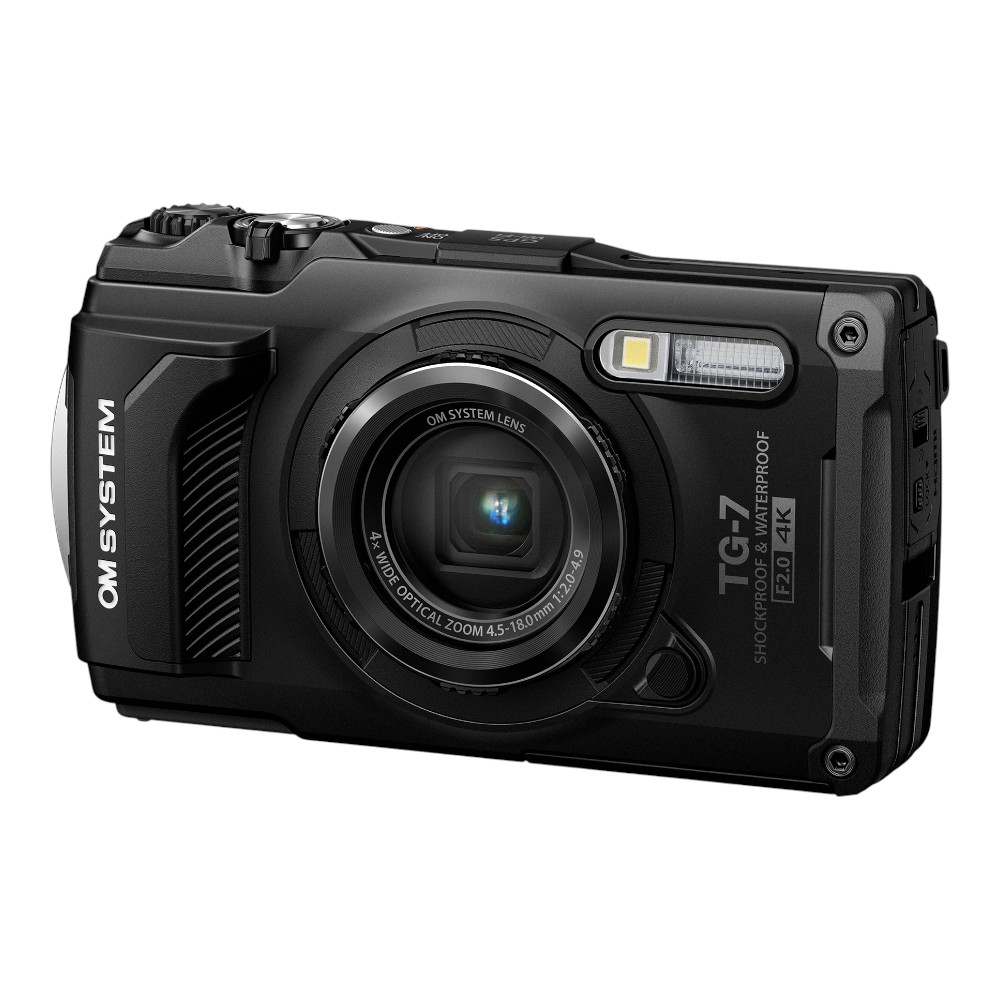
4. Copy the photos from the camera to a folder on your computer by dragging and dropping or using the copy-paste function.
5. Once the transfer is complete, safely eject the camera from your computer.
By following these steps, you can easily transfer your photos from your camera to your computer and then upload them to social media platforms like Facebook.
Organize your photos on your computer
Before uploading your photos to Facebook, it’s a good idea to organize them on your computer. This will make it easier to select the photos you want to share and keep your photo collection neat and tidy.
1. Create folders: Create separate folders for different events or categories of photos. For example, you can have folders for vacations, family gatherings, or special occasions.
2. Rename files: Rename your photo files with descriptive names that will help you identify them later. Avoid generic file names like “IMG_001.jpg” and use names like “Beach_Vacation_2019.jpg” instead.
3. Add tags or keywords: Use tags or keywords to label your photos with relevant information. This will make it easier to search for specific photos when you need them.
4. Delete duplicates: Remove any duplicate photos to free up space on your computer and avoid cluttering your photo collection.
5. Backup your photos: It’s essential to regularly back up your photos to prevent any loss of data. Consider using cloud storage or an external hard drive for backups.
Log in to your Facebook account
Before you can upload your photos from your digital camera to Facebook, you need to log in to your Facebook account. Go to the Facebook website and enter your login credentials (email/phone number and password) in the designated fields. Click on the “Log In” button to access your account.
If you don’t have a Facebook account yet, you will need to create one by clicking on the “Sign Up” button and following the on-screen instructions to set up your account.
Upload photos from your computer to Facebook
To upload photos from your computer to Facebook, follow these simple steps:
1. Log in to your Facebook account.
2. Click on the “Photo/Video” option on your timeline or newsfeed.
3. Select “Upload Photos/Video” from the drop-down menu.

4. Choose the photos you want to upload from your computer.
5. Add a caption or tag friends if desired.
6. Click on the “Post” button to upload the photos to your Facebook account.
7. Your photos will now be shared with your friends and followers on Facebook!
Add captions and tags to your photos
Adding captions and tags to your photos on Facebook can help you organize and share your images more effectively. Captions provide context and details about the photo, while tags allow you to identify and mention specific people or locations in the image.

Adding Captions:
- Click on the photo you want to add a caption to.
- Hover over the photo and click on the “Edit” button that appears.
- Enter your caption in the provided text box and click “Save”.
Adding Tags:
- Click on the photo you want to tag.
- Hover over the photo and click on the “Tag Photo” option that appears.
- Click on the person or object in the photo you want to tag, then type their name in the search bar that appears.
- Select the correct person from the search results and click “Done”.
Share your photos with friends and family
Once you have transferred your photos from your digital camera to your computer, you can easily share them with your friends and family on Facebook. Here’s how:
Step 1: Create a Facebook album
Log in to your Facebook account and go to your profile. Click on the “Photos” tab and then select “Create Album.” Upload the photos you want to share from your computer.
Step 2: Add captions and tags
After uploading your photos, you can add captions to each photo to provide context or share a story. You can also tag your friends in the photos to notify them and let them know you’ve shared the photos with them.
By following these simple steps, you can easily share your photos with your friends and family on Facebook and keep them updated on your latest adventures and memories!
Enjoy the memories on Facebook!
Once you have successfully transferred your photos from your digital camera to Facebook, it’s time to enjoy the memories with your friends and family. Share your special moments, adventures, and experiences captured in those photos on your Facebook profile. You can create photo albums, tag friends, and even set privacy settings to control who can view your memories. Take a trip down memory lane as you scroll through your photos and relive those precious moments shared with your loved ones on Facebook!

FAQ
Is there an easier way to share photos from my digital camera to Facebook?
Yes, there are easier ways to share photos from your digital camera to Facebook. You can use a Wi-Fi-enabled digital camera to directly upload photos to Facebook without the need for a computer. Simply connect your camera to Wi-Fi, log in to your Facebook account through the camera’s interface, select the photos you want to upload, add any necessary captions or tags, and post them directly to your Facebook profile.


I think using cloud storage is a better option than transferring photos directly to Facebook. It's easier for backups and sharing with others.
Make sure your camera battery is charged before starting the transfer! Saved me a headache last time.
Can I upload videos from my camera to Facebook in the same way? Or is the process different?
The process is quite similar for videos. Just connect your camera, transfer the video files to your computer, and then upload them to Facebook like photos.
What if my computer doesn't recognize the camera when I connect it? Any tips on troubleshooting?
I recently transferred some photos from my camera to Facebook. I found that organizing them into folders beforehand made the upload process so much easier. Also, I had to rename a few files because the default names were confusing.