
 Carmen J. Moore

Transferring photos from your Canon digital camera to your computer is a simple process that allows you to easily access and manage your images. Whether you want to back up your photos, edit them, or share them with friends and family, transferring them to your computer is the first step.
In this guide, we will walk you through the different methods you can use to transfer photos from your Canon digital camera to your computer, including using a USB cable, a memory card reader, or Canon’s proprietary software.
By following these steps, you can ensure that your precious memories are safely stored on your computer and easily accessible whenever you need them.




Step-by-step guide on transferring photos from Canon digital camera to computer
Transferring photos from your Canon digital camera to your computer is a simple process that allows you to easily access and manage your images. Follow these steps to transfer your photos:
- Connect your Canon digital camera to your computer using a USB cable.
- Turn on your camera and set it to playback mode.
- Your computer should detect the camera as a removable storage device.
- Open the file explorer on your computer and locate the camera in the list of connected devices.
- Open the folder containing your photos on the camera.
- Select the photos you want to transfer to your computer.
- Copy the selected photos and paste them into a folder on your computer.
- Wait for the transfer to complete, then safely disconnect your camera from the computer.
Once the transfer is complete, you can easily access and manage your photos on your computer. Remember to back up your photos regularly to prevent any data loss.
Check your camera’s connection options
Before transferring photos from your Canon digital camera to your computer, make sure to check the available connection options on your camera. Most Canon cameras come with USB connectivity, allowing you to connect your camera directly to your computer using a USB cable. Some newer models may also offer Wi-Fi or Bluetooth connectivity for wireless transfers.
To determine the connection options on your camera, refer to the user manual or check the camera’s settings menu. Once you know how your camera can connect to your computer, you can proceed with the appropriate transfer method.
Install the necessary software on your computer
Before you can transfer photos from your Canon digital camera to your computer, you need to make sure you have the necessary software installed on your computer. Canon typically provides a software CD with their cameras that includes the necessary drivers and software for transferring photos.
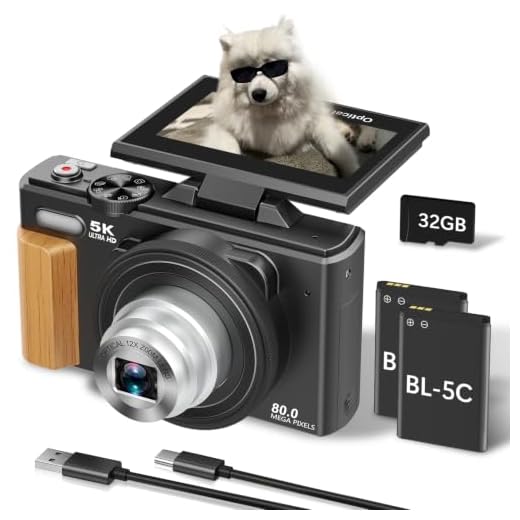
If you don’t have the software CD or if your computer doesn’t have a CD drive, you can download the software from Canon’s website. Simply go to Canon’s official website, navigate to the support section, and search for the software for your specific camera model.
Connect your Canon digital camera to the computer using a USB cable
To transfer photos from your Canon digital camera to your computer, you will need to connect the two devices using a USB cable. Follow these steps to establish the connection:
Step 1: Locate the USB port
Find the USB port on your Canon digital camera. It is usually located on the side or back of the camera.
Step 2: Connect the USB cable
Take one end of the USB cable and insert it into the USB port on your Canon camera. Then, take the other end of the cable and plug it into a USB port on your computer.
Note: Make sure both the camera and computer are turned on before connecting the USB cable.
Once the connection is established, your computer should recognize the camera as a removable storage device, allowing you to access and transfer the photos stored on the camera to your computer.
Turn on your camera and switch it to the correct mode
Before transferring photos from your Canon digital camera to your computer, make sure your camera is turned on and set to the correct mode for data transfer.
Most Canon cameras have a dedicated mode for connecting to a computer, usually labeled as “PC” or “Transfer” mode. Check your camera’s user manual for specific instructions on how to switch to this mode.
Open the software on your computer and select the import option
Once you have connected your Canon digital camera to your computer using the USB cable, open the Canon software that came with your camera. This software is usually included in the camera package or can be downloaded from the Canon website.
After opening the software, look for the option to import photos from your camera to your computer. This option is typically labeled as “Import” or “Transfer Photos.” Click on this option to begin the import process.

Follow the on-screen instructions to select the photos you want to transfer from your camera to your computer. You may have the option to choose specific photos or transfer all photos at once.
Once you have selected the photos, click on the “Import” or “Transfer” button to start the transfer process. The software will copy the selected photos from your camera to your computer’s hard drive.
Choose the photos you want to transfer and start the import process
Once your Canon digital camera is connected to your computer, open the image transfer software that came with your camera or use a third-party photo management program. Locate the option to import photos from your camera to your computer.
Next, you will see a list of all the photos on your camera. Choose the specific photos you want to transfer by selecting them individually or in batches.
After selecting the photos, initiate the import process by clicking on the “Import” or “Transfer” button. The software will then copy the selected photos from your camera to your computer’s storage.
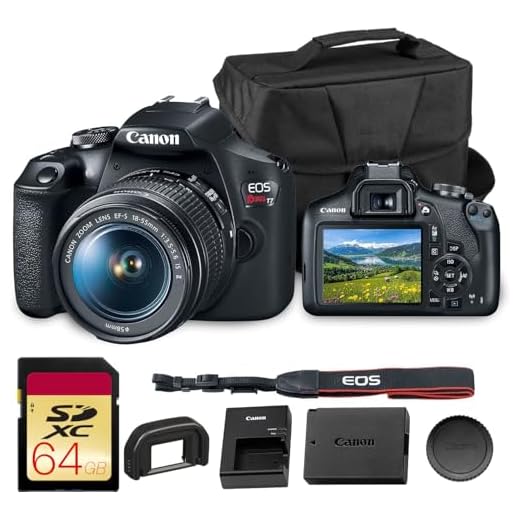
Wait for the transfer to complete and disconnect your camera from the computer
Once the transfer process is complete, make sure all the photos have been successfully copied to your computer. Check the destination folder to ensure all the images are there.
If you are satisfied that all your photos have been transferred, safely disconnect your Canon digital camera from the computer. This can usually be done by safely ejecting the camera using the appropriate method on your computer.
After disconnecting your camera, you can now safely use your photos on your computer for editing, sharing, or storing. Remember to keep your photos organized and backed up regularly to prevent any loss of precious memories. Enjoy your photography journey!
Organize your photos on your computer for easy access
Once you have transferred your photos from your Canon digital camera to your computer, it’s important to organize them for easy access and retrieval. Here are some tips on how to organize your photos effectively:
1. Create folders by date or event
One way to organize your photos is to create folders based on the date the photos were taken or the event they are associated with. This will help you easily locate specific photos when you need them.
2. Rename your photos
Consider renaming your photos with descriptive names that will help you identify them quickly. You can include the date or event in the file name to make searching easier.
By organizing your photos in a structured manner, you can ensure that you can easily find and access your favorite memories whenever you want.
Backup your photos to prevent data loss
Backing up your photos is crucial to prevent data loss and ensure that your memories are safe. Here are some simple steps to back up your photos from your Canon digital camera to your computer:
1. Create a backup folder
Start by creating a new folder on your computer where you will store all your photos. This will make it easier to organize and access your images.
2. Transfer photos regularly
Make it a habit to transfer your photos from your Canon digital camera to your computer regularly. This will ensure that you always have a copy of your images in case anything happens to your camera.

Enjoy your transferred photos on your computer!
Now that you have successfully transferred your photos from your Canon digital camera to your computer, it’s time to enjoy them! Here are a few tips to help you make the most of your photos:
- Create folders to organize your photos by date, event, or location for easy access.
- Use photo editing software to enhance and edit your photos to make them look even better.
- Share your favorite photos with friends and family on social media or via email.
- Print your photos to create physical copies for albums or frames.
- Backup your photos to an external hard drive or cloud storage to ensure they are safe and secure.
By following these tips, you can enjoy your transferred photos and relive your favorite memories whenever you want!
FAQ
How can I transfer photos from my Canon digital camera to my computer?
There are several ways to transfer photos from your Canon digital camera to your computer. One common method is to connect your camera to your computer using a USB cable. Once connected, your computer should detect the camera as a storage device and allow you to access the photos. You can then copy the photos to your computer’s hard drive. Another method is to use a memory card reader to transfer the photos. Simply remove the memory card from your camera, insert it into the card reader, and connect the card reader to your computer. From there, you can access the photos on the memory card and transfer them to your computer.
Is there a software I need to transfer photos from my Canon digital camera to my computer?
Most Canon digital cameras come with software that allows you to transfer photos from the camera to your computer. This software is typically included in the camera’s package or can be downloaded from the Canon website. The software usually provides a user-friendly interface that guides you through the transfer process and may also offer additional features like editing and organizing your photos. However, if you prefer not to use the Canon software, you can also transfer photos using the built-in photo import feature of your computer’s operating system. Simply connect your camera to your computer, and follow the prompts to import the photos.




I've been using the software that came with my Canon for transfers, but sometimes it's slow. I started using a memory card reader instead, and it's way faster! Just plug it into my computer and transfer directly. Highly recommend this method!