
 Carmen J. Moore

Transferring files from your digital camera to your computer is an essential task for any photographer or hobbyist. Whether you’re looking to free up space on your camera’s memory card, back up your precious photos, or simply edit them on a larger screen, knowing how to transfer files is a valuable skill.
There are several methods you can use to transfer files from your digital camera to your computer. You can connect your camera directly to your computer using a USB cable, remove the memory card from your camera and insert it into a card reader, or use wireless transfer methods if your camera supports them.
Each method has its own advantages and drawbacks, so it’s important to choose the one that best suits your needs. In this article, we’ll explore the different methods of transferring files from your digital camera to your computer and provide step-by-step instructions for each method.
Step-by-step guide to transferring files from digital camera to computer
Transferring files from your digital camera to your computer is a simple process that allows you to easily access and manage your photos and videos. Follow these steps to transfer files from your digital camera to your computer:




Step 1: Connect your camera to your computer
Use the USB cable that came with your camera to connect it to your computer. Make sure both devices are turned on and properly connected.
Step 2: Access your camera’s storage
Once your camera is connected to your computer, you may need to select the “storage” or “mass storage” option on your camera to access its files.
| For Windows: | Navigate to “My Computer” or “This PC” and look for your camera under the “Devices and drives” section. |
| For Mac: | Your camera should appear on the desktop as a removable drive. |
Step 3: Copy files to your computer
Once you have accessed your camera’s storage on your computer, you can simply drag and drop the files you want to transfer to a folder on your computer.
Alternatively, you can use photo management software to import the files from your camera to your computer.
After the transfer is complete, safely disconnect your camera from your computer to avoid data loss.

Prepare your digital camera
Before transferring files from your digital camera to your computer, it’s important to prepare your camera for the process. Here are some steps you should follow:
1. Check the battery level
Make sure your digital camera has enough battery power to complete the file transfer. If the battery is low, consider charging it before starting the process to avoid any interruptions.
2. Insert the memory card
If your digital camera uses a memory card to store photos and videos, ensure that the memory card is properly inserted into the camera. This will allow you to access the files stored on the memory card when connecting the camera to your computer.
Connect the camera to your computer
To transfer files from your digital camera to your computer, you first need to connect the camera to your computer using a USB cable. Make sure your camera is powered on and in the correct mode for file transfer. Locate the USB port on your camera and plug in one end of the USB cable. Then, locate a USB port on your computer and plug in the other end of the cable. Your computer should recognize the camera as a removable storage device.
Access the camera’s storage
Once you have connected your camera to the computer using a USB cable, you need to access the camera’s storage to transfer files. This process may vary depending on the type of camera you have.
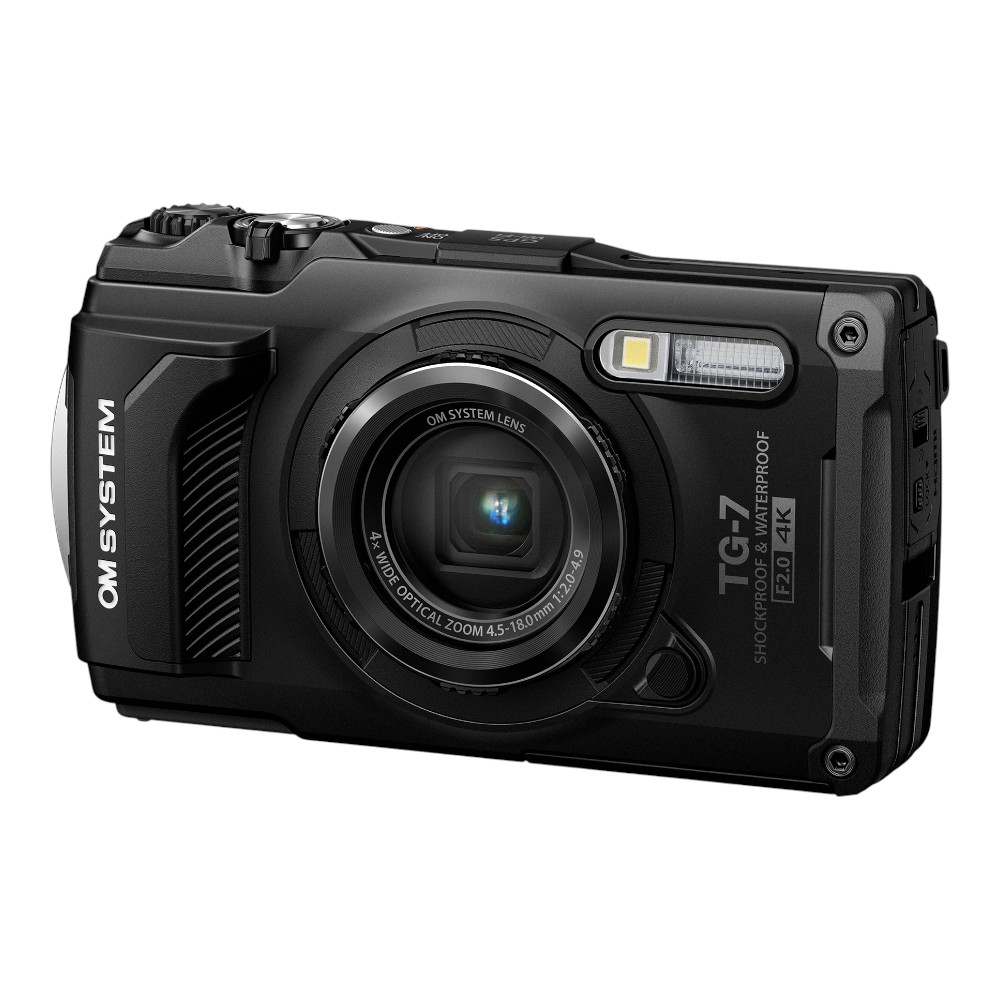
1. On your computer, go to “My Computer” or “This PC” and look for your camera listed under the devices section. Click on the camera icon to open it.
2. Navigate through the folders on your camera to locate the files you want to transfer. Typically, photos and videos are stored in the DCIM folder.
3. Select the files you want to transfer by clicking and dragging them to a folder on your computer. You can also copy and paste the files to the desired location.
4. Once the transfer is complete, safely eject your camera from the computer to avoid data corruption.
| Tip: | If your camera uses a memory card, you can also remove the card from the camera and insert it into a card reader on your computer to transfer files. |
|---|
Select and copy the files
Once you have connected your digital camera to your computer and located the files you want to transfer, you will need to select the files you wish to copy. You can do this by clicking on the files you want to transfer while holding down the Ctrl key to select multiple files. Alternatively, you can use the Ctrl+A shortcut to select all files in the folder.

After selecting the files, right-click on one of the selected files and choose the “Copy” option from the context menu. You can also press Ctrl+C on your keyboard as a shortcut to copy the selected files.
Now, navigate to the destination folder on your computer where you want to transfer the files. Right-click in the destination folder and select the “Paste” option from the context menu to paste the copied files into the folder. You can also use the Ctrl+V shortcut to paste the files.
Paste the files on your computer
After you have copied the files from your digital camera to your computer, the next step is to paste them into a folder on your computer. Follow these steps to paste the files:
- Locate the folder on your computer where you want to store the files from your digital camera.
- Right-click on the folder and select “Paste” from the context menu. Alternatively, you can use the keyboard shortcut Ctrl+V to paste the files.
- The files will be copied from the temporary location to the folder on your computer.
- Once the paste process is complete, you can access the files in the folder on your computer.
Organize the transferred files
Once you have successfully transferred the files from your digital camera to your computer, it’s important to organize them properly for easy access and management. Here are some tips on how to organize your files:
Create folders: Start by creating folders on your computer to categorize the files. You can create folders based on the date, event, or any other criteria that make sense for your needs.

Rename files: Consider renaming your files to something descriptive so that you can easily identify them later. This can help you quickly locate specific files without having to open each one.
Back up files: It’s a good practice to back up your files regularly to ensure that you don’t lose any important data. You can back up your files to an external hard drive, cloud storage, or any other backup solution.
Delete unwanted files: Take the time to go through your files and delete any unwanted or duplicate files to free up space on your computer and keep your files organized.
Use tags or keywords: Consider adding tags or keywords to your files to make it easier to search for them later. This can help you quickly find specific files when needed.
By following these tips, you can keep your transferred files organized and easily accessible on your computer.

Safely eject your camera
After transferring your files to your computer, it is important to safely eject your digital camera to avoid data corruption or damage to the files. To do this, locate the “Safely Remove Hardware” icon on your computer’s taskbar (usually a USB symbol) and click on it. Select your camera from the list of devices and wait for the confirmation message that it is safe to disconnect your camera. Once you receive the confirmation, you can safely unplug your camera from the computer.
Check the transferred files on your computer
Once the transfer is complete, it’s important to verify that all files have been successfully copied to your computer. Follow these steps to ensure the transfer was successful:
Step 1: Navigate to the destination folder
Open the folder on your computer where you transferred the files from your digital camera. This is typically the folder you specified during the transfer process.
Step 2: Verify the files
Check the transferred files to make sure they are all there and intact. You can open a few random files to confirm that they open correctly and show the expected content.
| File Name | Size | Type |
|---|---|---|
| IMG_001.jpg | 2.5 MB | JPEG |
| VIDEO_001.mp4 | 50 MB | MP4 |
| DOC_001.docx | 100 KB | Word Document |
Backup the files for safekeeping
It is crucial to backup your files for safekeeping to prevent any loss of precious memories or important work. Here are some tips to ensure your files are securely backed up:

1. External Hard Drive
Invest in an external hard drive and regularly transfer your files from your camera to the hard drive. This will serve as a secondary storage option in case your computer crashes or your camera gets damaged.
2. Cloud Storage
Utilize cloud storage services such as Google Drive, Dropbox, or iCloud to upload your files to the cloud. This will provide an additional layer of security and accessibility to your files from any device.
| Pros | Cons |
|---|---|
| Secure storage | Dependent on internet connection |
| Accessible from anywhere | Limited free storage |
| Automatic syncing | Potential privacy concerns |
FAQ
What is the most common way to transfer files from a digital camera to a computer?
The most common way to transfer files from a digital camera to a computer is by using a USB cable. Simply connect one end of the cable to your camera and the other end to a USB port on your computer. Your computer will recognize the camera as a removable storage device, allowing you to access and transfer your files.
Can I transfer files wirelessly from my digital camera to my computer?
Yes, many modern digital cameras have built-in Wi-Fi capabilities that allow you to transfer files wirelessly to your computer. You can typically do this by connecting both devices to the same Wi-Fi network and using the camera’s software or app to initiate the transfer.
What should I do if my computer does not recognize my digital camera when I connect it?
If your computer does not recognize your digital camera when you connect it via USB, try using a different USB port on your computer. You can also try restarting both your camera and computer. If the issue persists, you may need to install the camera’s drivers on your computer or update your operating system to ensure compatibility.

Are there any alternative methods to transfer files from a digital camera to a computer?
Aside from using a USB cable or Wi-Fi connection, you can also remove the memory card from your digital camera and insert it into a card reader on your computer. This allows you to access the files directly from the memory card. Some cameras also support Bluetooth connectivity for transferring files wirelessly.


