
 Carmen J. Moore

The aurora borealis, also known as the northern lights, is a breathtaking natural phenomenon that captivates photographers around the world. The dancing lights in the sky create a stunning display of colors and patterns that are a photographer’s dream to capture. If you’re eager to photograph the northern lights with your digital camera, you’re in for an awe-inspiring experience.
However, photographing the northern lights can be a challenging task that requires careful planning and the right techniques. From choosing the right camera settings to finding the perfect location, there are several factors to consider to ensure that you capture the beauty of the aurora borealis in all its glory.

In this guide, we’ll provide you with valuable tips and tricks to help you take stunning photos of the northern lights with your digital camera. Whether you’re a beginner or an experienced photographer, these insights will help you make the most of this magical opportunity to capture the aurora borealis in all its splendor.
Tips for capturing the northern lights
1. Use a tripod: To capture sharp images of the northern lights, it’s essential to keep your camera steady. A tripod will help you stabilize your camera and avoid blurry photos.
2. Manual mode: Switch your camera to manual mode to have full control over the settings. Adjust the aperture, shutter speed, and ISO to get the best exposure for the northern lights.
3. Wide-angle lens: A wide-angle lens is ideal for capturing the expansive sky and the dancing lights of the aurora borealis. It allows you to frame the scene beautifully.
4. Focus manually: Since the northern lights can be faint and difficult to focus on, it’s best to set your lens to manual focus. Focus on a distant light source or use the infinity focus point.

5. Check the weather: Keep an eye on the weather forecast to plan your northern lights photography session. Clear skies with minimal light pollution are ideal for capturing the aurora borealis.
6. Experiment with different settings: Don’t be afraid to try different camera settings and techniques to capture unique and stunning images of the northern lights. Play around with long exposures and different white balance settings.
7. Be patient: Sometimes, the northern lights can be unpredictable and may not appear right away. Be patient and prepared to spend some time waiting for the perfect moment to capture the aurora borealis.
Choosing the right camera settings
When photographing the northern lights with a digital camera, it’s important to choose the right camera settings to capture the beauty of this natural phenomenon. Here are some tips to help you get the best results:
1. Manual mode: Set your camera to manual mode so you have full control over the exposure settings. This will allow you to adjust the aperture, shutter speed, and ISO to suit the lighting conditions.

2. Aperture: Use a wide aperture (low f-stop number) to let in more light and capture the details of the aurora borealis. A good starting point is around f/2.8 to f/4.
3. Shutter speed: Set a long shutter speed (around 10-30 seconds) to capture the movement and colors of the northern lights. Experiment with different shutter speeds to find the best results.
4. ISO: Start with a low ISO (around 400) to reduce noise in your photos. Increase the ISO if the aurora borealis is faint or if you want to capture more detail.
5. White balance: Set the white balance to “daylight” or “custom” to ensure accurate colors in your photos. Avoid using auto white balance as it may not reproduce the colors of the northern lights correctly.
By choosing the right camera settings and experimenting with different combinations, you can capture stunning photos of the northern lights with your digital camera.
Finding the best location
When photographing the northern lights, it is crucial to find a location with minimal light pollution. This means getting away from city lights and finding a dark sky area where the auroras will be more visible.
One popular option is to head to remote areas such as national parks or rural locations where light pollution is minimal. These places offer darker skies and better chances of capturing the vibrant colors of the aurora borealis.
Things to consider:
- Check the weather forecast to ensure clear skies and optimal viewing conditions.
- Look for locations with open views of the northern horizon, as this is where the northern lights are most likely to appear.
- Consider the composition of your shot and look for interesting foreground elements to add depth and interest to your photos.
Timing is key
When photographing the northern lights, timing is crucial. The best time to capture this natural phenomenon is during the winter months when the nights are longer and darker. Additionally, the aurora borealis is most active around the equinoxes in March and September. It’s important to check the weather forecast and the aurora forecast to increase your chances of witnessing and photographing this beautiful display of lights.
Choosing the right time of night
For the best results, aim to photograph the northern lights during the darkest hours of the night when the sky is clear. This is typically between 10 pm and 2 am, but it can vary depending on your location and the time of year.
Patience is key
Be prepared to wait for the aurora borealis to appear. Sometimes it can take hours for the lights to become visible, so be patient and stay alert. It’s worth the wait when you finally capture the stunning colors dancing across the night sky.

Using a sturdy tripod
When photographing the northern lights with a digital camera, it is crucial to use a sturdy tripod to ensure sharp and steady shots. The long exposure times required to capture the aurora borealis mean that any movement during the exposure can result in blurry images.
Make sure your tripod is set up on a stable surface and adjust the height and angle to frame your shot properly. Use a remote shutter release or the camera’s timer function to minimize camera shake when pressing the shutter button.
Experimenting with different exposures
When photographing the northern lights, it’s important to experiment with different exposure settings on your digital camera to capture the best possible images. The exposure settings determine how much light enters the camera and can greatly affect the final outcome of your photos.
Manual mode
One way to control the exposure is by using the manual mode on your camera. This allows you to adjust the aperture, shutter speed, and ISO settings individually to achieve the desired exposure. When photographing the northern lights, start by setting a wide aperture (low f-stop) to let in more light and a slow shutter speed to capture the movement of the lights.
Experiment with different combinations of aperture and shutter speed to find the right balance for your particular shooting conditions. Keep in mind that longer exposures may result in blurred images if the lights are moving too fast.

Bracketing
Another technique to try is exposure bracketing, where you take multiple shots at different exposure settings and then choose the best one later. This can help ensure that you capture the full range of light in the scene, especially when the northern lights are constantly changing in intensity.
By experimenting with different exposures and techniques, you can improve your chances of capturing stunning photos of the northern lights with your digital camera.
Dealing with light pollution
One of the biggest challenges when photographing the northern lights with a digital camera is dealing with light pollution. Light pollution can wash out the subtle colors of the aurora and make it difficult to capture the true beauty of the natural phenomenon. Here are some tips to help you minimize the impact of light pollution on your northern lights photos:
1. Find a dark location
Choose a location away from city lights and other sources of light pollution. The darker the skies, the better chance you have of capturing the vivid colors of the northern lights.
2. Use a longer exposure
When shooting in areas with light pollution, consider using a longer exposure to capture more light from the aurora and minimize the impact of artificial light. Experiment with different exposure times to find the right balance.

Post-processing for the best results
After capturing your northern lights photos, post-processing can help enhance the final results. Here are some tips for post-processing:
| Adjust exposure: | Make sure to adjust the exposure of your photos to bring out the colors and details of the northern lights. You can use editing software like Adobe Lightroom or Photoshop for this. |
| White balance: | Correct the white balance to ensure the colors of the aurora are accurate and vibrant. Tweak the temperature and tint settings to achieve the desired look. |
| Noise reduction: | Since northern lights photography often involves long exposures, noise can be a common issue. Use noise reduction tools in your editing software to reduce noise while preserving detail. |
| Crop and straighten: | Cropping your photos can help improve composition and focus on the aurora. Straighten the horizon if needed for a cleaner look. |
| Sharpening: | Apply sharpening selectively to enhance details in the aurora without overdoing it. Adjust the sharpening settings to achieve a crisp and clear image. |
Staying warm and comfortable
When photographing the northern lights, it’s essential to stay warm and comfortable, especially during cold winter nights. Here are some tips to help you stay cozy while capturing the beauty of the auroras:
Dress in layers
Wear multiple layers of clothing to trap heat and stay warm. Start with a moisture-wicking base layer, add an insulating layer like a fleece jacket, and top it off with a waterproof and windproof outer layer. Don’t forget to wear warm gloves, a hat, and insulated boots to keep your extremities warm.
Use hand warmers
Hand warmers can be a lifesaver when shooting in freezing temperatures. Keep a few in your pockets or gloves to keep your hands and fingers warm and nimble for operating your camera. They can also be placed inside your boots or clothing to provide extra warmth.
Pro tip: Make sure to take breaks indoors or in your car to warm up periodically, especially if you start to feel too cold.

Being patient and persistent
Photographing the northern lights can be a challenging task, requiring a great deal of patience and persistence. The lights can be elusive and unpredictable, so it’s important to be prepared to spend hours waiting for the perfect moment to capture them.
Don’t get discouraged if you don’t see the lights right away – they can appear suddenly and disappear just as quickly. Be patient and stay alert, keeping your camera ready at all times.
It may take several attempts before you capture the perfect shot, so don’t give up. Keep trying, adjusting your camera settings and composition as needed, until you achieve the desired result.
Remember, patience and persistence are key when photographing the northern lights. Stay focused, stay determined, and you’ll eventually capture a stunning image of this natural phenomenon.
FAQ
What type of digital camera is best for photographing the northern lights?
A digital camera with manual settings is ideal for capturing the northern lights. Look for a camera that has manual control over exposure, aperture, and ISO settings to have more control over your shots.
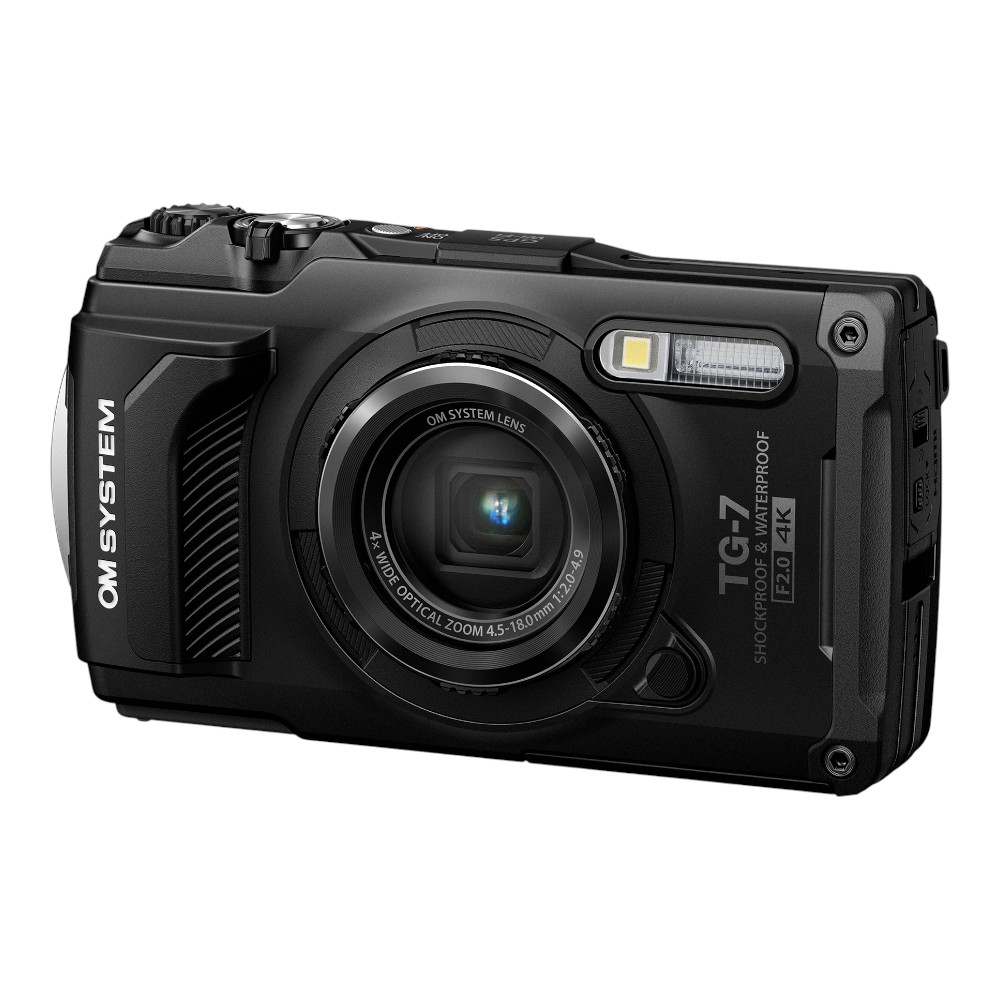
What settings should I use on my digital camera to photograph the northern lights?
For photographing the northern lights, set your camera to manual mode. Start with an ISO of around 800-1600, aperture between f/2.8 and f/4, and a shutter speed of 15-30 seconds. Adjust these settings based on the brightness of the aurora and the look you want to achieve.
Can I use a tripod for photographing the northern lights with a digital camera?
Yes, using a tripod is essential for capturing sharp images of the northern lights. A sturdy tripod will help keep your camera steady during long exposure shots, preventing any blurriness in your photos. Make sure to use a remote shutter release or the camera’s self-timer to minimize camera shake.


I recently tried photographing the northern lights in Alaska. I used a wide-angle lens and set my camera to manual mode, but I found it tough to get the focus right. I ended up missing a few good shots while adjusting the settings. Any tips for focusing better in such low light conditions?