
 Carmen J. Moore

Digitizing photos with your camera can be a convenient and cost-effective way to preserve your memories and share them with others. Whether you have old printed photos or negatives that you want to convert into digital format, using your camera can be a simple and efficient method.
In this article, we will walk you through the process of digitizing photos with your camera, providing you with tips and tricks to achieve high-quality results. From setting up the right lighting to choosing the best camera settings, we will cover everything you need to know to get started.
Step-by-Step Guide to Digitize Photos with Camera
Digitizing your photos with a camera can be a simple and effective way to preserve your memories. Follow these steps to digitize your physical photos:
- Choose a well-lit area: Find a place with good lighting to avoid shadows on your photos.
- Set up your camera: Use a high-quality camera with a resolution of at least 12 megapixels for clear images.
- Place your photo: Position your photo on a flat surface to capture it without any distortions.
- Adjust the settings: Set your camera to the highest resolution and adjust the exposure for the best results.
- Take the photo: Capture the image of your photo by holding the camera steady and ensuring it is in focus.
- Review the image: Check the digital image on your camera to make sure it is clear and properly aligned.
- Transfer the photo: Transfer the digital image from your camera to your computer using a USB cable or memory card.
- Edit the photo: Use photo editing software to enhance the image, adjust colors, and remove any imperfections.
- Save the digital photo: Save the edited digital photo in a secure location on your computer or cloud storage.
Choose the Right Camera for Digitizing Photos
When digitizing photos with a camera, it’s important to choose the right equipment to ensure high-quality results. Here are some key factors to consider when selecting a camera:
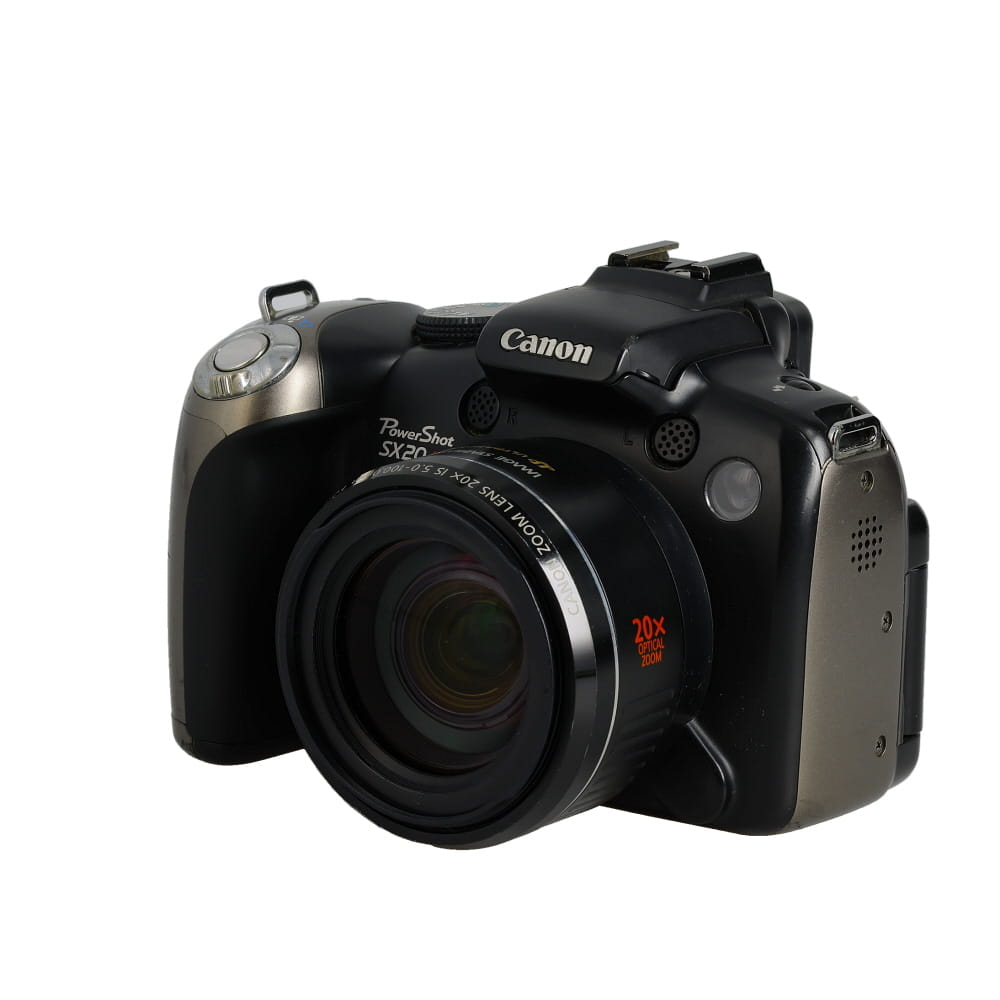


- Resolution: Look for a camera with a high resolution, preferably at least 12 megapixels, to capture clear and detailed images of your photos.
- Macro Capability: Make sure the camera has a good macro mode or lens to capture close-up shots of small details in the photos without losing quality.
- Stabilization: Opt for a camera with image stabilization to prevent blurry photos, especially when shooting in low light conditions or using a handheld setup.
- Manual Controls: Having manual controls like aperture, shutter speed, and ISO settings can give you more flexibility and control over the digitization process.
- Lighting: Consider the lighting conditions where you’ll be digitizing the photos and choose a camera that performs well in different light settings.
By selecting the right camera with these features in mind, you can ensure that your digitized photos turn out clear, vibrant, and true to the original images.
Prepare Your Photos for Digitization
Before you start digitizing your photos with a camera, it’s important to properly prepare them to ensure the best results. Follow these steps to get your photos ready for digitization:
Gather Your Photos
Collect all the photos you want to digitize and organize them in a clean, well-lit space. Make sure they are free from dust, dirt, and debris to avoid any imperfections in the digital copies.
Clean Your Photos
Use a soft, lint-free cloth to gently wipe the surface of your photos and remove any smudges or fingerprints. Be careful not to apply too much pressure or use harsh chemicals that could damage the photos.
| Tip: | Handle your photos by the edges to avoid leaving fingerprints on the surface. |
Set Up Proper Lighting for Capturing Photos
Proper lighting is crucial when digitizing photos with a camera. Natural light is the best option, so try to set up your photo digitization station near a window to take advantage of the natural light. If natural light is not available, use artificial light sources such as lamps or studio lights. Make sure the lighting is evenly distributed to avoid shadows and glare on the photos.
Tip: Avoid using the camera’s flash as it can cause reflections and wash out the colors in the photos. Instead, adjust the exposure settings on your camera to ensure proper lighting for capturing clear and vibrant photos.
Adjust Camera Settings for Optimal Results
When digitizing photos with a camera, it is essential to adjust the camera settings to achieve the best results. Follow these tips for optimal outcomes:
1. Resolution:
Adjust the resolution of your camera to the highest possible setting to capture more detail in the photos. Higher resolution images will result in better quality digital copies.
2. White Balance:
Set the white balance on your camera to match the lighting conditions of the photo. This will ensure accurate color reproduction and prevent color casts in the digital copies.
Capture Photos in High Resolution
To digitize photos effectively, it is crucial to capture them in high resolution. This ensures that the details and quality of the original photo are preserved during the digitization process. Here are some tips for capturing photos in high resolution:
1. Use a high-quality camera:
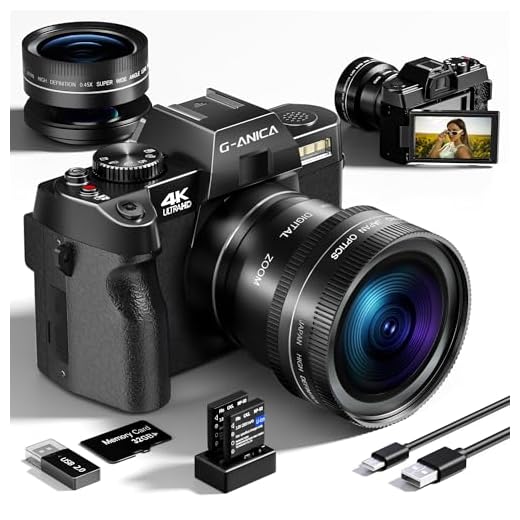
Invest in a good camera with high resolution capabilities to ensure sharp and clear images. DSLR cameras or mirrorless cameras are excellent choices for capturing photos in high resolution.
2. Proper lighting:
Make sure the photo is well-lit to avoid shadows and ensure proper exposure. Natural light or soft artificial light can help enhance the quality of the photo.
Transfer Photos to Your Computer or Device
After digitizing your photos with a camera, the next step is to transfer them to your computer or device for safekeeping and easy access. Here are some simple steps to help you with the transfer process:
1. Connect your camera to your computer
Use a USB cable or a memory card reader to connect your camera to your computer. Make sure your camera is turned on and set to the appropriate mode for transferring photos.
2. Copy the photos to your computer
Once your camera is connected, you can open the file explorer on your computer to access the photos on your camera. Simply select the photos you want to transfer and copy them to a folder on your computer or device.

By following these steps, you can easily transfer the digitized photos from your camera to your computer or device, ensuring that your precious memories are safely stored and easily accessible.
Organize and Edit Digitized Photos
Once you have digitized your photos with a camera, it’s important to organize and edit them to preserve and enhance their quality. Here are some tips to help you with this process:
1. Organize your photos:
- Create folders on your computer to categorize your photos by date, event, or subject.
- Rename your photo files with descriptive names to make them easier to search and identify.
- Use photo organizing software to help you manage and sort your images efficiently.
2. Edit your photos:
- Use photo editing software to enhance the quality of your digitized photos by adjusting brightness, contrast, and color balance.
- Crop your photos to remove unwanted elements and improve composition.
- Apply filters and effects to give your photos a unique and artistic look.
By organizing and editing your digitized photos, you can create a digital archive that is easy to navigate and visually appealing.
Store and Back Up Your Digital Photo Collection
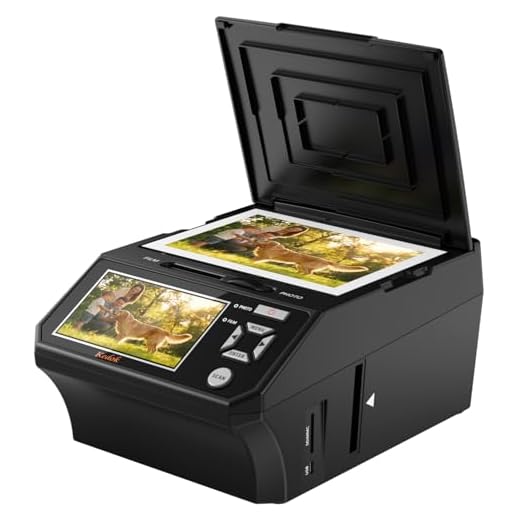
Once you have digitized your photos using a camera or scanner, it is crucial to store and back up your digital photo collection properly to prevent loss or damage. Here are some tips on how to ensure the safety and longevity of your digital memories:
1. Organize Your Photos
Start by organizing your digital photos into folders or albums based on events, dates, or themes. This will make it easier to locate specific photos and keep your collection well-structured.

2. Use Cloud Storage
Consider using cloud storage services like Google Drive, Dropbox, or iCloud to store your digital photo collection securely. Cloud storage provides an off-site backup solution that protects your photos from hardware failure or loss.
Remember to regularly back up your digital photos to multiple locations, such as an external hard drive or a USB flash drive, to ensure redundancy and safeguard against data loss.
FAQ
What equipment do I need to digitize photos with a camera?
You will need a digital camera, a tripod (optional but recommended for stability), a white background or lightbox, natural light or studio lights, and a computer with photo editing software.
What is the best way to set up the photos for digitizing with a camera?
The best way to set up the photos is to place them on a clean, flat surface with a white background. Ensure the lighting is even and the photos are well-lit to avoid shadows or glare. Use a tripod to stabilize the camera and ensure sharp images.
Can I use a smartphone camera to digitize photos?
Yes, you can use a smartphone camera to digitize photos. Make sure the camera has a high resolution and use a scanning app or photo editing app to enhance the quality of the images. Follow the same setup guidelines as with a digital camera.
How can I ensure the digitized photos are of high quality?
To ensure high-quality digitized photos, use a camera with a high resolution, set up proper lighting, adjust the focus and exposure settings, and use a tripod for stability. After capturing the photos, use photo editing software to enhance the images further if needed.
What are the advantages of digitizing photos with a camera as opposed to a scanner?
Digitizing photos with a camera allows for more flexibility in terms of photo size and quality. It is also quicker and more convenient, especially for scanning larger or fragile photos. Additionally, you have more control over the lighting and composition when using a camera.



I'm considering digitizing my old family photos. How do I know if my camera has a good macro mode? What should I look for?
You mentioned avoiding camera flash, but how do I know if the lighting is good enough without it? Any tips?
If you're using natural light, try to shoot during the day near a window. If the colors look washed out or too dark, you might need to adjust the exposure settings on your camera.
How does digitizing with a camera compare to using a scanner? Is one method really better than the other?
Don't forget to back up your digitized photos! I lost mine once, and it was a nightmare.
I recently digitized a bunch of old family photos, and I found that using a tripod made a huge difference. I also adjusted the white balance according to the room lighting, which helped with color accuracy. It took some time, but I’m really happy with the results!
Thanks for sharing your experience! Using a tripod is a great tip for stabilizing the camera and improving image quality. Adjusting white balance can significantly enhance color reproduction.
I recently digitized a box of old photos, and it was surprisingly easy! I set up near a window for natural light and used my DSLR. The results were fantastic, but I wish I had cleaned the photos better beforehand—there were some dust spots I missed. Great tips in this article!
What’s the best lighting setup for digitizing photos if I don't have access to natural light?
I've used softbox lights, and they work well without harsh shadows. Just make sure to diffuse them!
What camera settings do you recommend for someone just starting out with digitizing photos? I'm not very familiar with manual controls.
I think using a scanner is actually a better option for digitizing photos. It captures more detail and preserves the original quality better than a camera can. Has anyone else tried both methods?
I disagree with the suggestion to avoid flash. I’ve found that using it with a diffuser can work well in certain situations, especially in darker rooms.
You mentioned avoiding the camera flash. Does that mean I should only use natural light? What if it’s too dim?
I’m a bit confused about the resolution settings. Should I always use the highest resolution possible when digitizing?