
 Carmen J. Moore

Understanding how to adjust metering in your digital camera is crucial for achieving the perfect exposure in your photographs. Metering is the process by which your camera measures the amount of light in a scene and determines the optimal settings for a well-exposed image.
There are several metering modes available in most digital cameras, such as spot metering, center-weighted metering, and evaluative metering. Each mode has its own strengths and weaknesses, so it’s important to know when and how to use them to get the best results.
Learning how to adjust the metering settings on your camera can help you take control of your exposure and create stunning images in a variety of lighting conditions. In this article, we will explore the different metering modes and provide tips on how to use them effectively to enhance your photography skills.
Understanding Metering Modes
When adjusting the metering on your digital camera, it’s important to understand the different metering modes available. Metering modes determine how your camera measures light and calculates exposure settings.

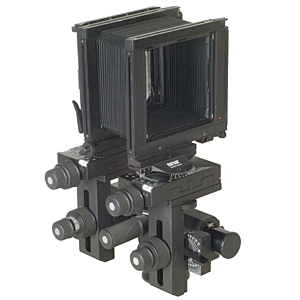


1. Evaluative Metering: This mode analyzes the entire scene to determine the best exposure. It’s ideal for situations with varied lighting or complex compositions.
2. Center-Weighted Metering: This mode prioritizes the center of the frame when calculating exposure. It’s useful for portraits or subjects in the center of the frame.
3. Spot Metering: Spot metering measures light on a specific spot in the frame, allowing you to expose for a precise area. It’s great for high-contrast scenes or when you want to prioritize a specific subject.
By understanding these metering modes, you can choose the one that best suits your shooting conditions and achieve accurate exposures in your photographs.
Spot Metering for Precision
Spot metering is a metering mode that allows you to measure the exposure for a small area in the frame, typically around 1-5% of the total frame. This mode is useful when you want to ensure precise exposure for a specific subject or area in your composition.

To use spot metering, simply select the spot metering mode on your camera and place the spot metering target over the area you want to meter for. Once you have locked the exposure, you can recompose your shot and take the picture with confidence that your subject will be properly exposed.
Spot metering is particularly useful in high-contrast situations where the subject is significantly brighter or darker than the surrounding area. By using spot metering, you can ensure that your subject is properly exposed without being affected by the brightness or darkness of the background.
Experiment with spot metering in different lighting conditions to get a feel for how it affects your exposures. With practice, you’ll be able to use spot metering to achieve precise and consistent exposures in a variety of shooting scenarios.
Using Center-Weighted Metering
Center-weighted metering is a metering mode that gives priority to the exposure reading from the center of the frame. This can be useful when your subject is in the center of the frame and you want to ensure correct exposure for the main subject.
To use center-weighted metering on your digital camera, select this metering mode from the camera settings menu. Once selected, the camera will prioritize the exposure reading from the center of the frame when determining the correct exposure settings.
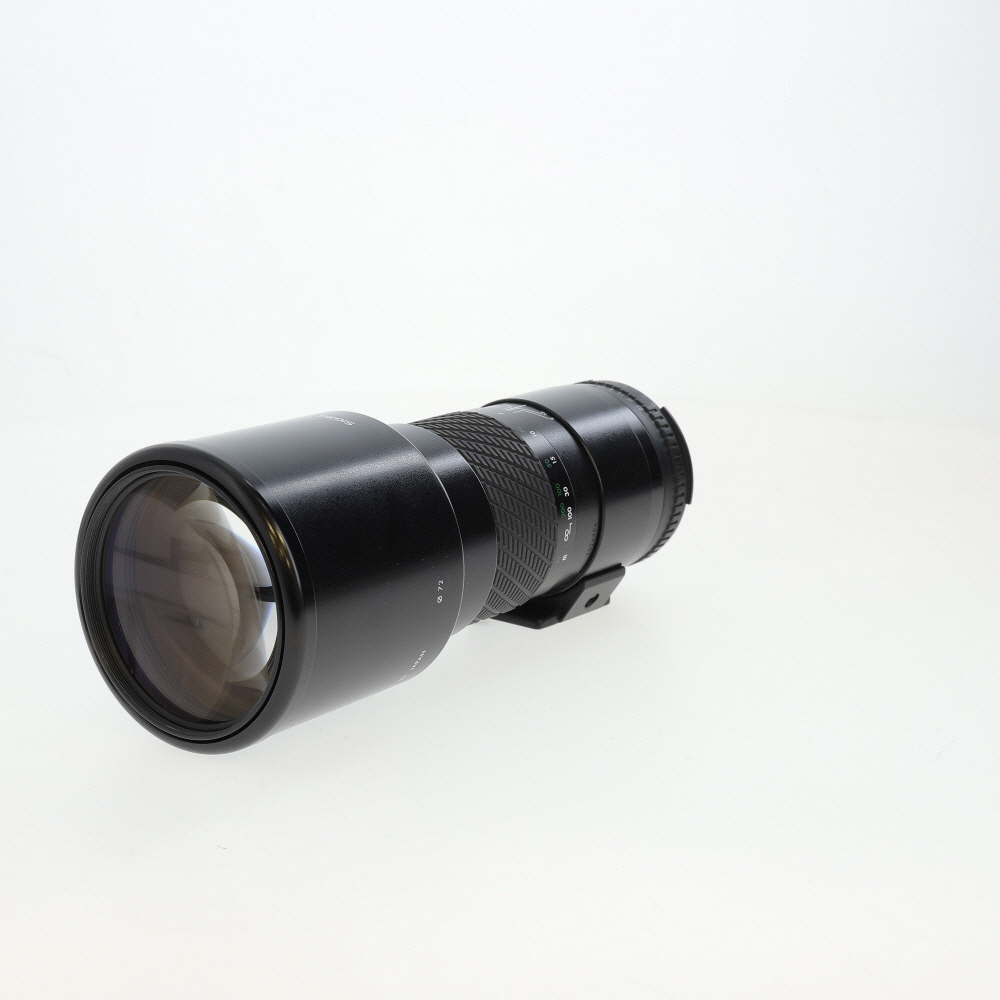
When using center-weighted metering, make sure your main subject is in the center of the frame to get the most accurate exposure reading. You can also use exposure compensation to adjust the exposure if needed after taking a test shot.
The Benefits of Evaluative Metering
Evaluative metering, also known as matrix metering, is a sophisticated metering mode found in many digital cameras. This metering mode divides the scene into multiple zones and analyzes each zone to determine the most appropriate exposure settings. Here are some benefits of using evaluative metering:
- Accurate Exposure: Evaluative metering takes into account multiple zones in the scene, resulting in more accurate exposure settings. This can help you capture well-balanced images with proper exposure across different areas of the frame.
- Complex Lighting Situations: In situations with complex lighting, such as high contrast or backlit scenes, evaluative metering can intelligently evaluate the different zones and adjust the exposure settings accordingly. This can help prevent overexposed highlights or underexposed shadows.
- Convenience: Evaluative metering is a versatile metering mode that works well in a wide range of shooting scenarios. You can rely on it to deliver consistent results without the need for manual exposure adjustments in many situations.
Overall, evaluative metering can be a valuable tool for photographers looking to achieve accurate and well-exposed images in various lighting conditions.
Adjusting Exposure Compensation
Exposure compensation allows you to adjust the exposure set by the camera to achieve the desired brightness or darkness in your photos. To adjust exposure compensation on your digital camera:
- Locate the exposure compensation button on your camera. It is usually labeled with a “+/-” symbol.
- Press the exposure compensation button and use the control dial to increase or decrease the exposure value.
- Check the exposure indicator in the viewfinder or LCD screen to see the effect of your adjustments.
- Experiment with different exposure compensation settings to find the right balance for your shot.
Utilizing Histograms for Accuracy
One of the most powerful tools for adjusting metering on a digital camera is the histogram. The histogram is a graphical representation of the exposure levels in your image, showing the distribution of brightness levels from dark to light. By analyzing the histogram, you can accurately assess the exposure of your image and make the necessary adjustments to ensure proper metering.

How to Use Histograms
To utilize histograms effectively, first, take a photo and review the histogram on your camera’s display. A well-exposed image typically shows a balanced distribution of tones across the histogram. If the histogram is skewed to the left, it indicates underexposure, while a histogram skewed to the right suggests overexposure. Adjust your exposure settings accordingly to achieve a more balanced histogram and accurate metering.
Tip: Use the highlight and shadow warnings on your camera to identify areas of overexposure and underexposure that may not be apparent in the histogram alone.
Practice Makes Perfect
Adjusting metering on a digital camera may seem daunting at first, but like any skill, practice makes perfect. The more you experiment with different metering modes and settings, the more comfortable and confident you will become in using your camera effectively.
1. Experiment with Different Lighting Conditions
Practice adjusting metering in various lighting conditions, such as bright sunlight, low light, and backlit situations. This will help you understand how different metering modes respond to different lighting scenarios and how to make adjustments accordingly.
2. Test Different Metering Modes
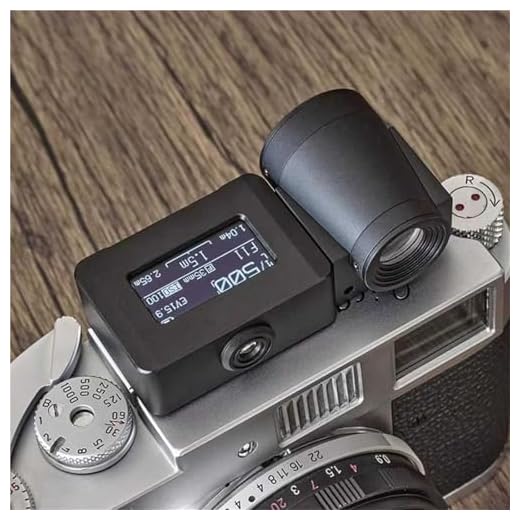
Try out different metering modes, such as evaluative, spot, and center-weighted metering, to see how they affect the exposure of your photos. Take test shots and review the results to see which mode works best for different shooting situations.
| Practice Tips | Benefits |
|---|---|
| Take your camera out regularly and practice adjusting metering modes | Gain hands-on experience and improve your photography skills |
| Review your photos to see how different metering modes impact exposure | Learn from your mistakes and make adjustments for better results |
FAQ
How do I adjust the metering on my digital camera?
To adjust the metering on your digital camera, you can typically access the metering modes through the camera’s menu settings. Most cameras offer different metering modes such as evaluative, spot, center-weighted, and partial metering. You can choose the appropriate metering mode based on the lighting conditions and the subject you are photographing. Experimenting with different metering modes will help you achieve the desired exposure for your photos.
What are the different metering modes available on a digital camera?
Most digital cameras offer several metering modes, including evaluative (matrix/multi-zone), spot, center-weighted, and partial metering. Evaluative metering takes readings from multiple zones across the frame to determine the best exposure. Spot metering measures a small area in the center of the frame for precise exposure control. Center-weighted metering gives more emphasis to the center of the frame. Partial metering is similar to spot metering but covers a larger area. Choosing the right metering mode will depend on your shooting conditions and the effect you want to achieve in your photos.


I've been experimenting with center-weighted metering for portraits, and it really helps to keep the subject well-exposed. I used to rely on evaluative metering, but sometimes it overexposes the background. Now I aim to keep my subject in the center for the best results.
Thanks for sharing your experience! Center-weighted metering is indeed effective for portraits as it prioritizes the subject in the center. Keep practicing, and you'll refine your skills even further!